Honestly, the hardest part of building these two custom food trailers for New Zealand was never making them look good.
It was fitting everything in. Refrigeration, an ice cream display, twin sinks, large water tanks, screens and an awning—all in a body around four metres long. Then came the rooftop signs and sheep sculptures. Each item sounded straightforward on its own. Put the whole list together, and suddenly the workshop had quite a puzzle on its hands.
I want to take you through how we built them: what gave us trouble, what we changed, and why those little adjustments mattered. Let's start before the first cabinet went in.
A custom food trailer layout has to leave room for the people, too
Our customer in New Zealand wanted two trailers for drinks, ice cream displays and brand events. They needed to catch people's attention outside and give staff a practical place to work inside. Matching sampling carts and an outdoor seating area were part of the order, too. We were putting together a small mobile business, right down to the space where customers could stop for a chat.
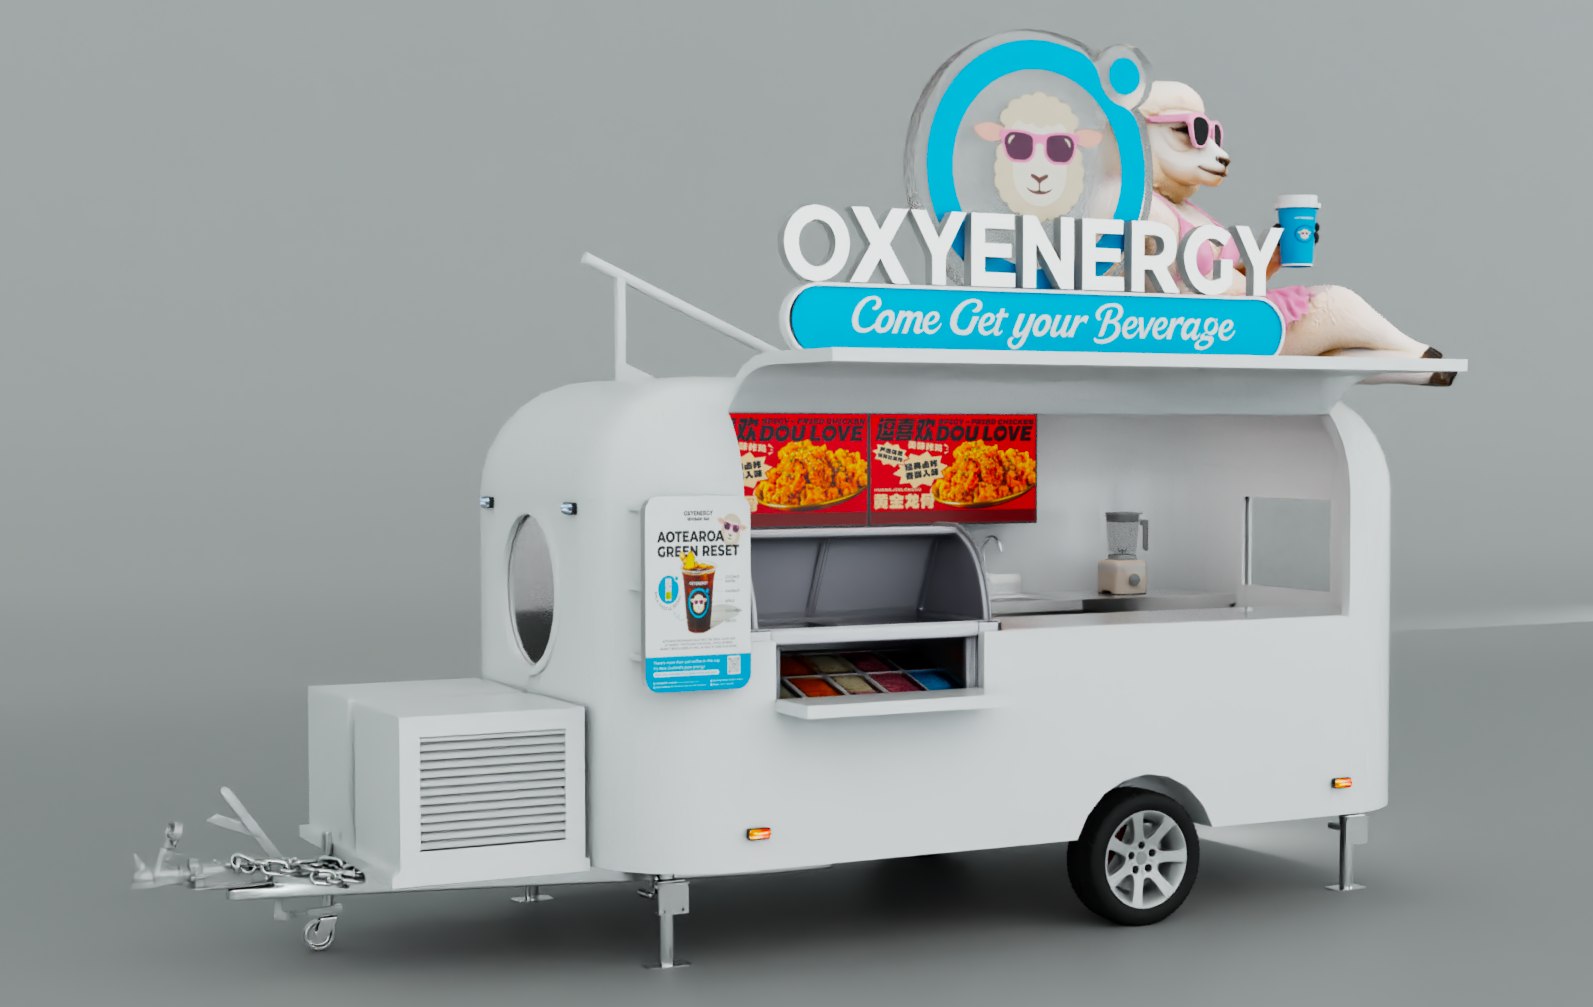
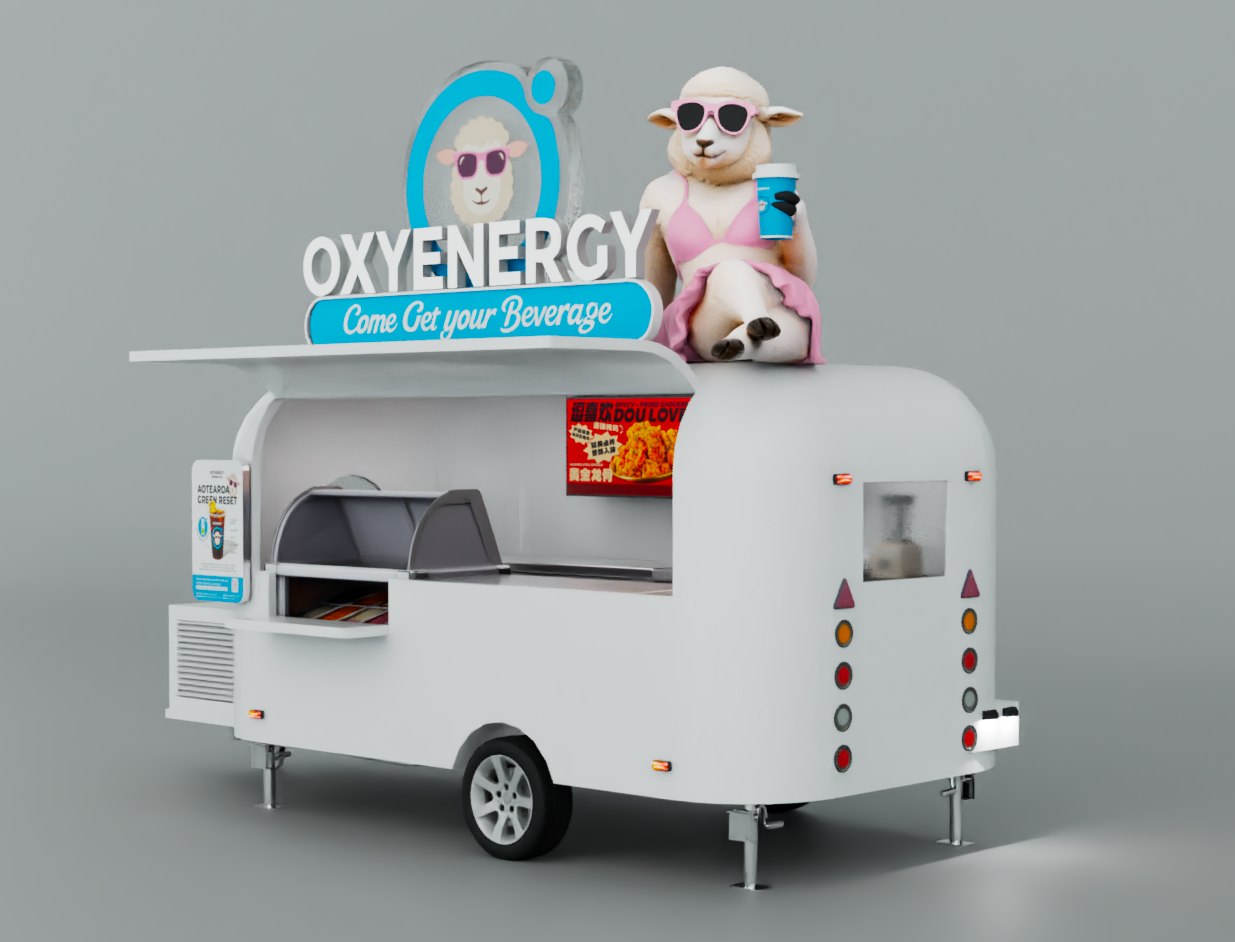
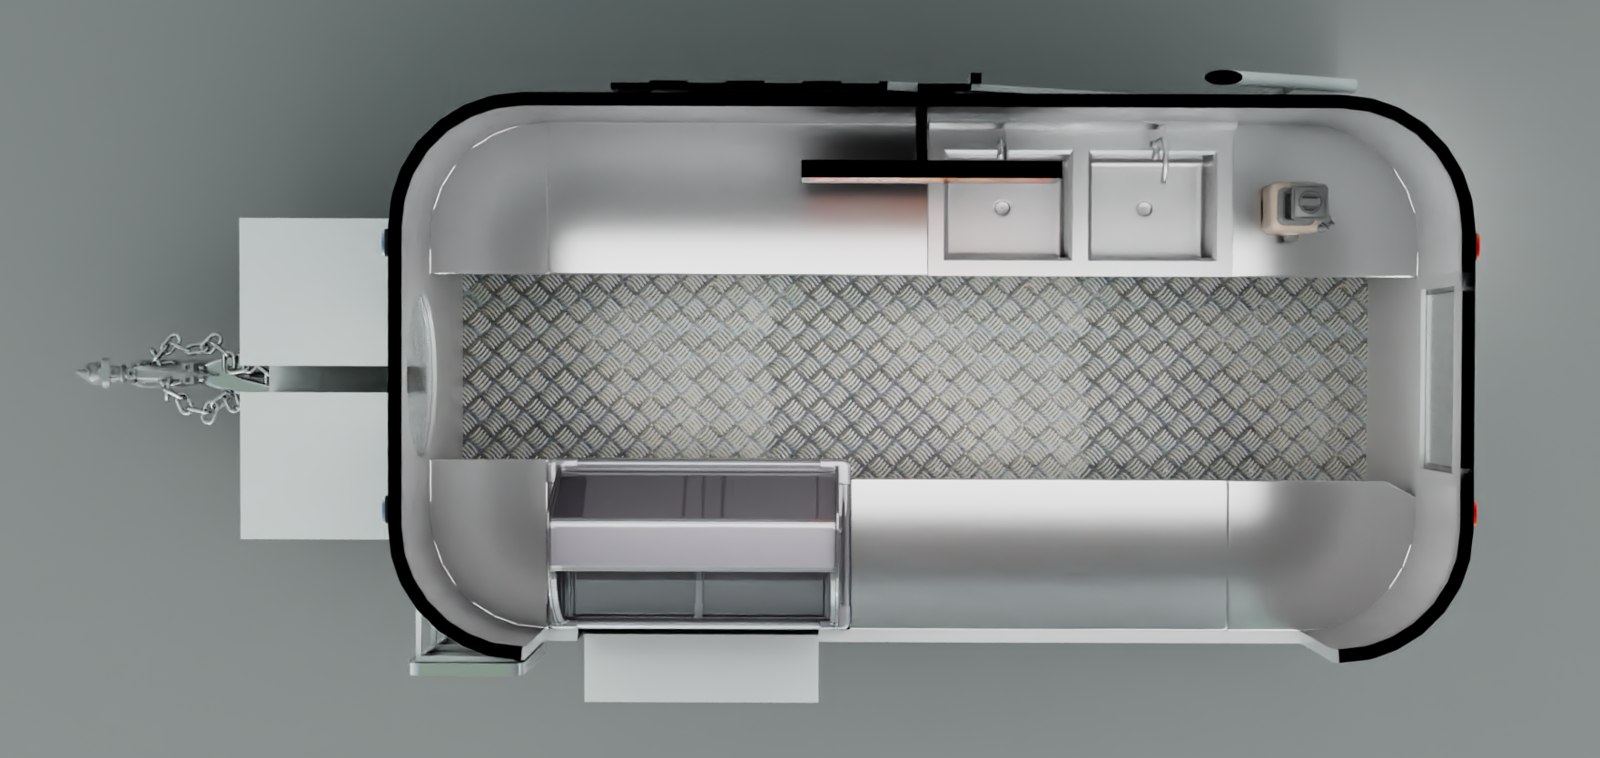
For the custom food trailer layout, I kept coming back to one question: can someone actually work comfortably in here? Two screens had to sit side by side, the display had to face customers, and the sinks, refrigeration and worktops all needed their own space. We settled the equipment positions and serving direction before finalising the openings and mounting points.
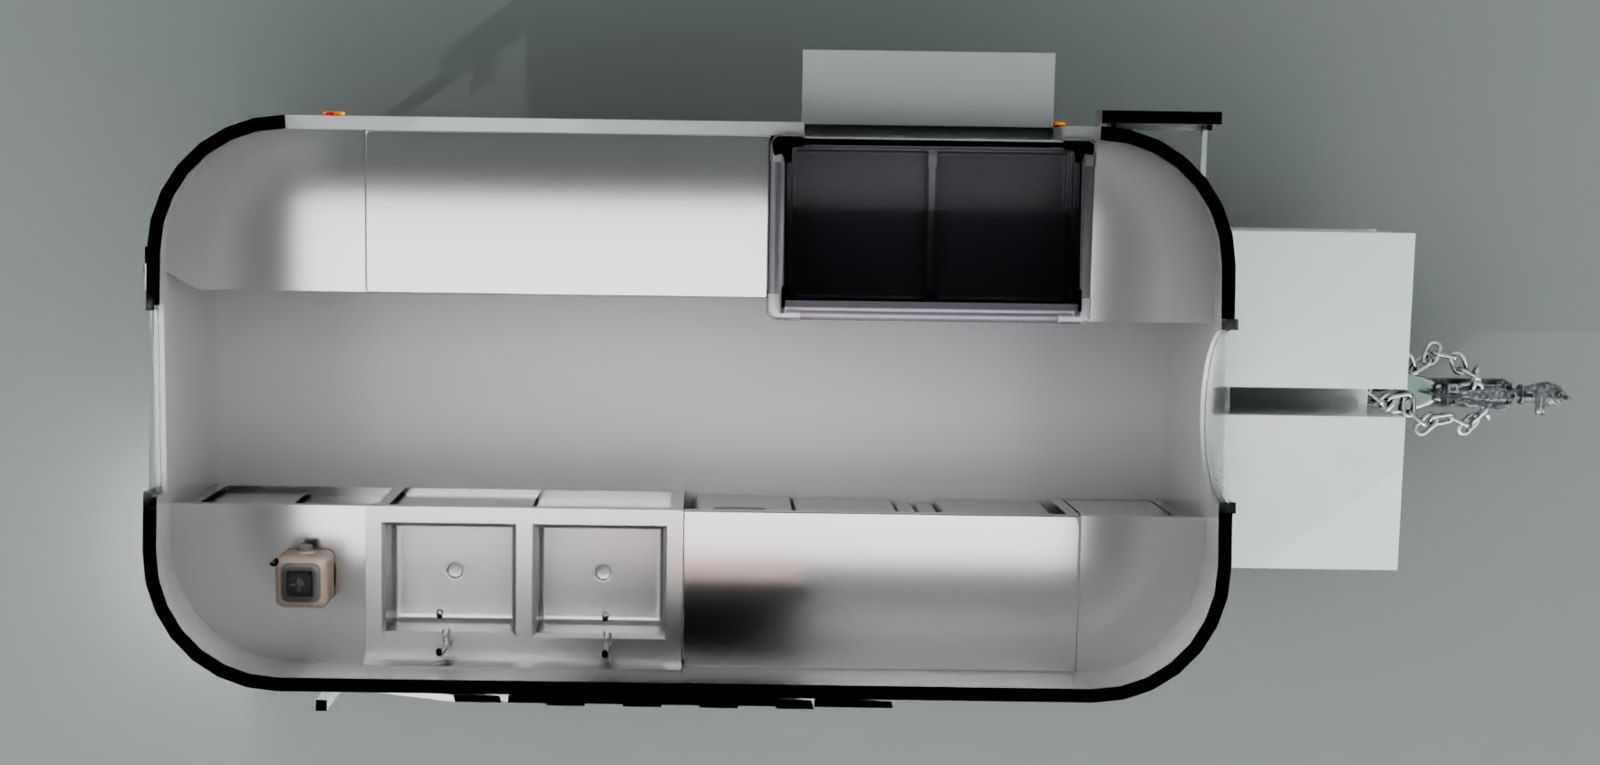
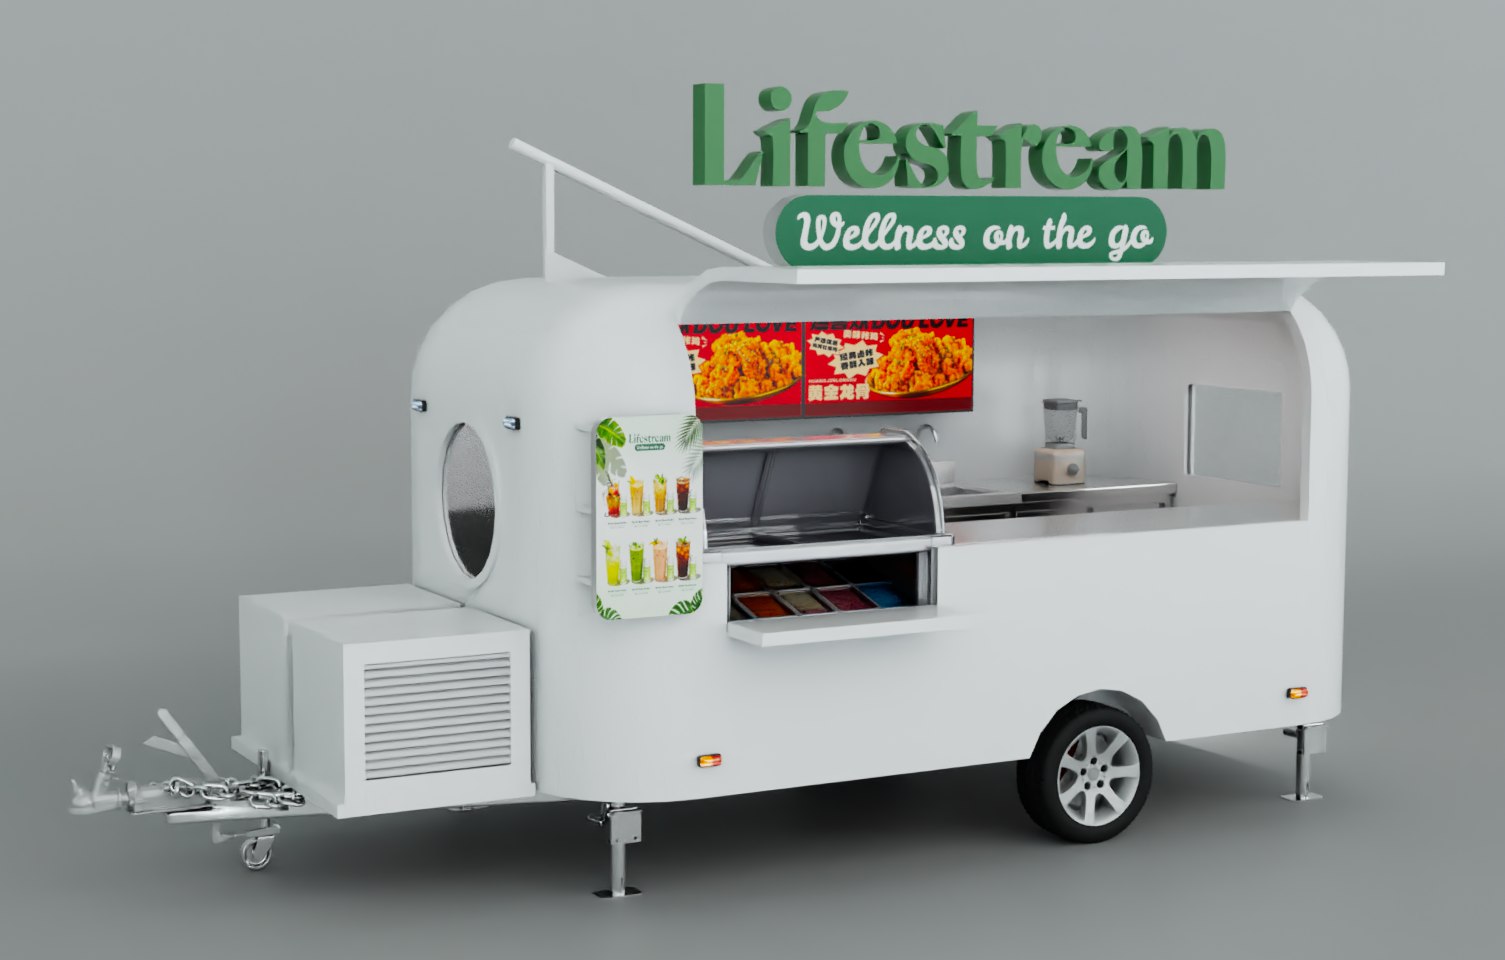
We marked out equipment footprints with cardboard and tape inside the trailer. That made one problem obvious: a cabinet would fit, but reaching past it meant knocking an elbow against the next unit. We shifted that section of the worktop layout and gave the person using it more room. A few centimetres on a plan can make a big difference when you're standing in the middle of it.
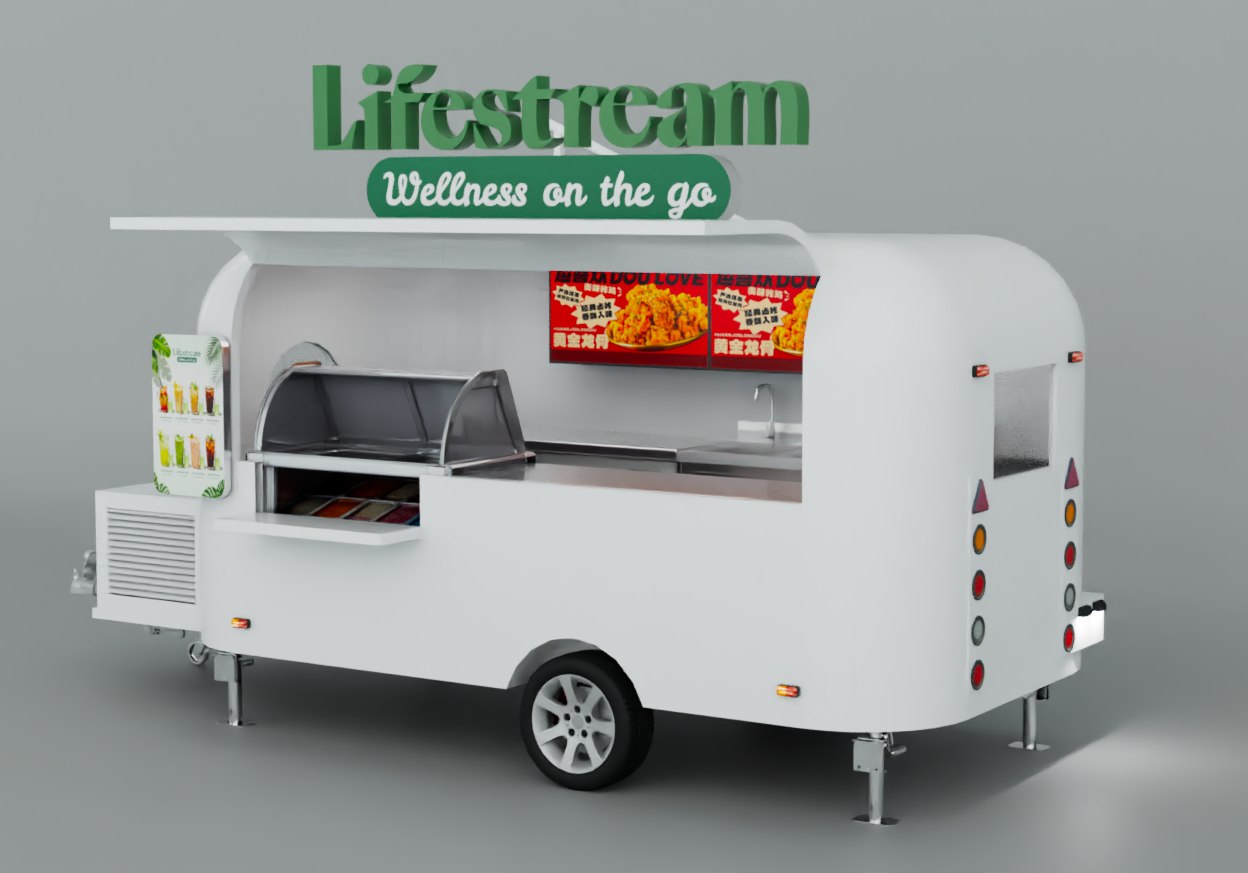
The curved body looked great. Fitting straight equipment into it was another story
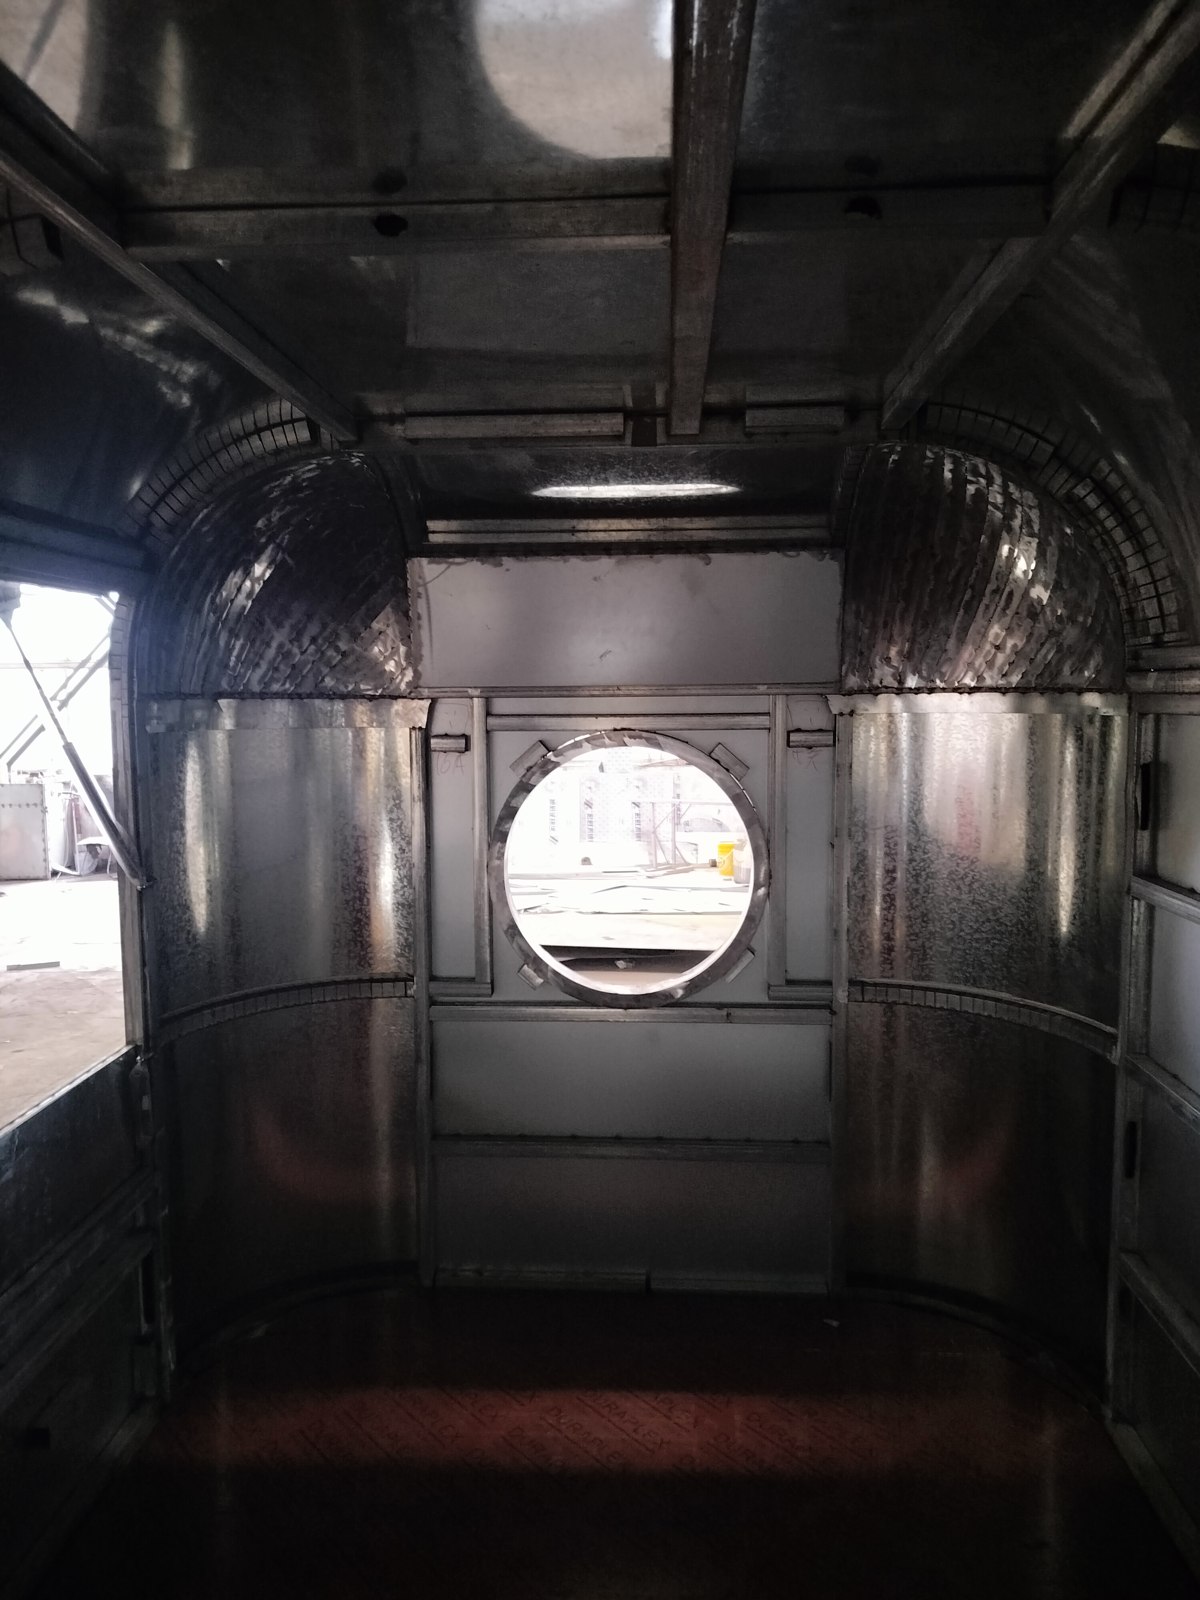
When the shell first took shape, it was still bare metal. The rounded front, circular window and large side opening already gave it plenty of character. I liked it straight away. But once we started fitting the equipment, those lovely curves began giving us homework.
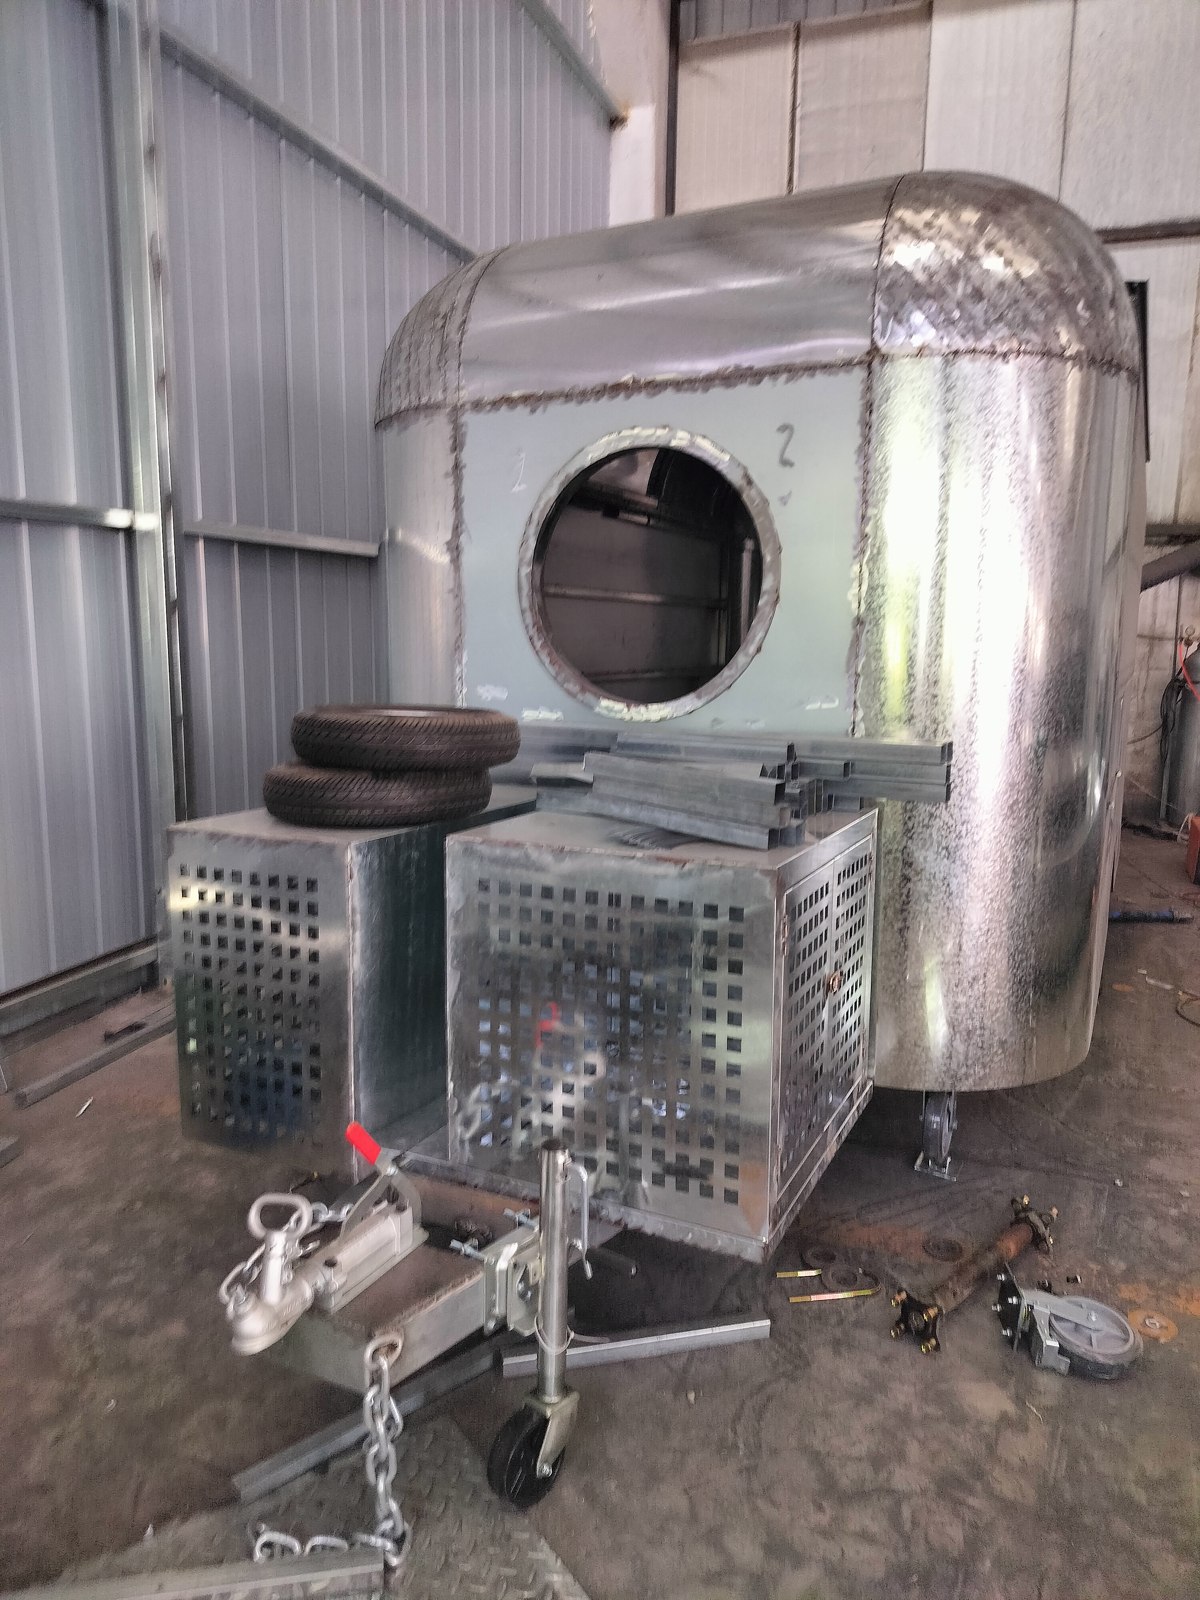
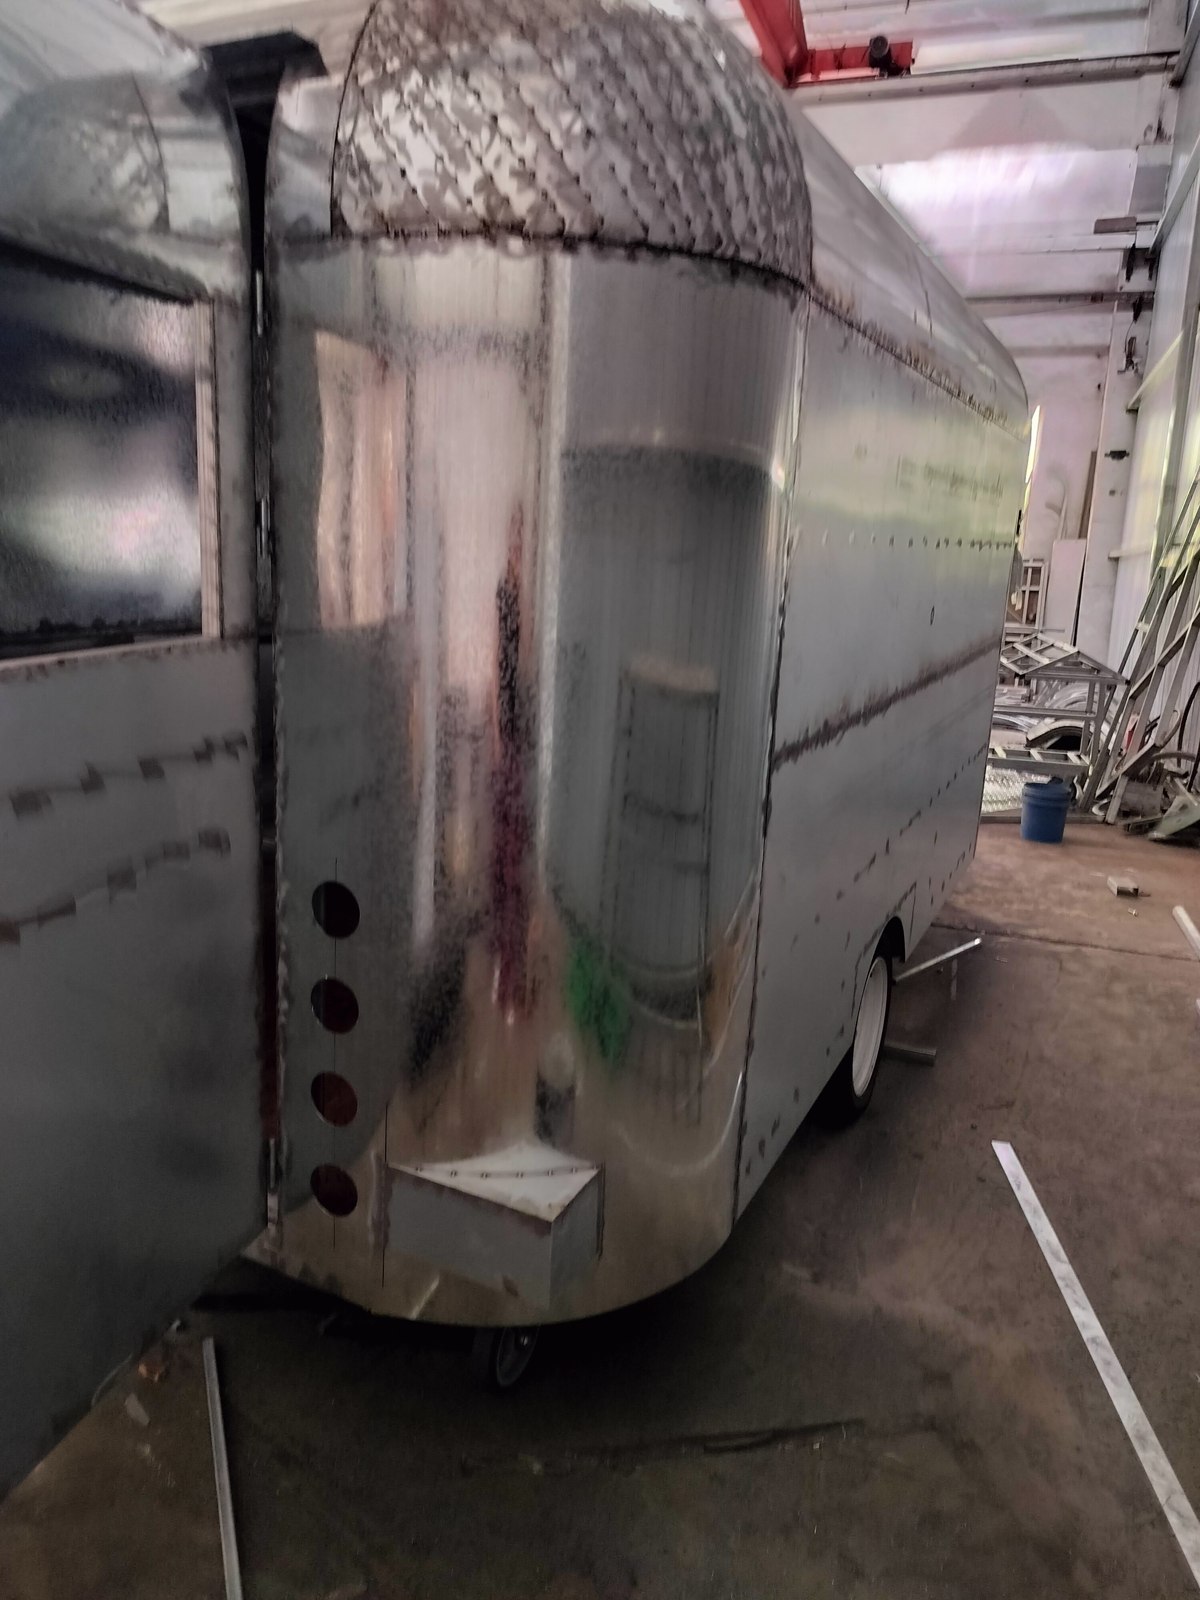
Screens are flat. Cabinets are square. This body curves. The awning also had to sit above the serving hatch without getting in the way when it opened. That is where food trailer design and manufacture gets very hands-on: working through each connection so the parts fit properly and the finished exterior still looks tidy.
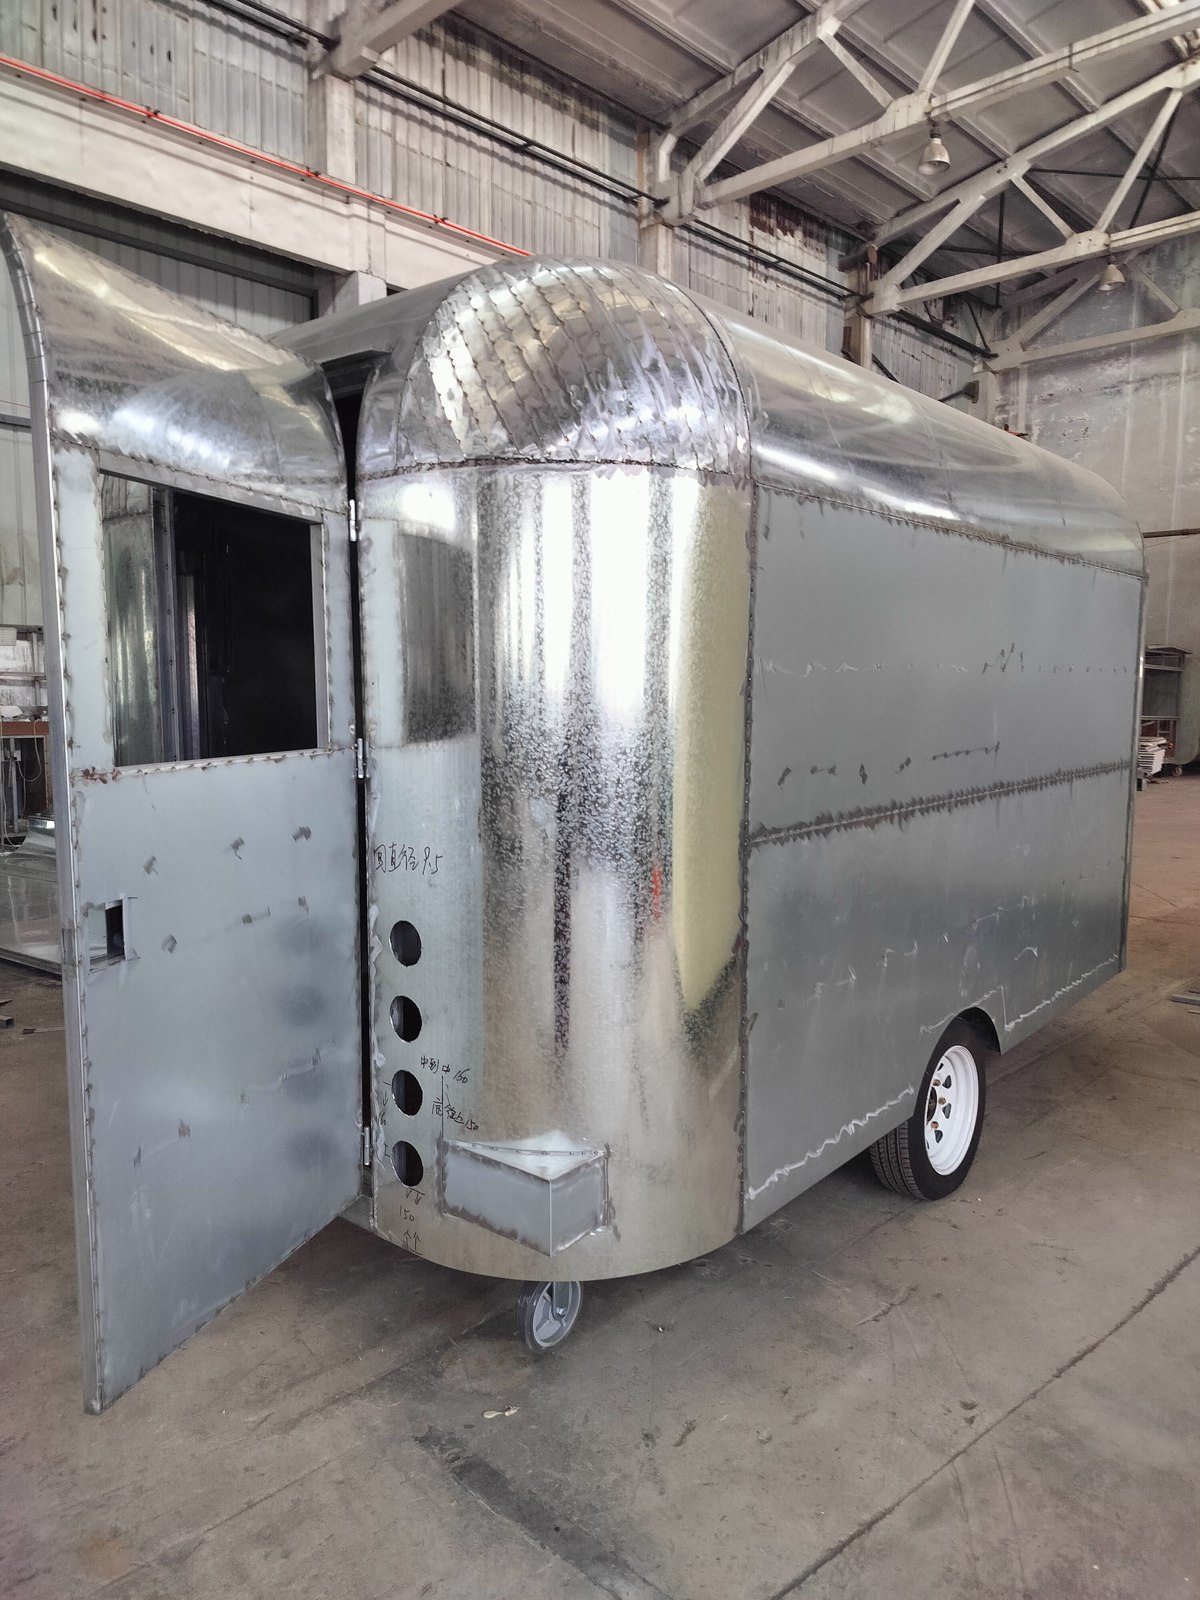
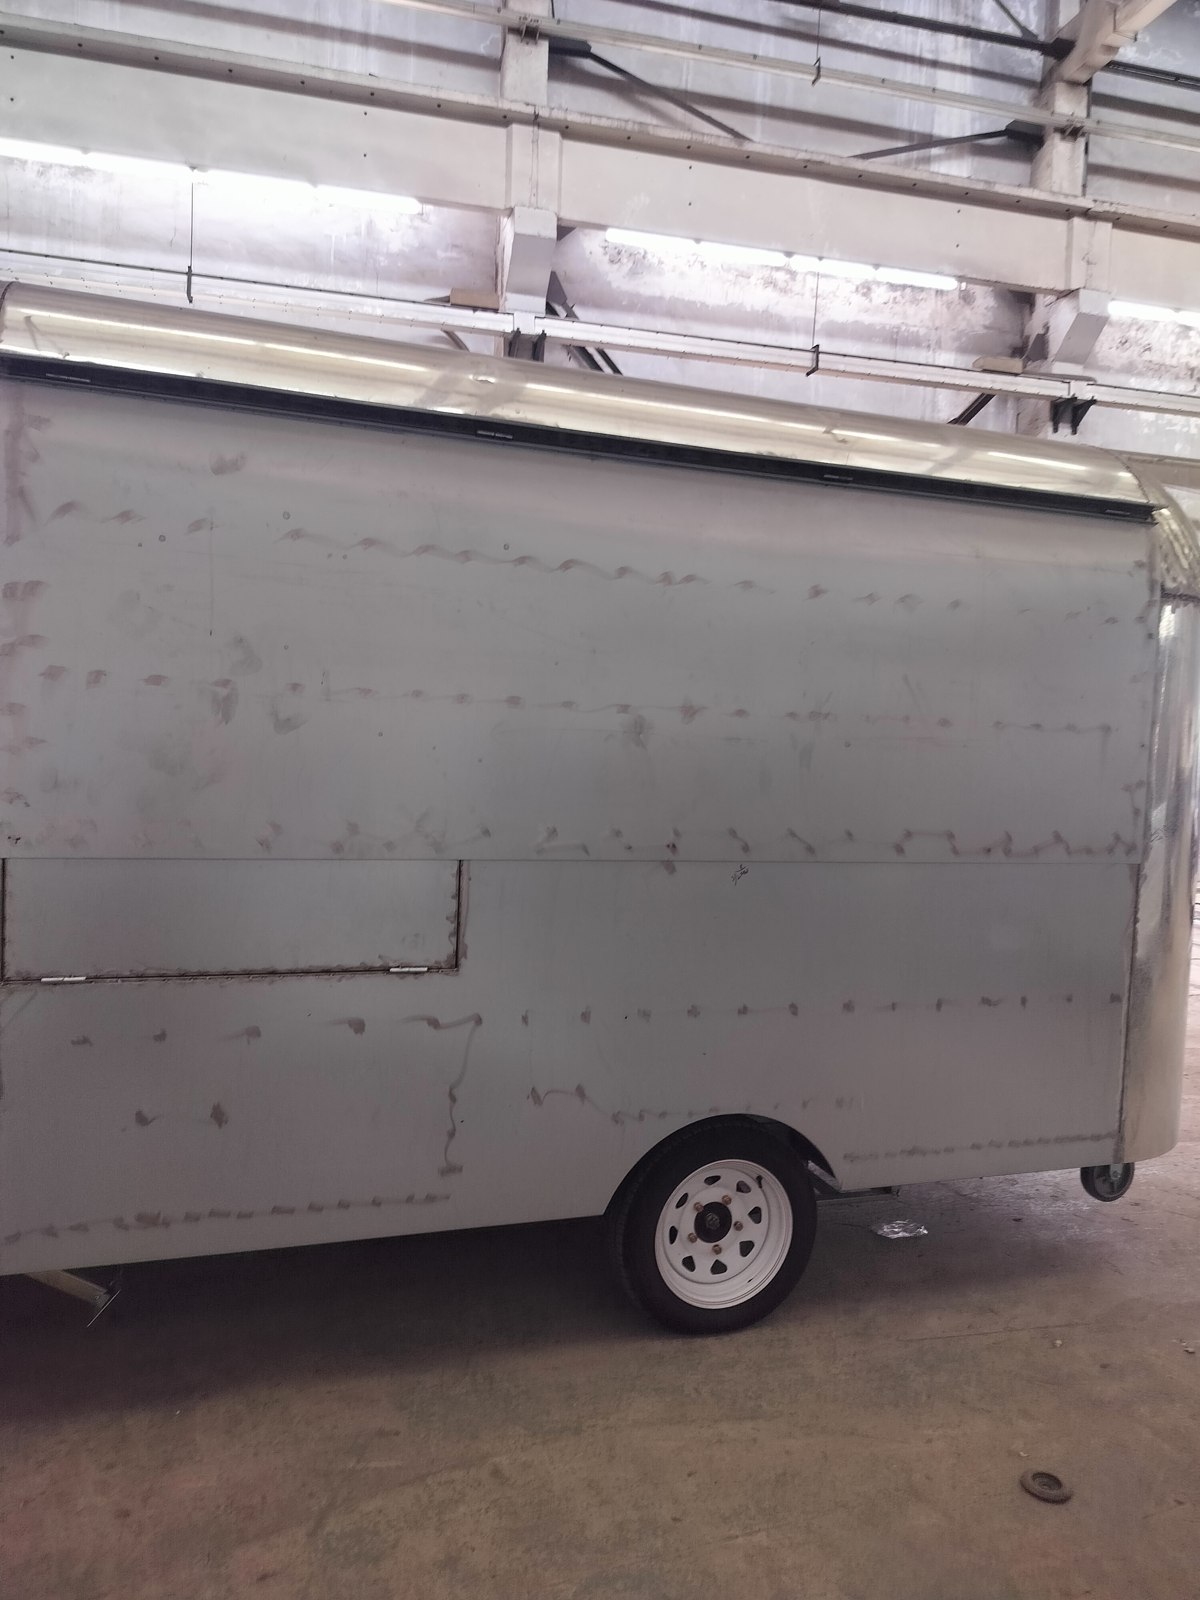
When we fitted the awning brackets, we found they did not sit flat against the curved surface. We added transition supports to create a level mounting surface, then opened the serving hatch to check the clearance. It was a small detail, but one of those jobs that takes far more patience than it looks like it should.
Planning the electrical layout around the New Zealand destination
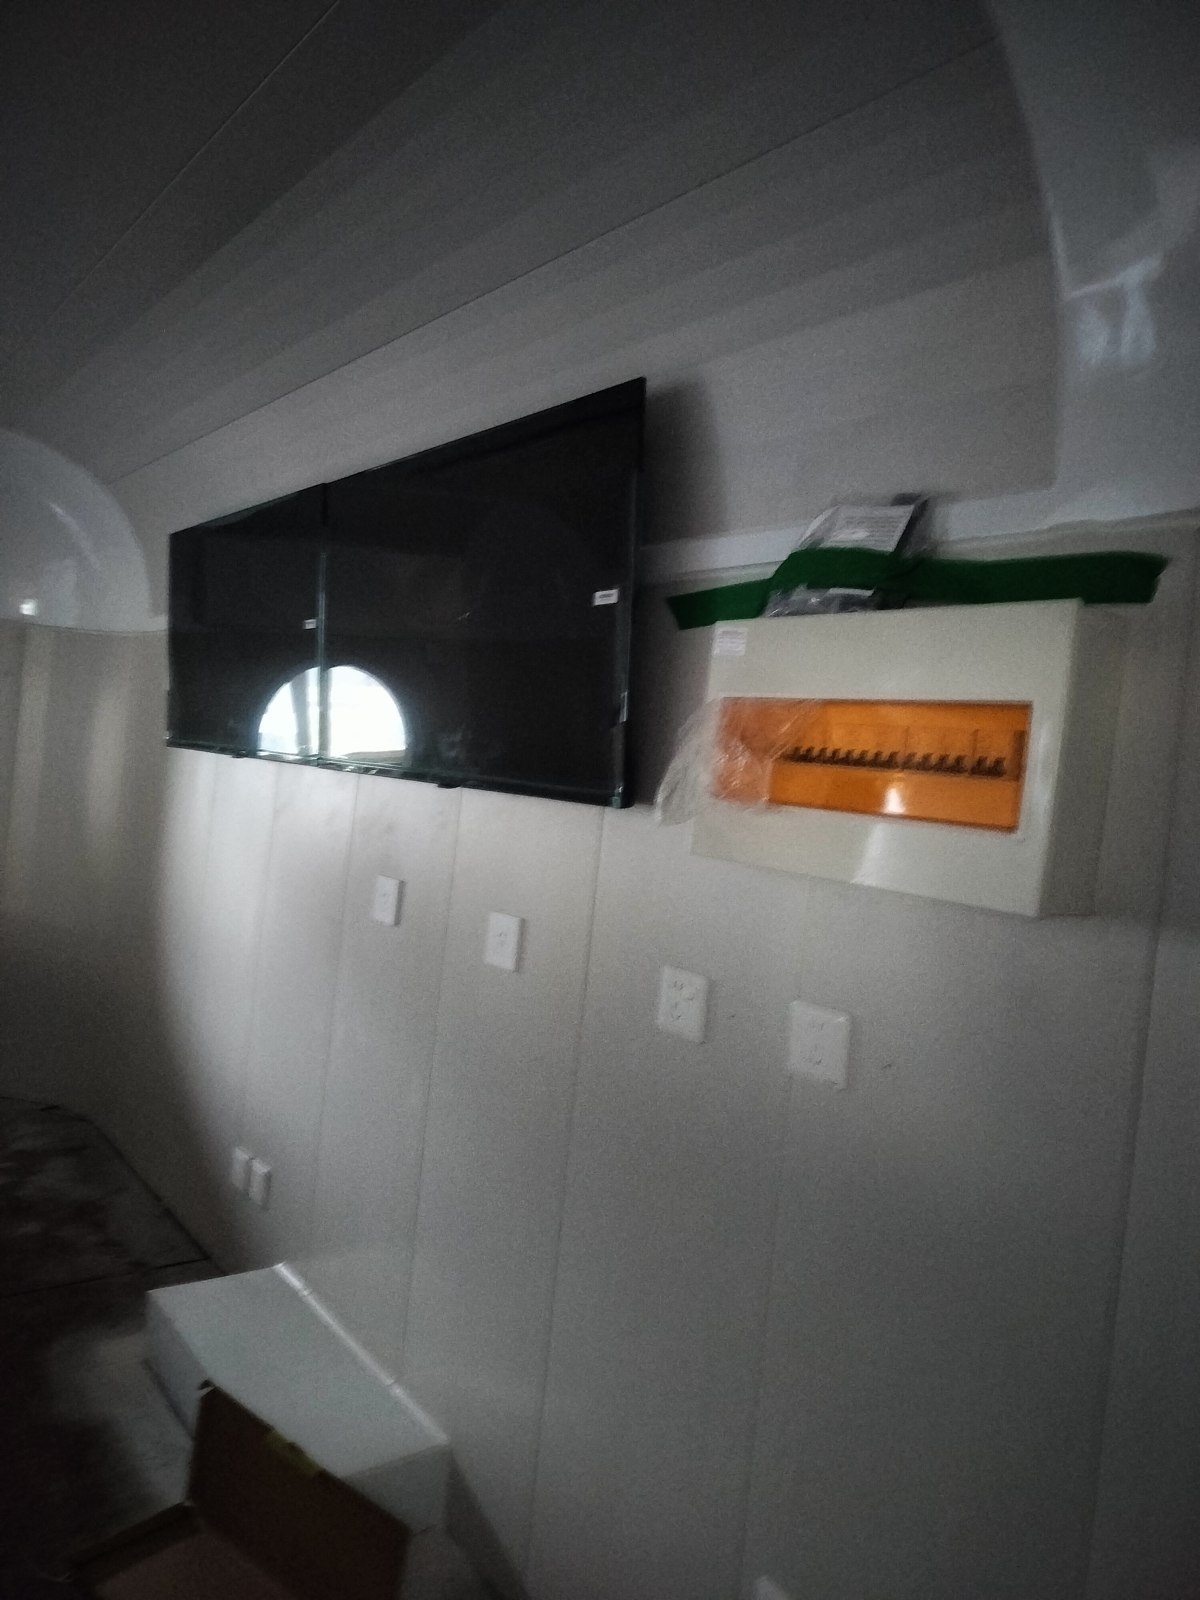
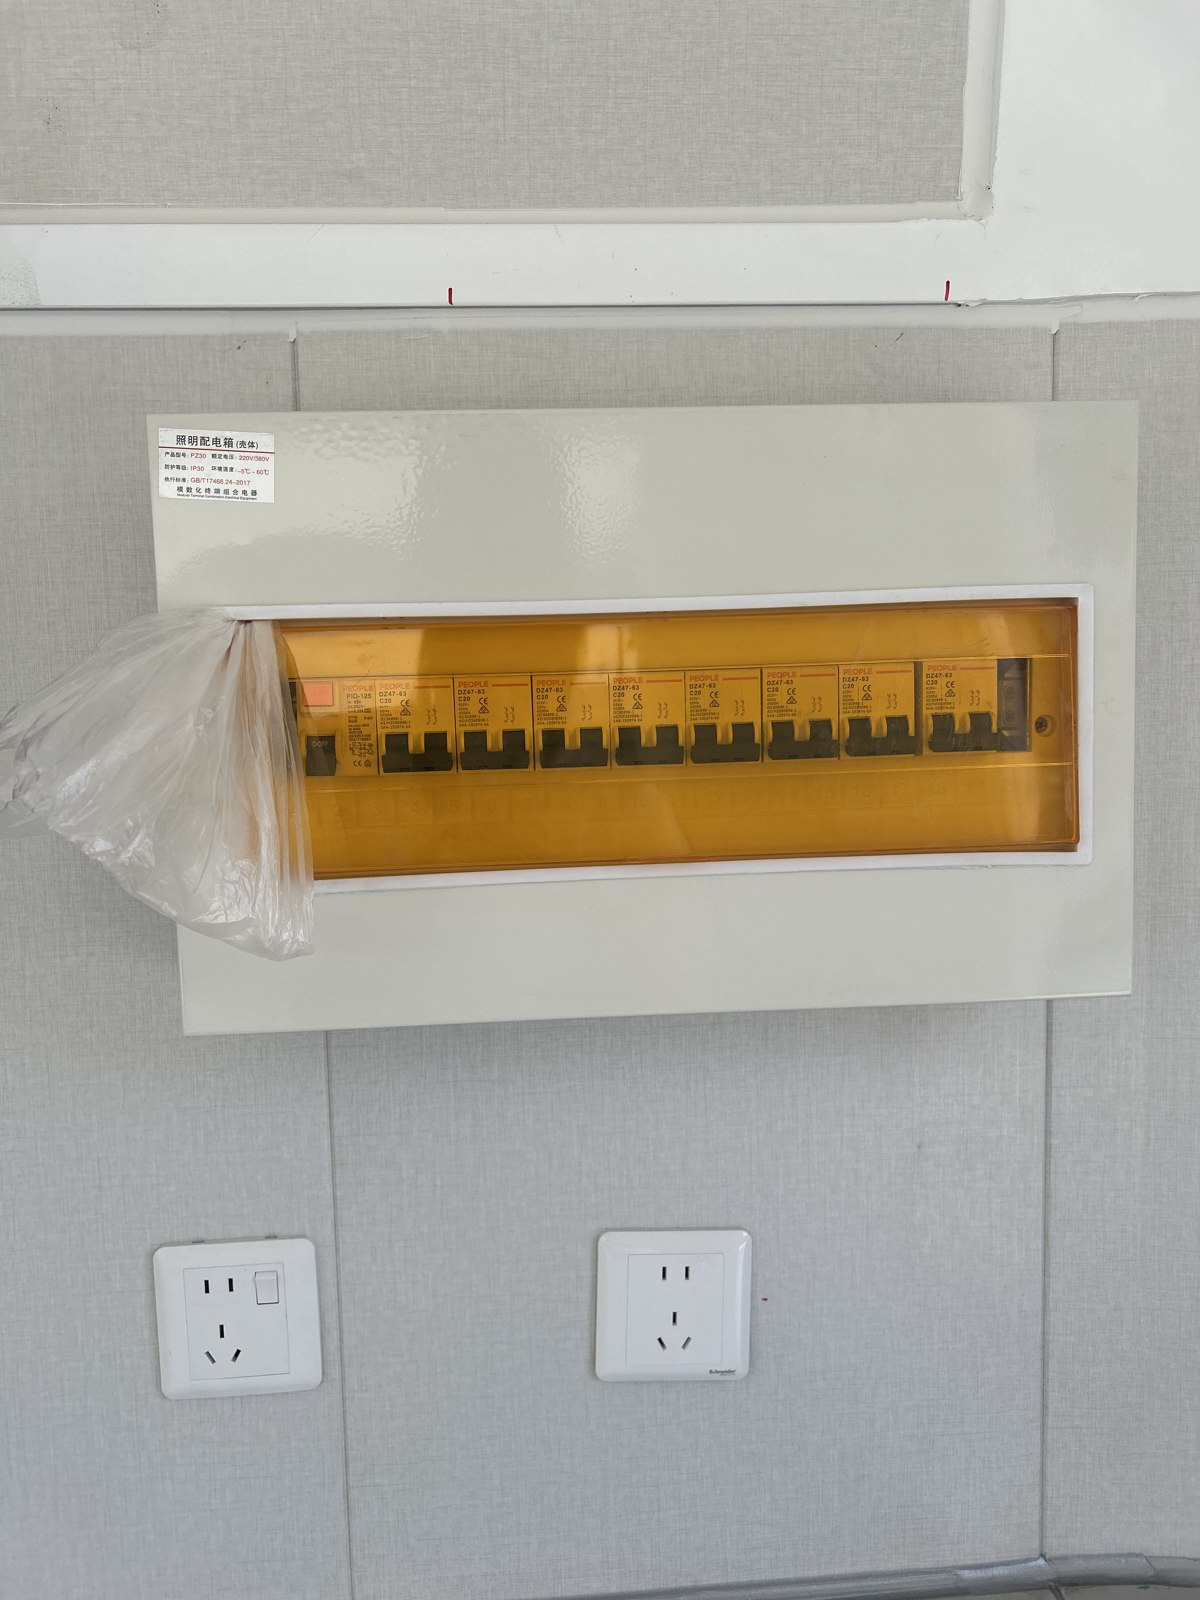
Because these trailers were going to New Zealand, the customer's destination requirements were part of our planning from the start. The electrical brief called for 230V, 50Hz, with sockets, wiring, distribution equipment and protective components selected around the intended use there. I did not want us finishing the cabinetry and then having to pull it apart to move a socket.
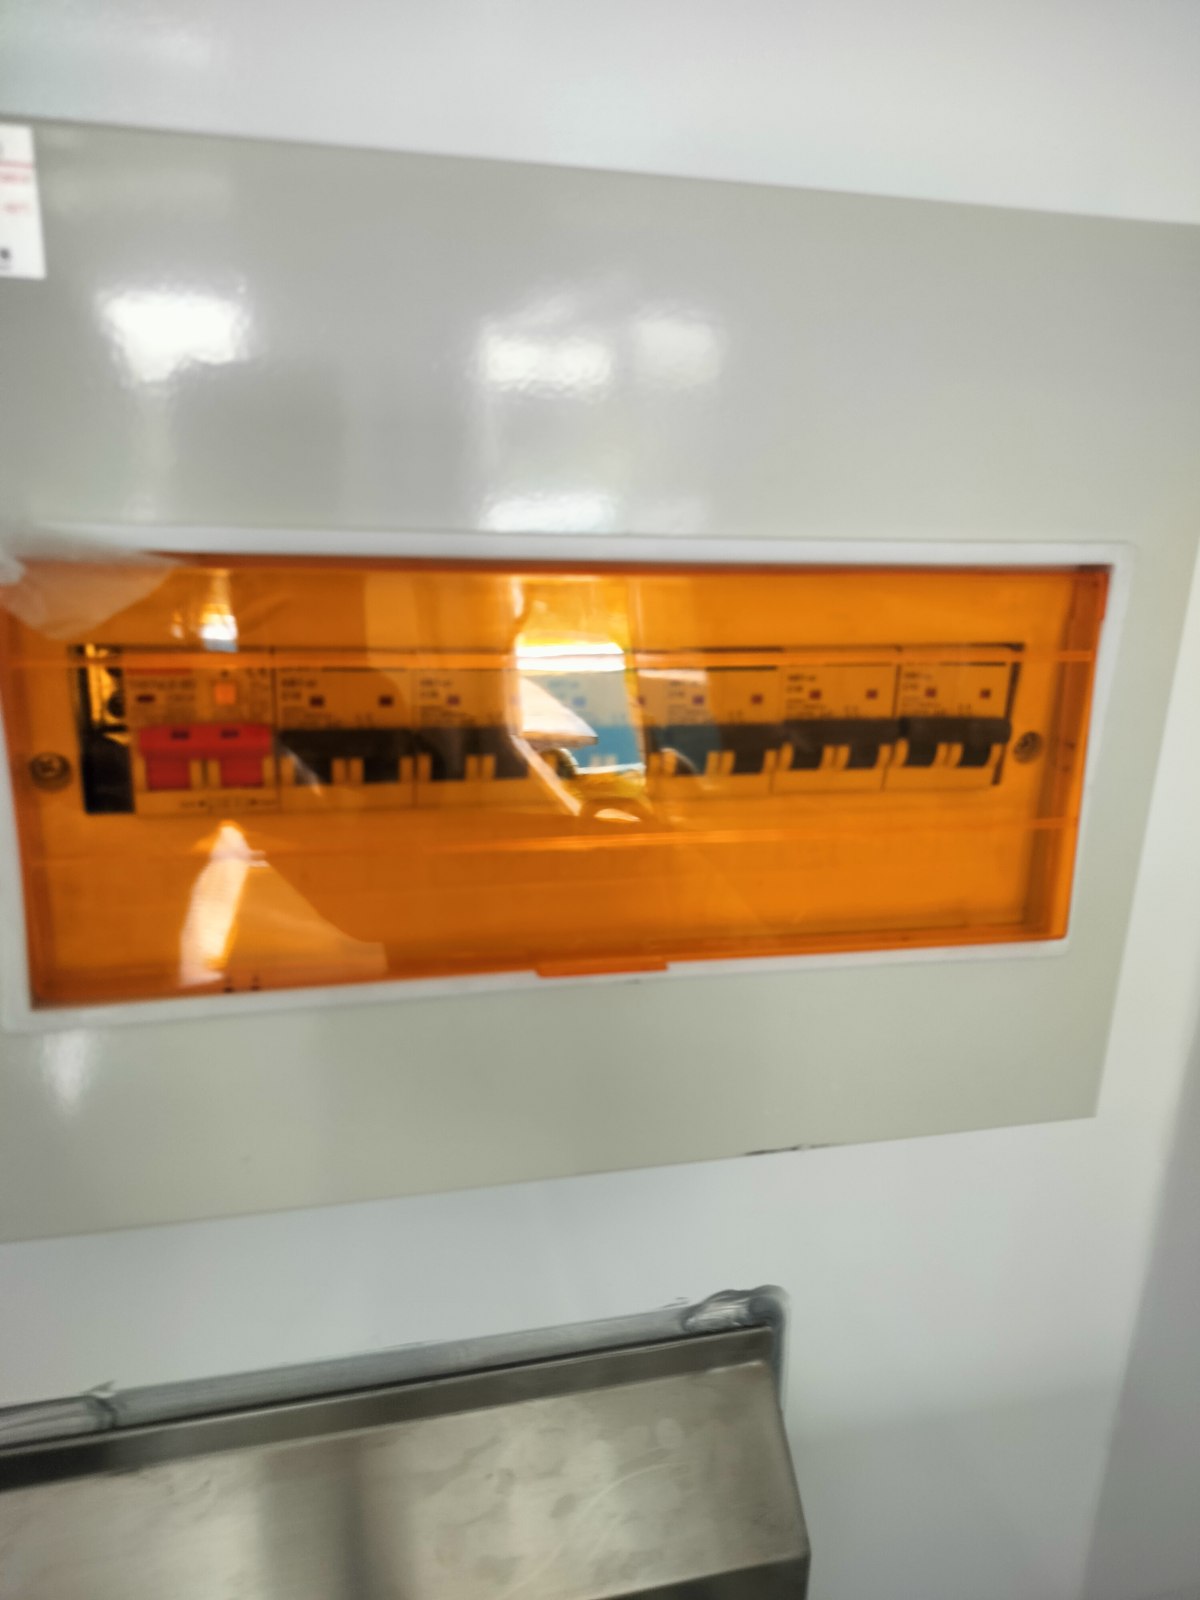
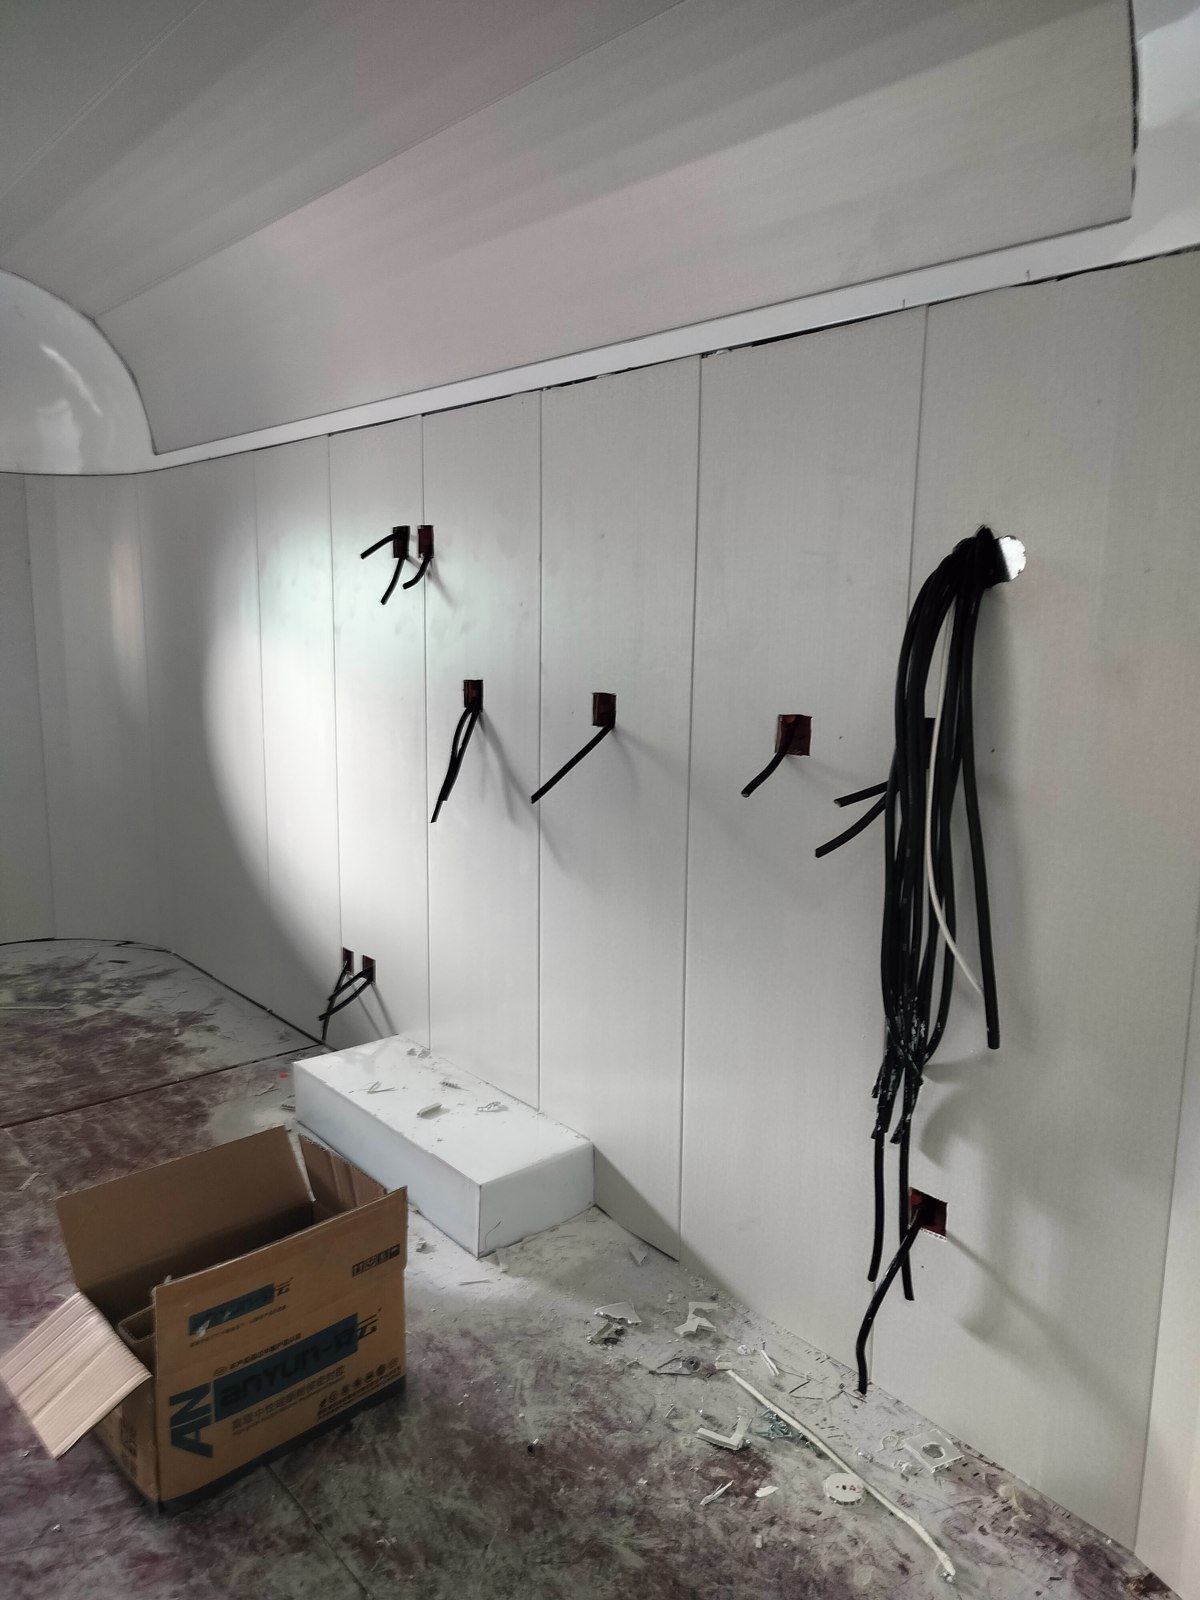
We planned the food trailer electrical layout alongside the equipment: refrigeration here, water pump there, screens and lighting above. In a small trailer, cables, pipes and cabinets all compete for space. Leave one of them until later, and a simple installation can turn into a lot of extra work.
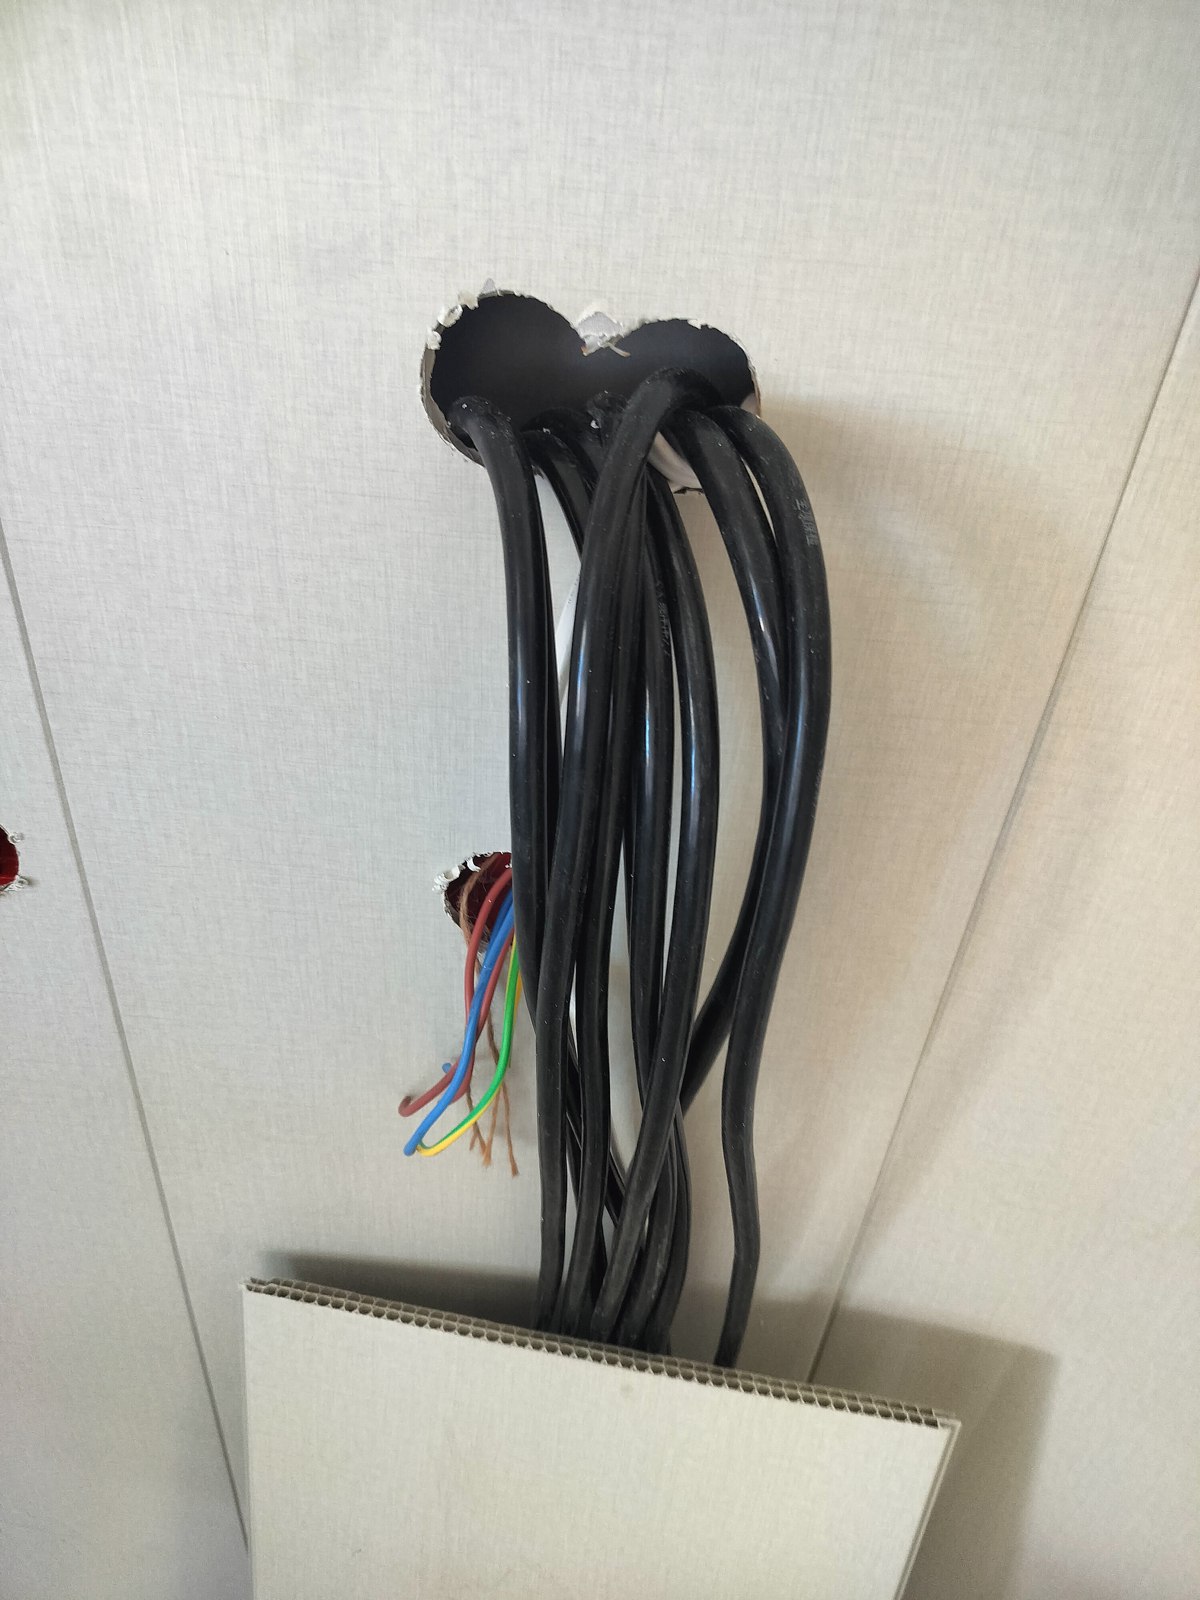
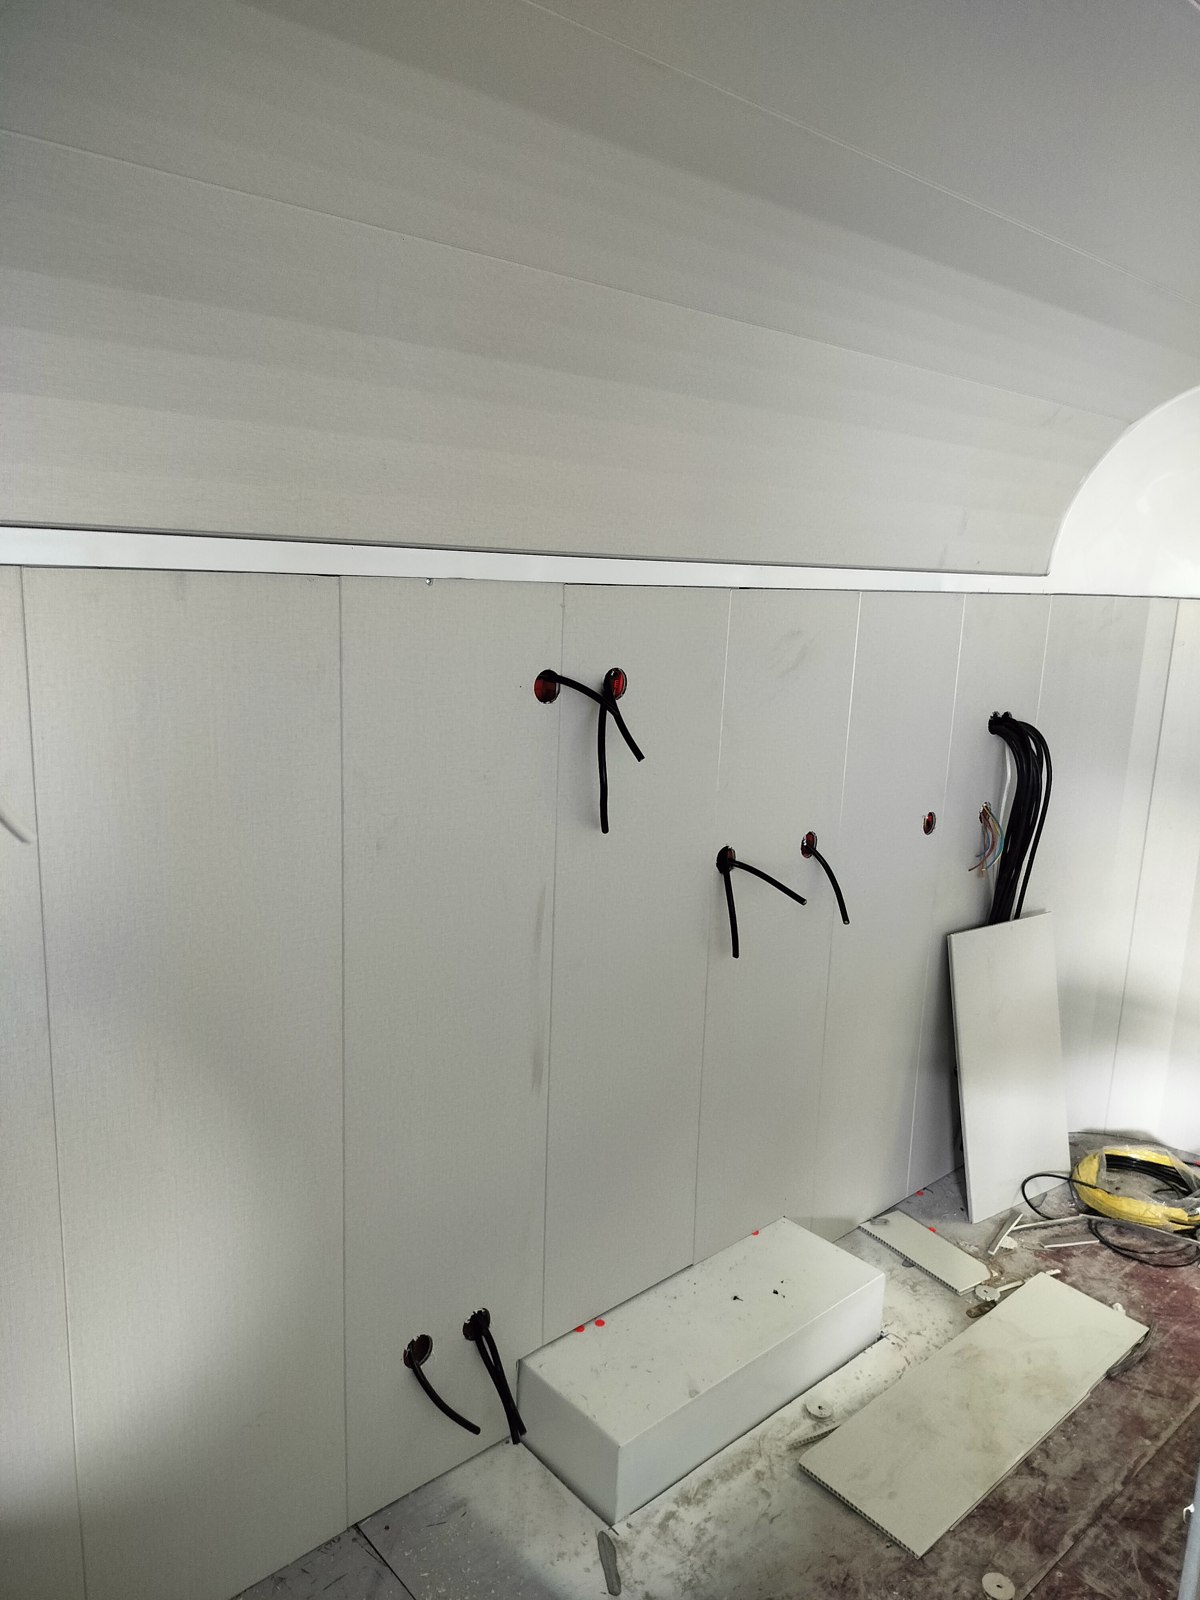
One socket position looked fine while the trailer was empty. Once the equipment was pushed back against the wall, there was not enough comfortable clearance behind the plug. We moved that socket and labelled several equipment cables so the connections would be easier to match up during installation. Much better to sort it out while everything was still within reach.
Two big water tanks—and nowhere obvious to put them
The water tanks were a proper head-scratcher. The original request was for two 200-litre tanks: one for fresh water and one for wastewater. The reasoning was easy to understand. Drinks service and washing up both need water. But once the other equipment was laid out, the remaining space looked a lot less generous.
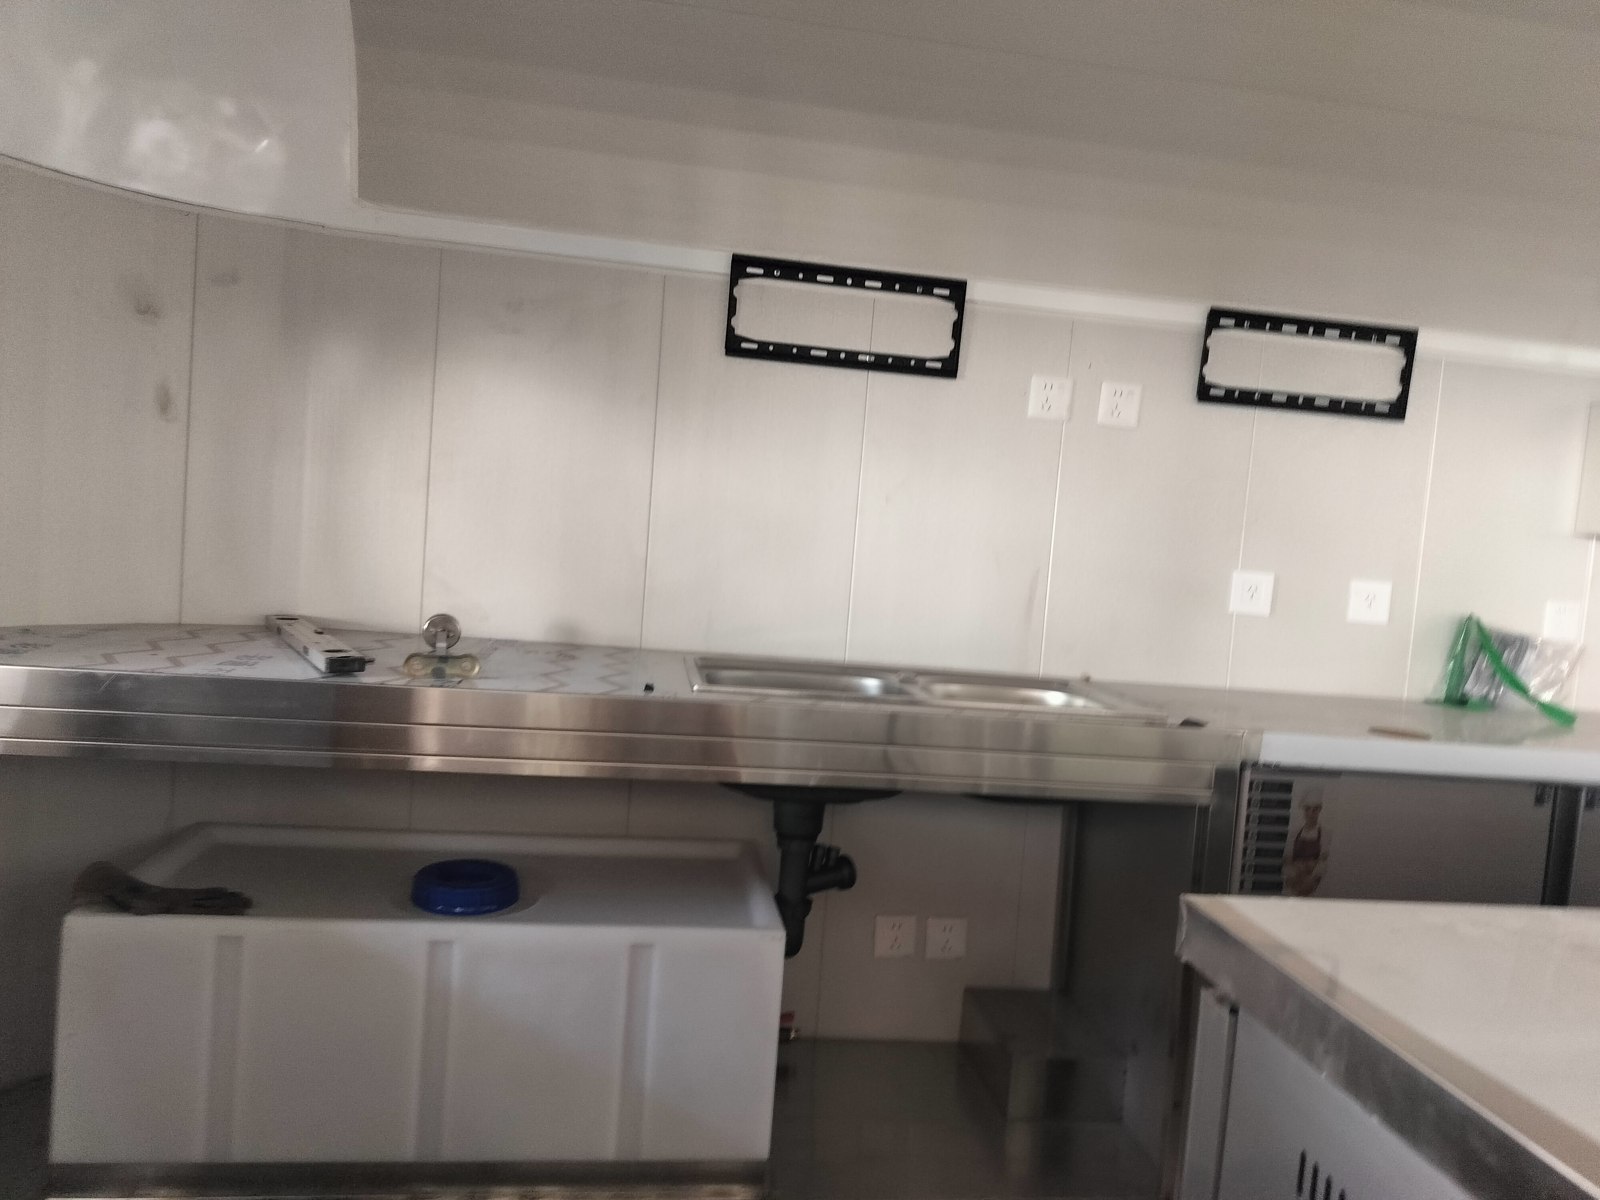
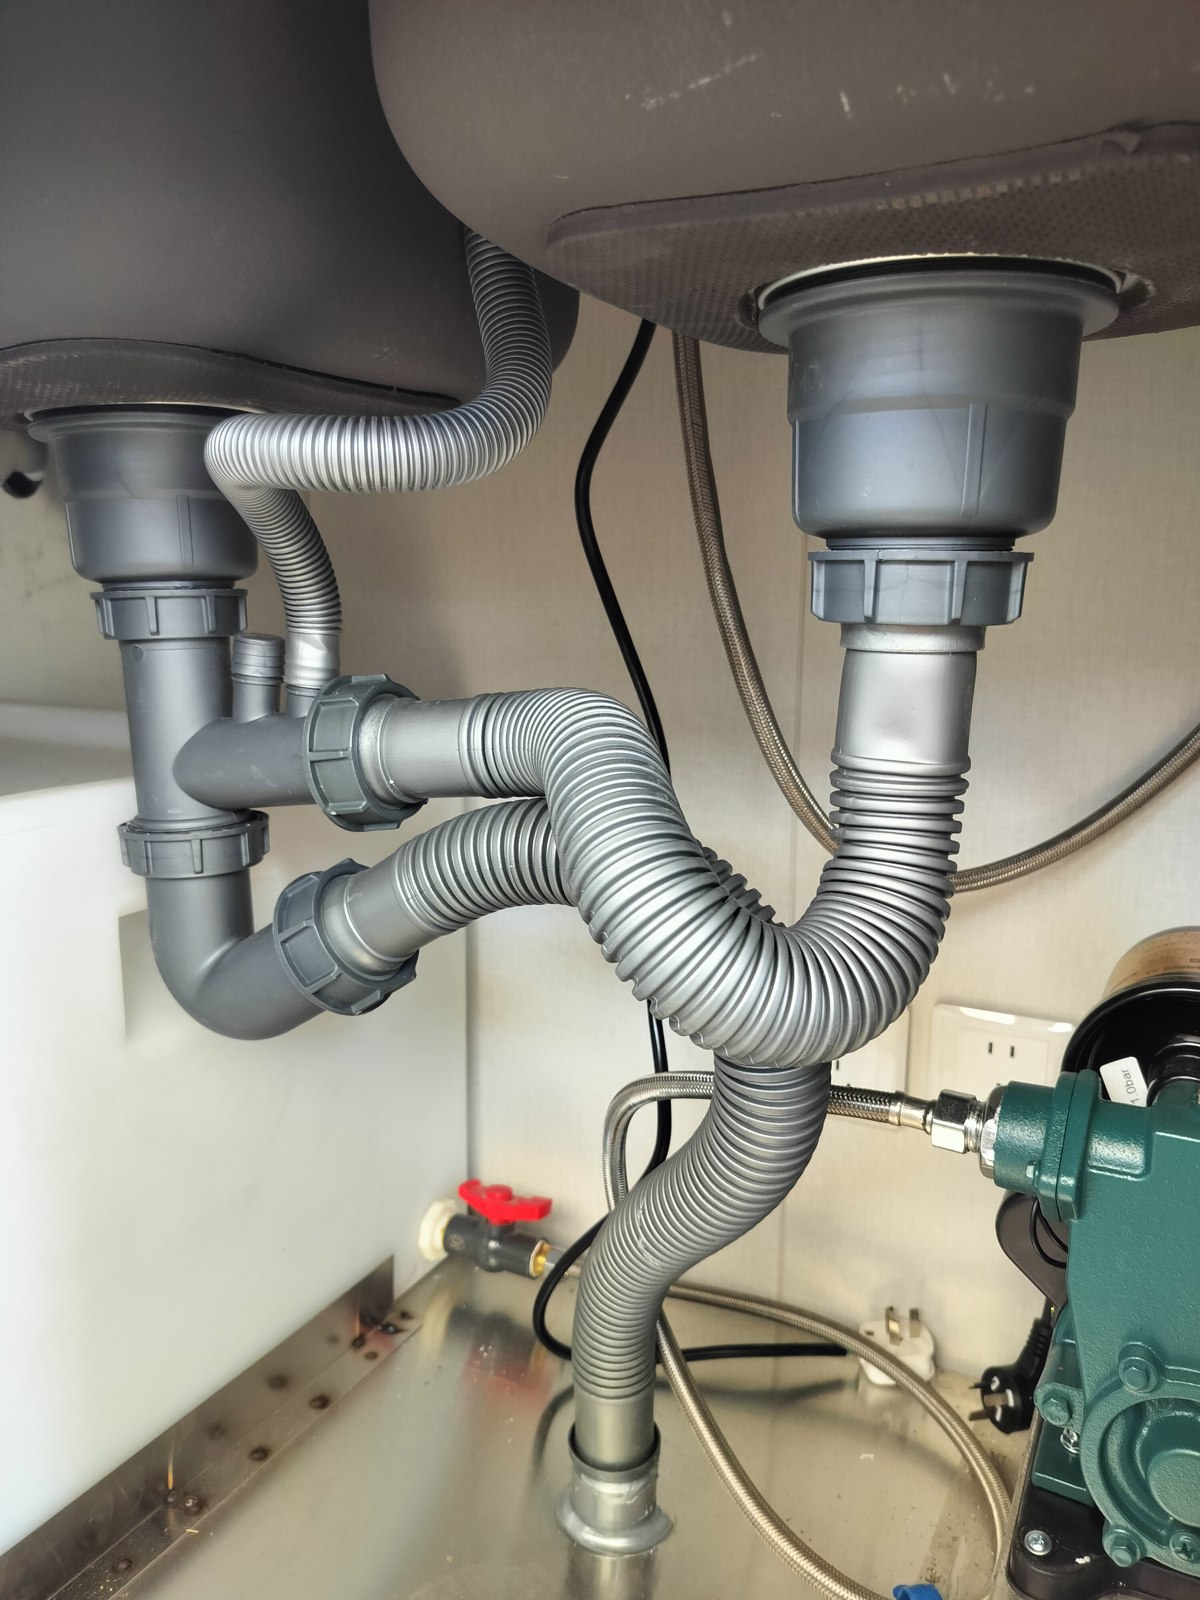
For the food trailer water tank installation, we went back to the tape measure. Could we use space beneath the body? Could we rearrange the area under the sinks? We revised the tank fabrication, sizing and mounting arrangement, and worked through the pump, inlet, outlet and drainage connections together. Move a tank, and almost everything around it wants to move as well.
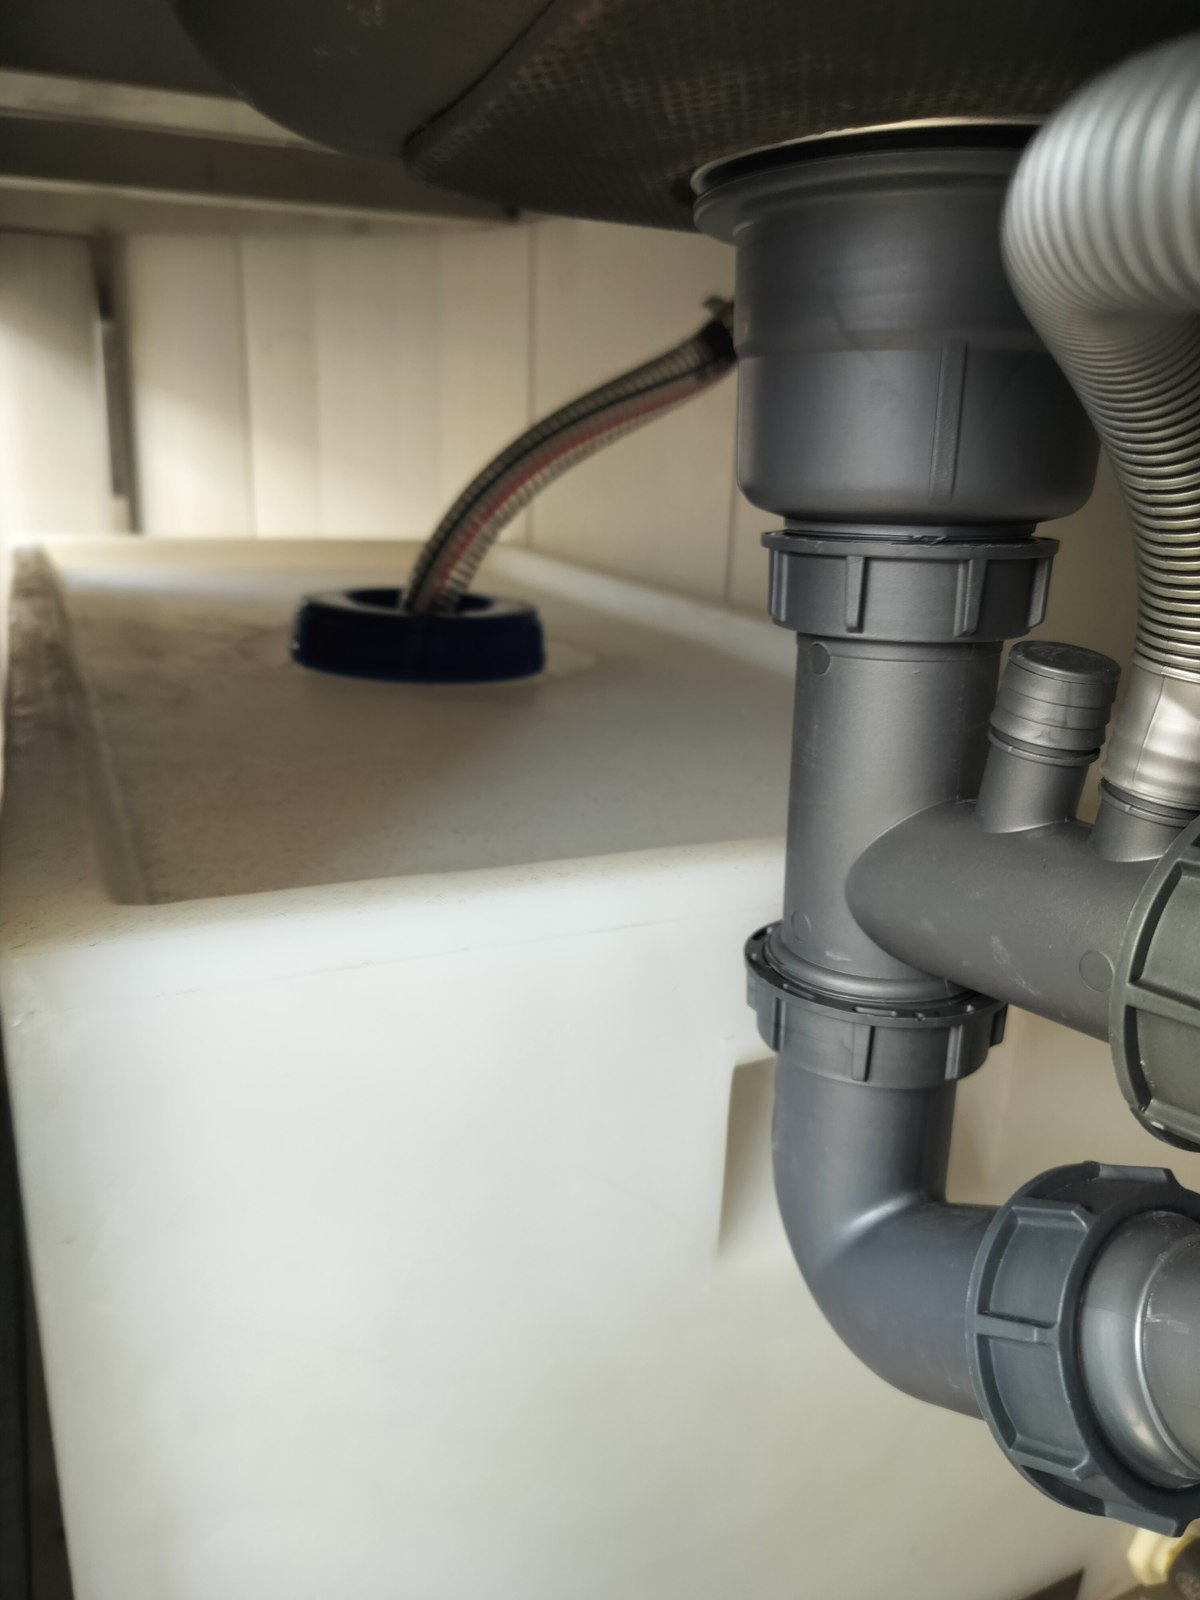
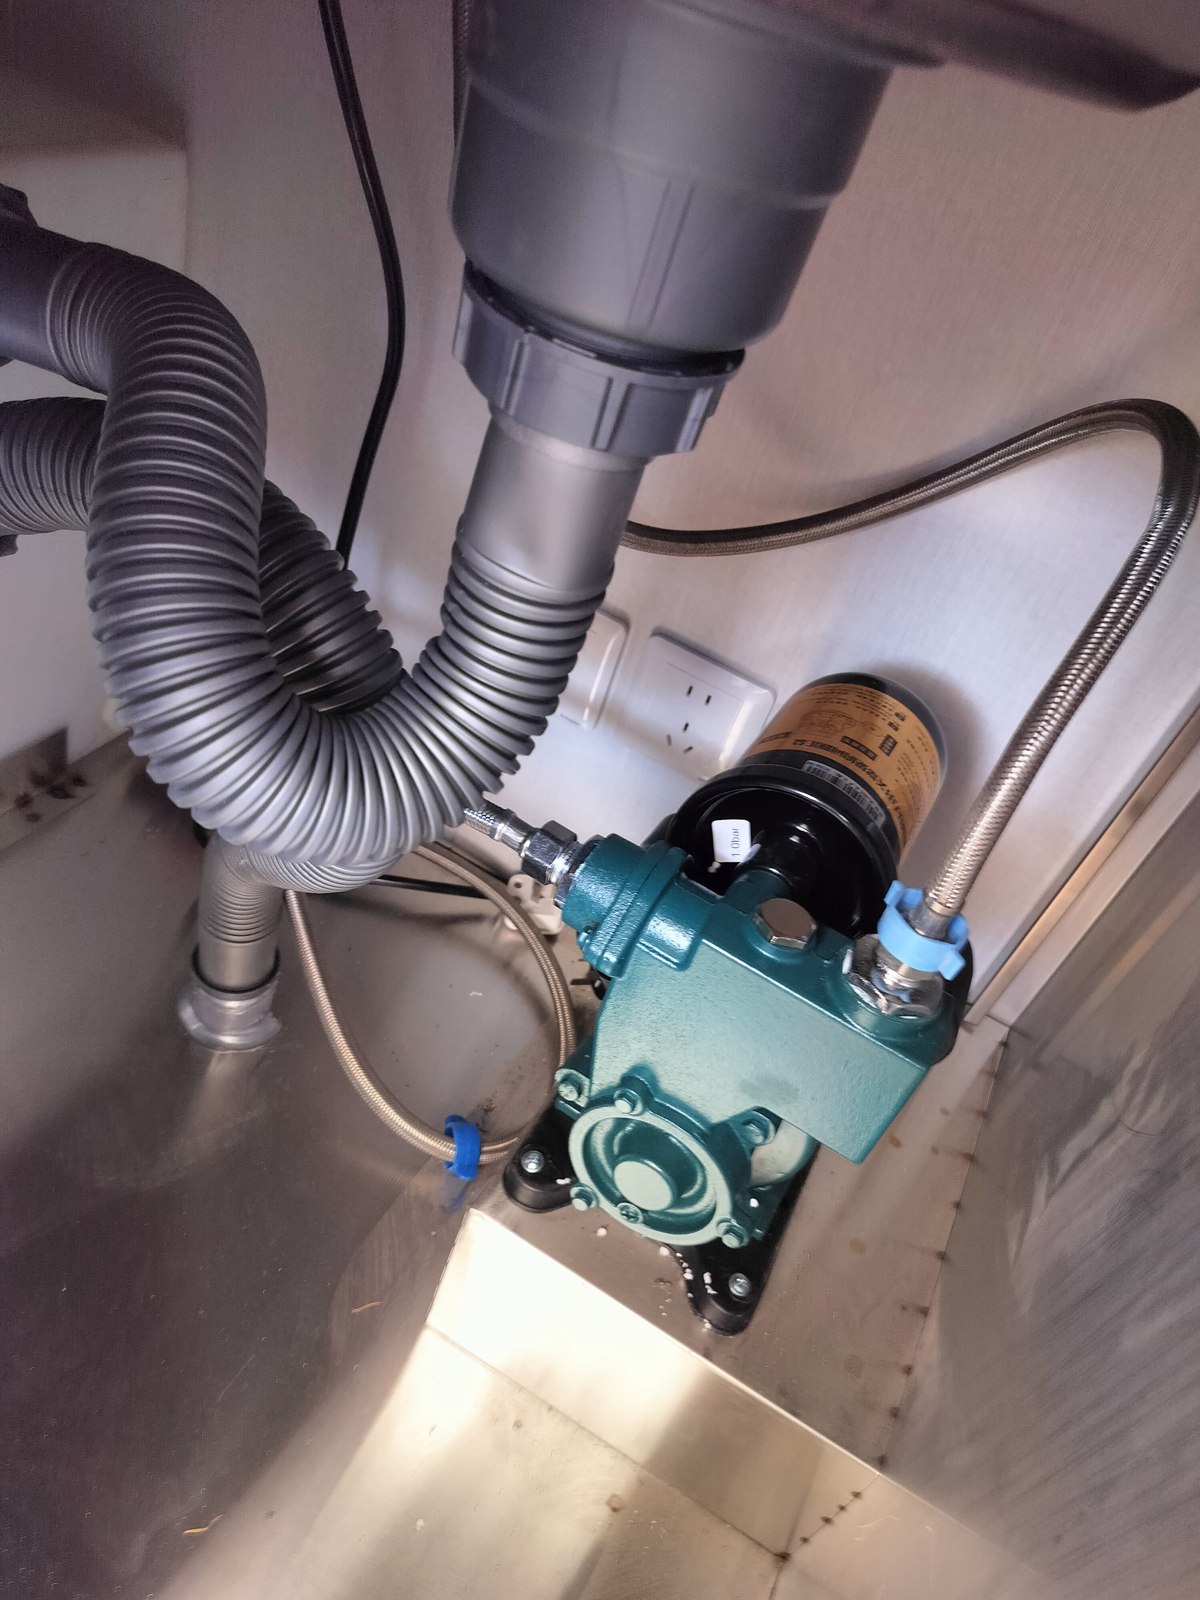
During the trial fit, one pipe could technically be connected, but the tank squeezed the space around it so tightly that undoing the fitting later would have been awkward. We offset the tank and pump positions to leave room for a hand and a tool. I'd rather spend extra time on it in the workshop than leave a customer struggling with one stubborn connection later.
An ice cream display only works if customers can see the ice cream
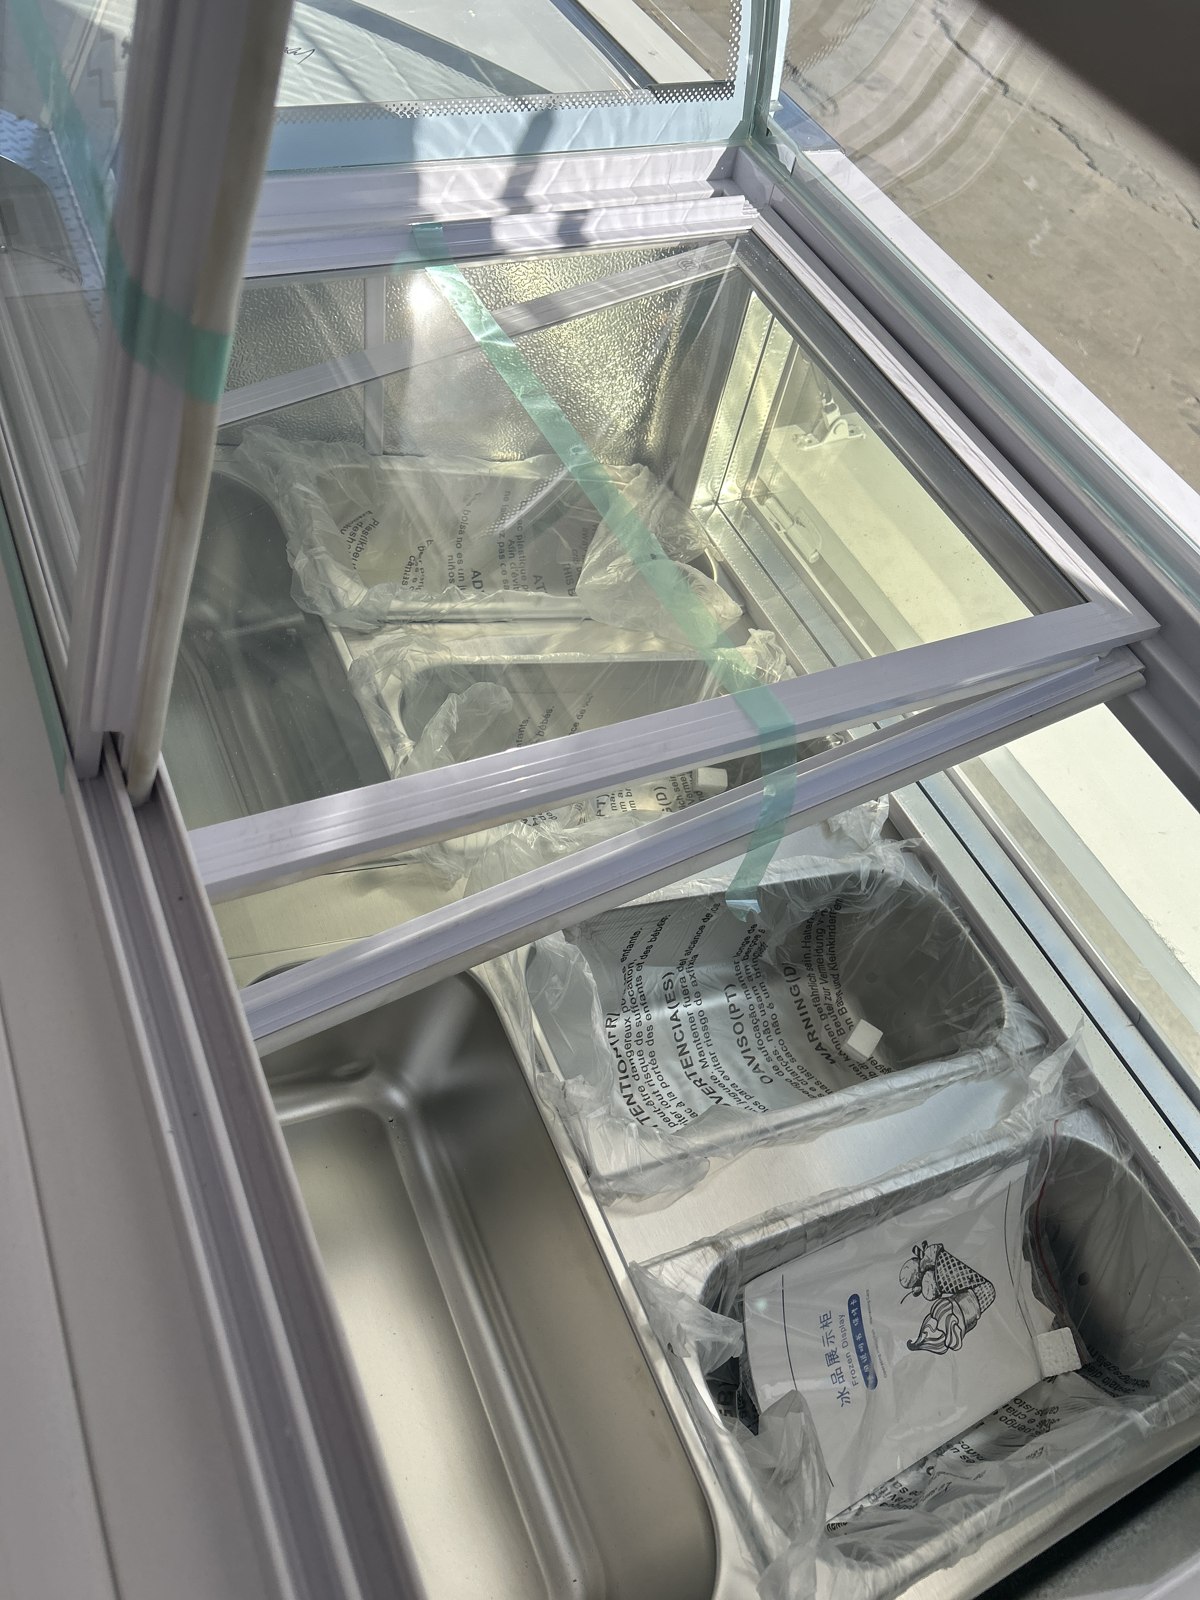
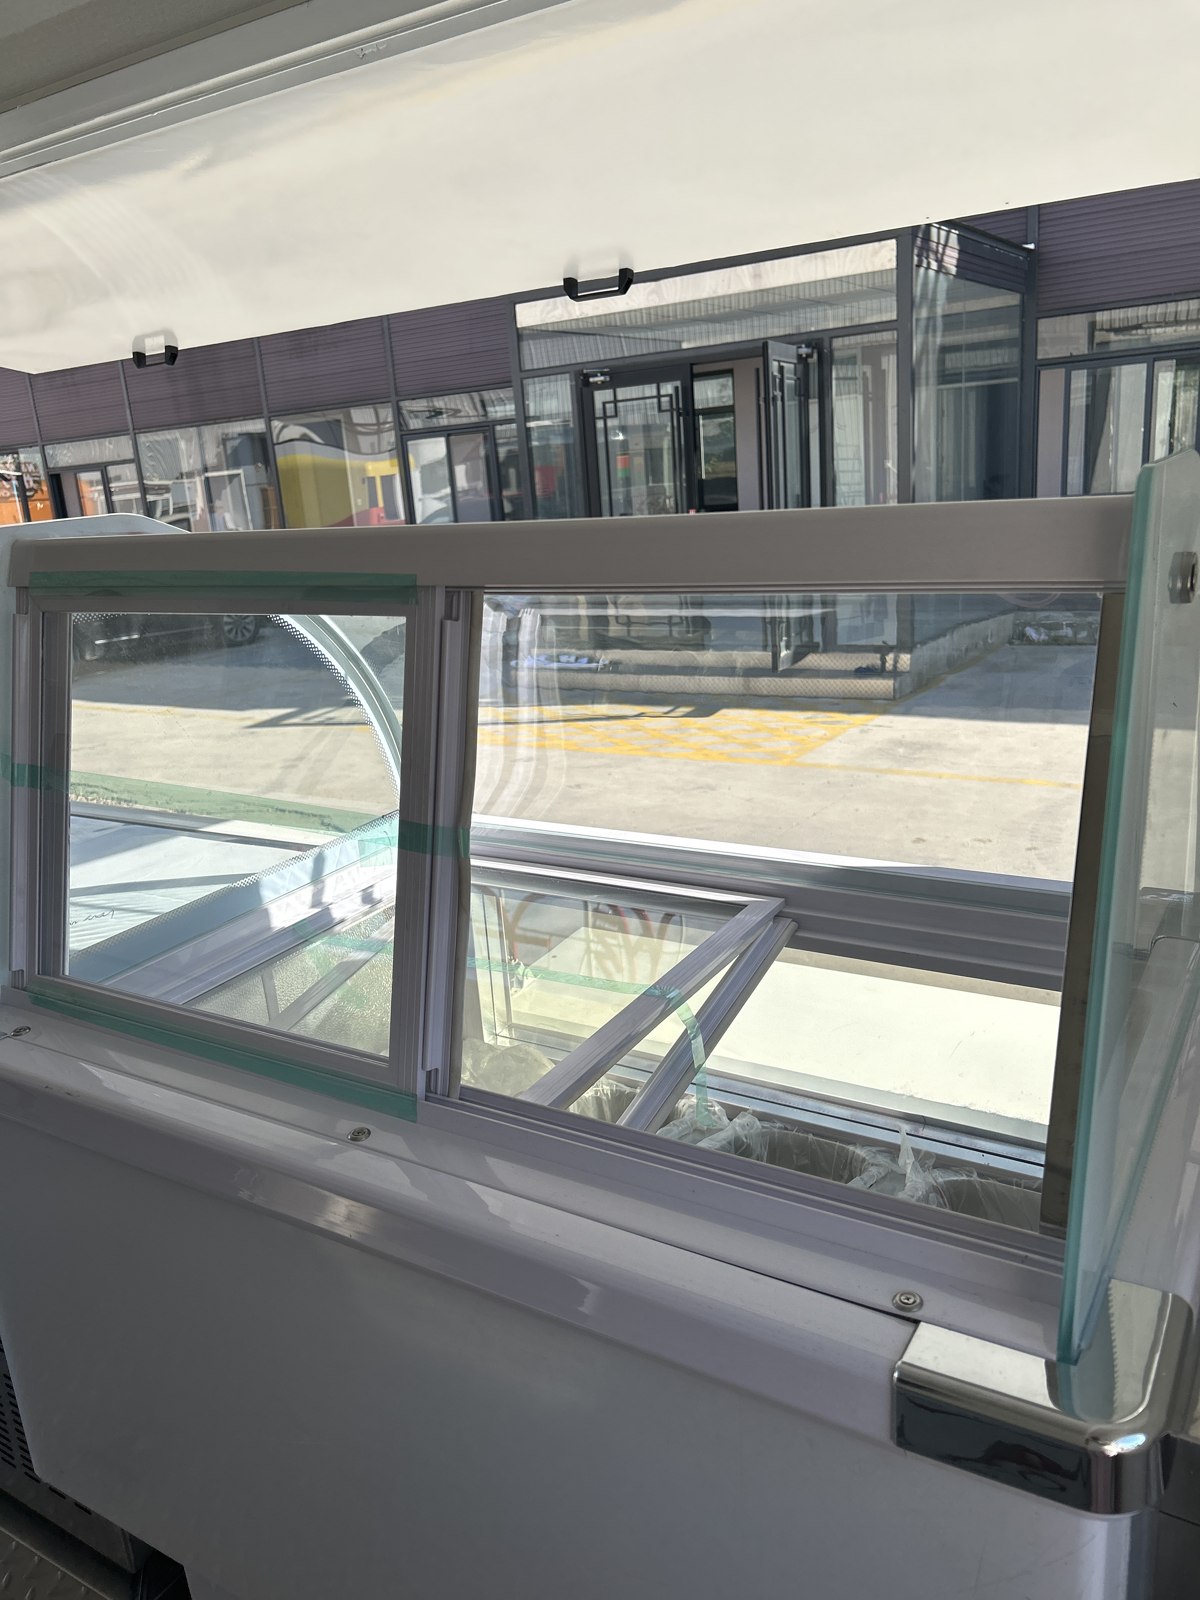
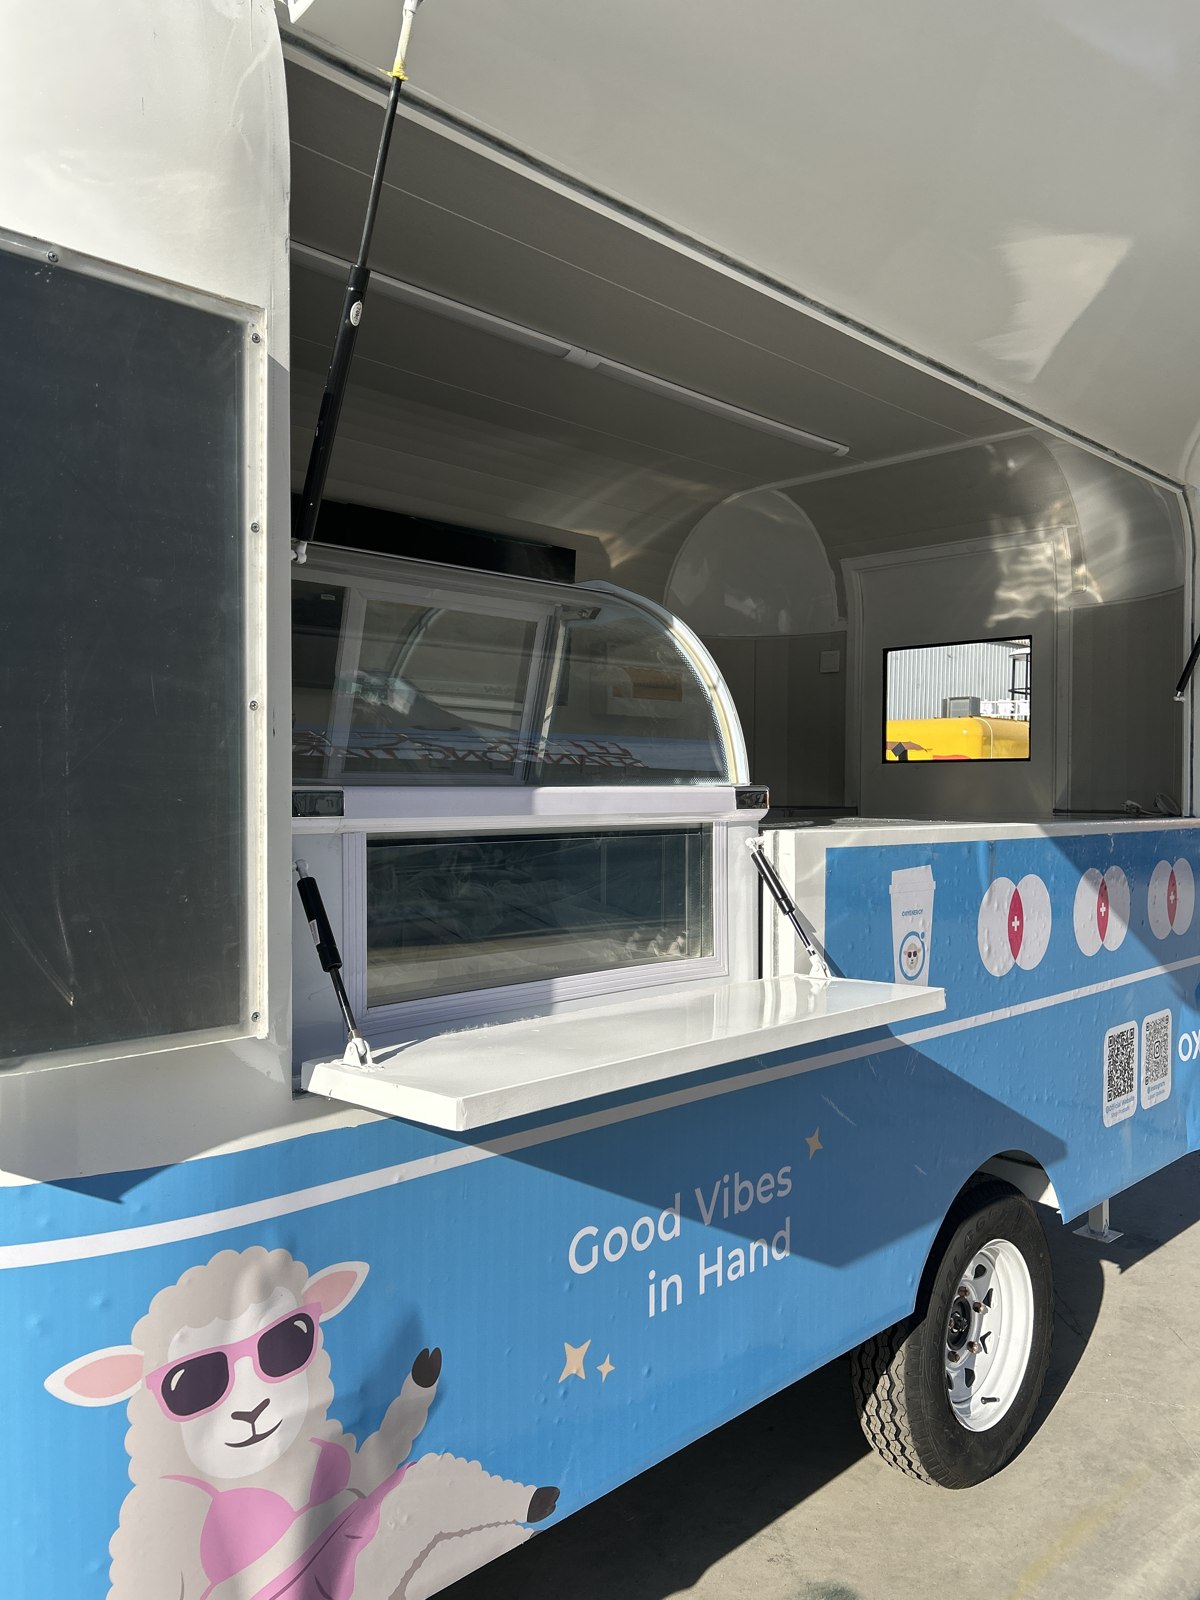
Once the stainless steel worktops and refrigeration went in, the interior really started to feel like a working trailer. But the ice cream cabinet brought another challenge: its glass display needed to be visible from outside. There was no point fitting a lovely cabinet if the bodywork hid the products from the people meant to buy them.
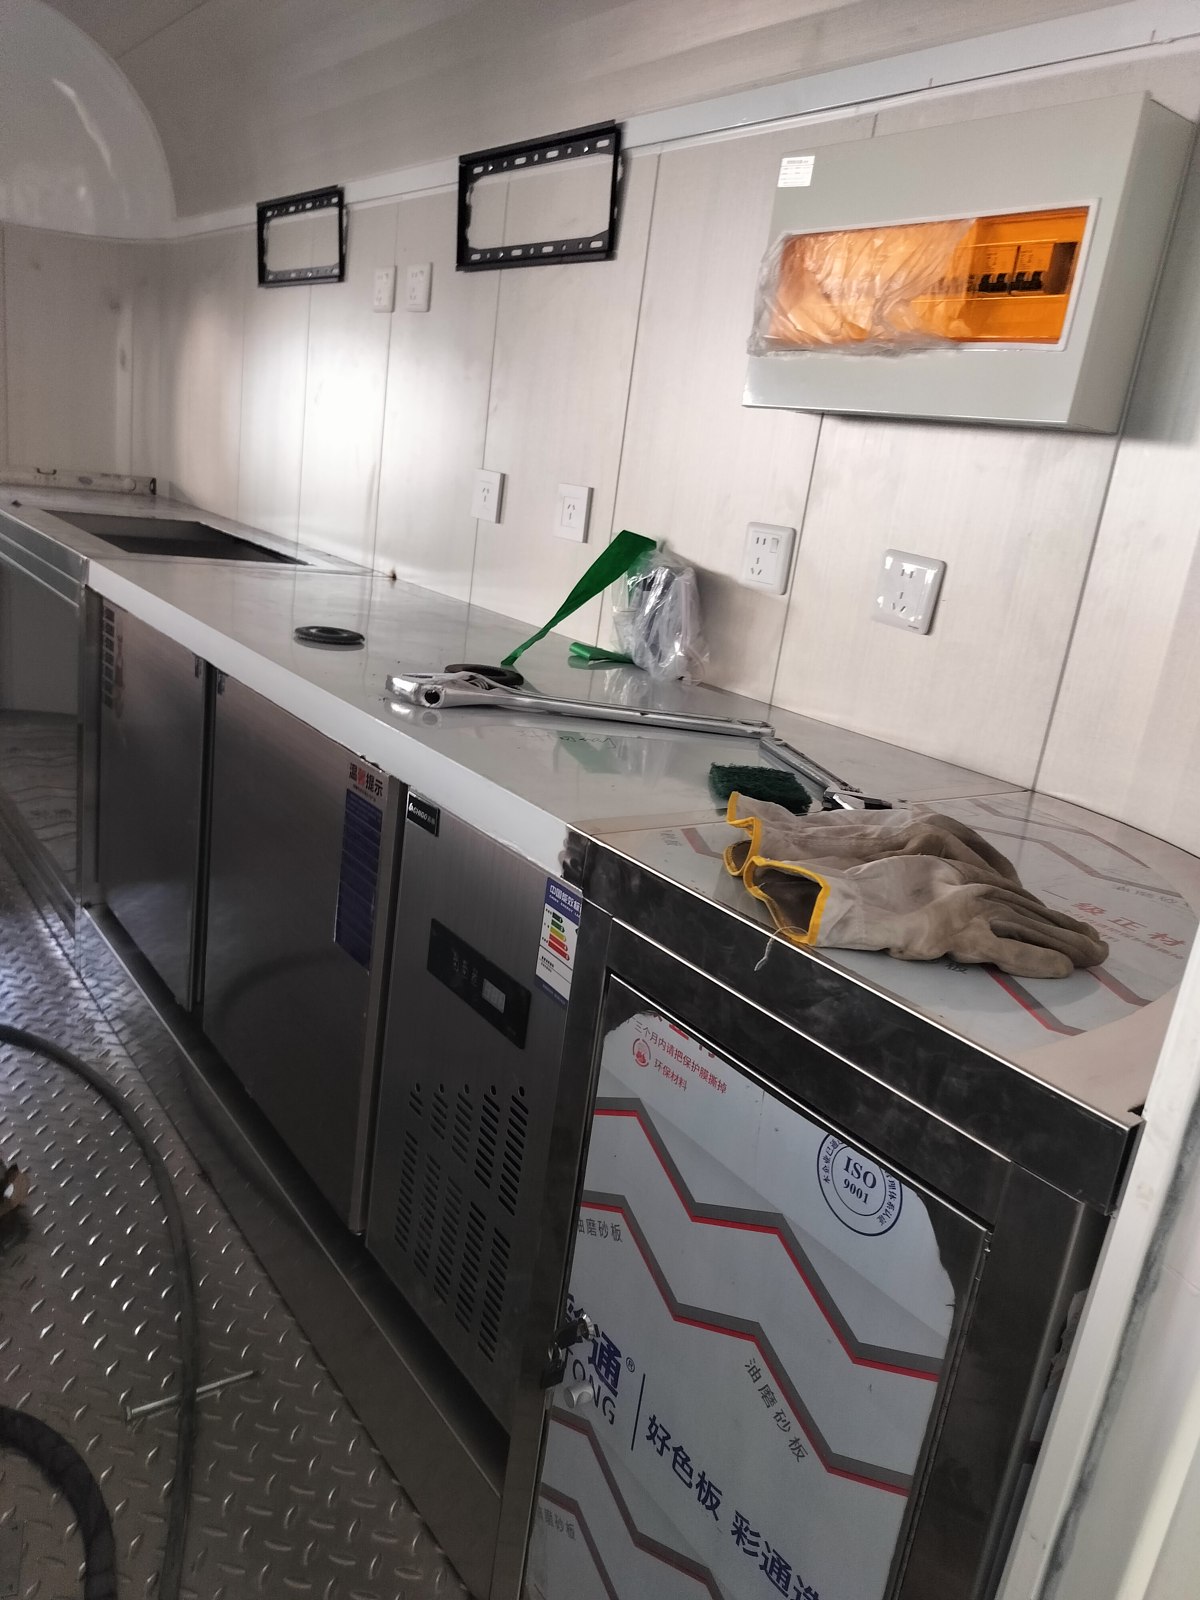
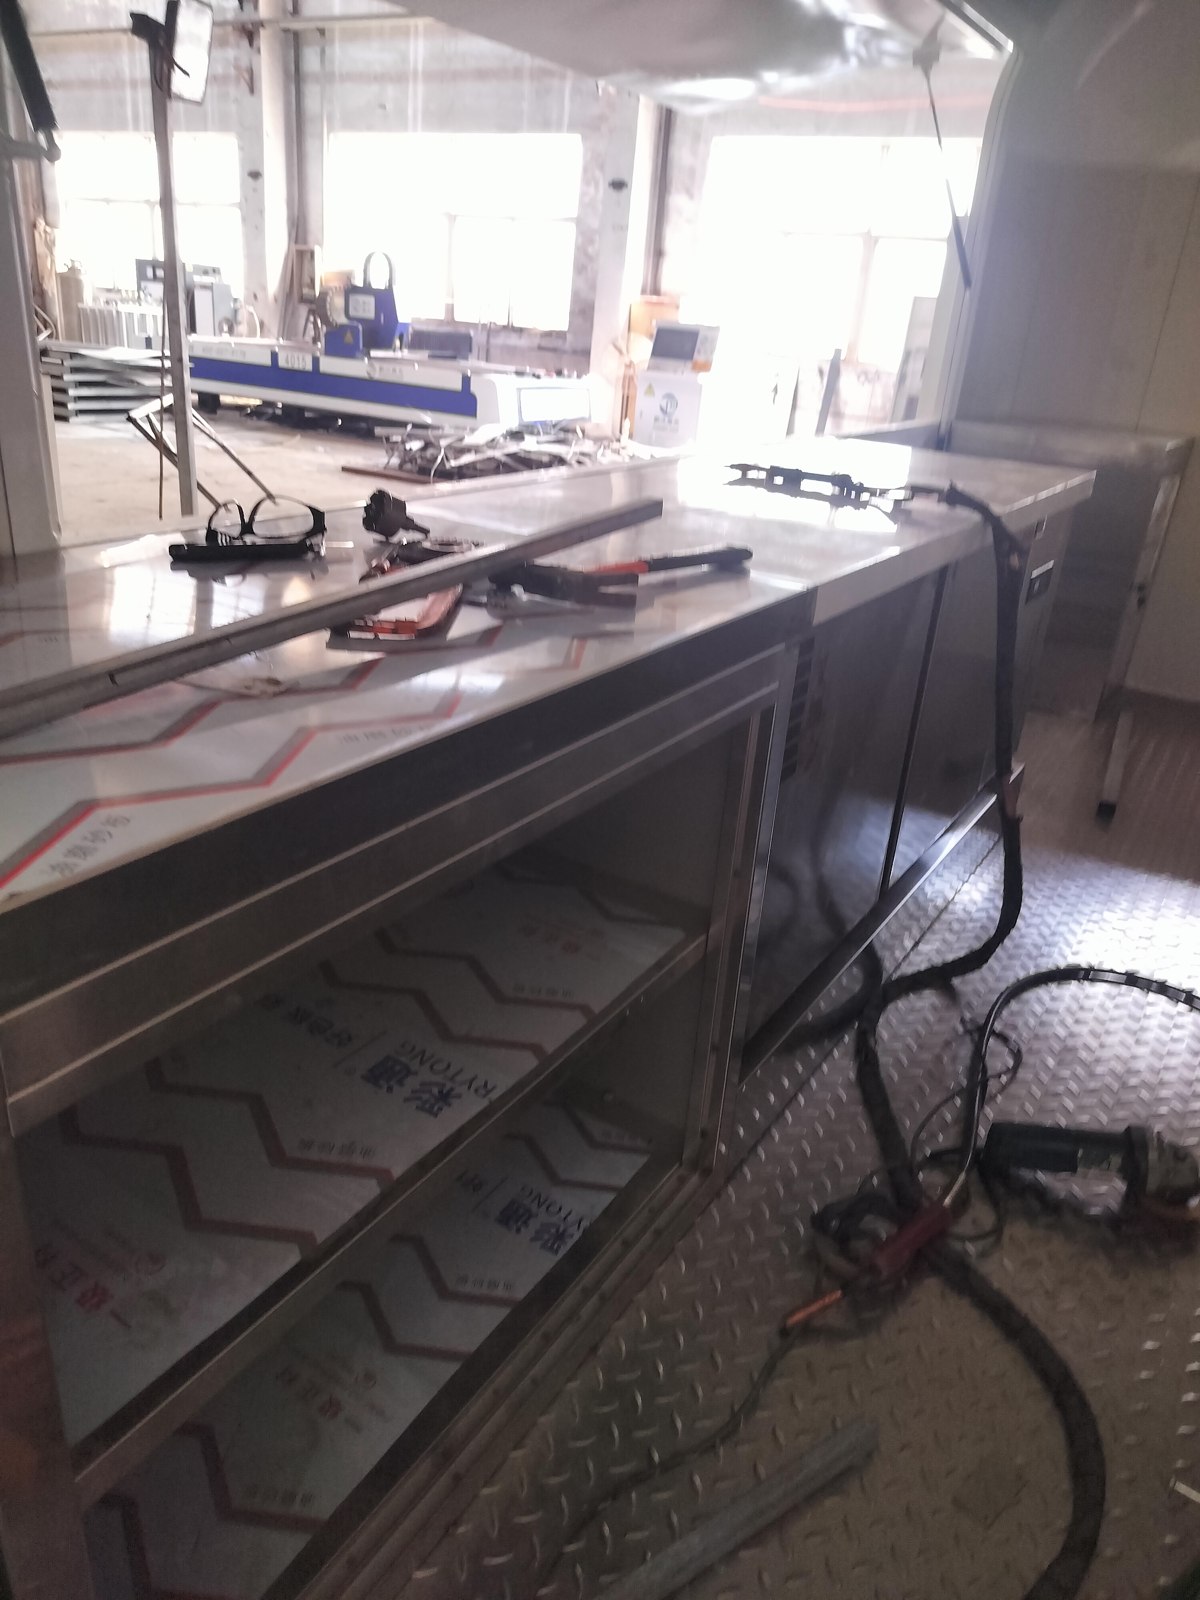
We adjusted the serving opening together with the cabinet position, keeping the glass display towards the customer and the working side inside. That is a big part of custom ice cream trailer design. Getting the cabinet through the door is only the beginning; you have to think about how someone chooses a product and how the person inside serves it.
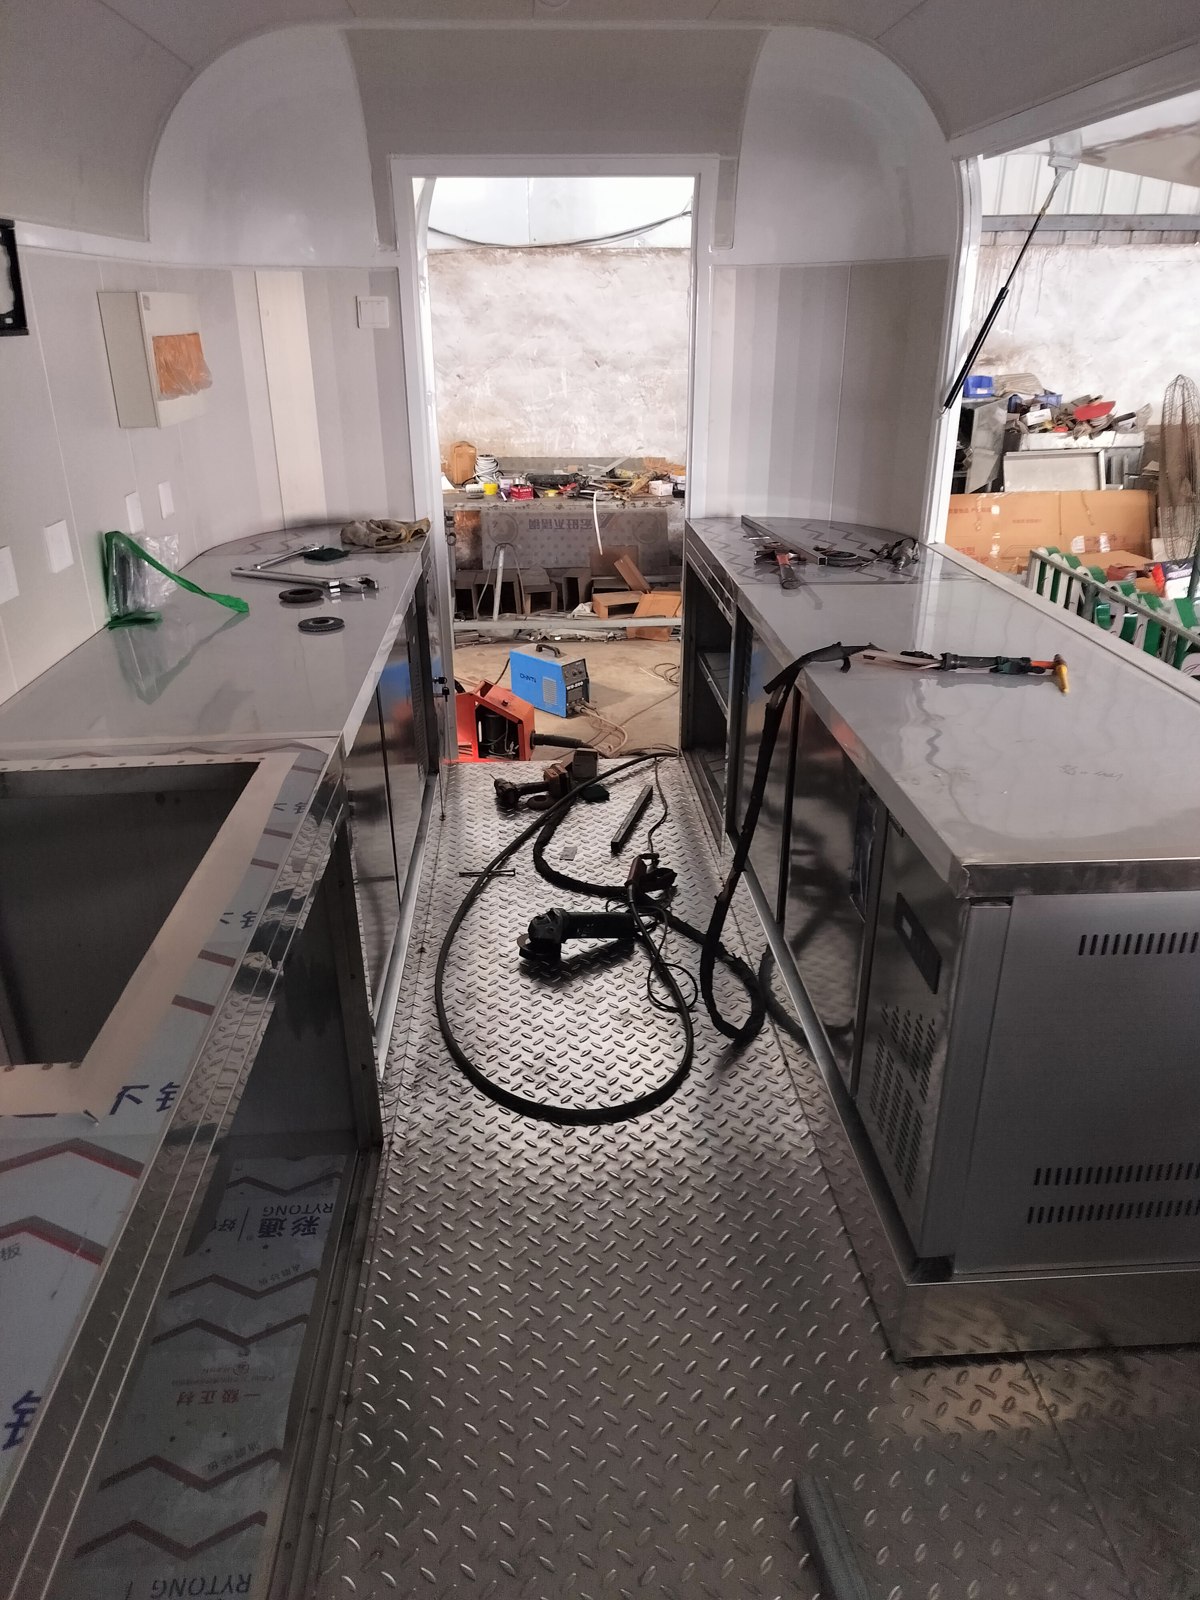
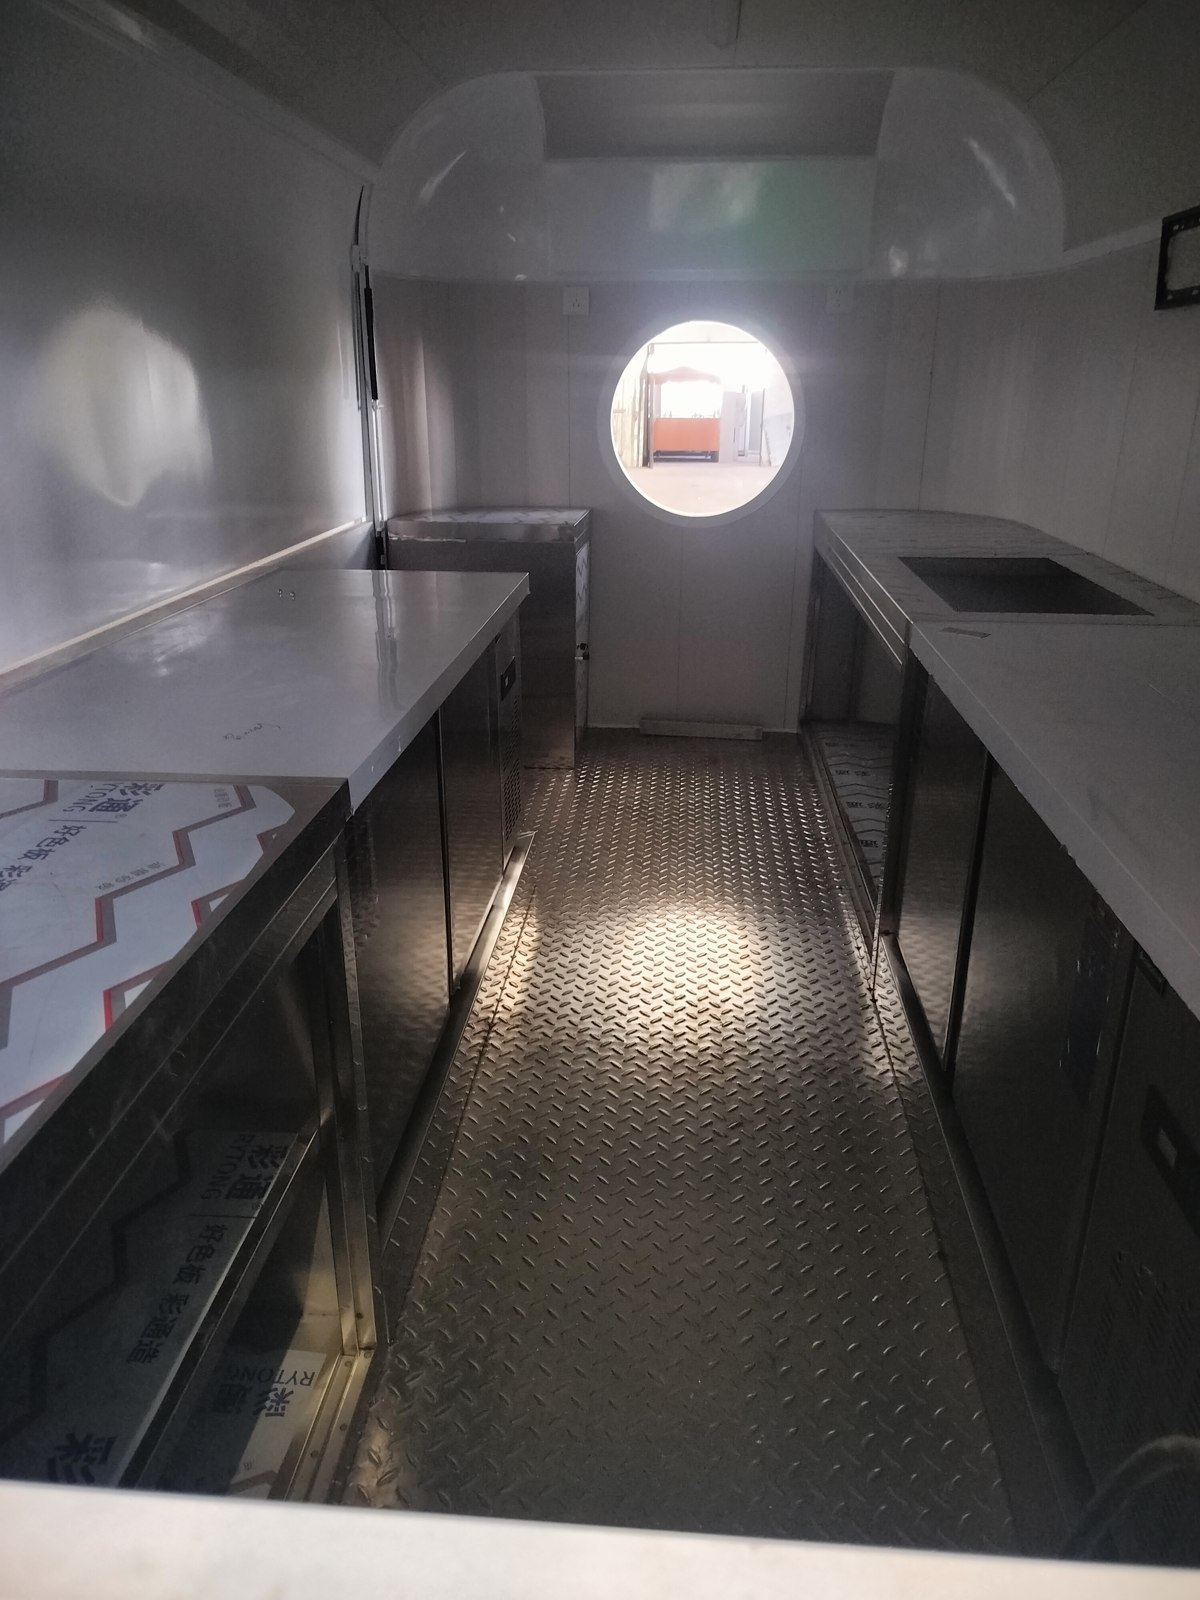
We also stepped outside and looked through the window from a customer's position. Near one edge, the view was not quite right. We adjusted the trim and the cabinet's position relative to the opening. It was a small change, but standing in front of the trailer, you could feel the difference straight away.
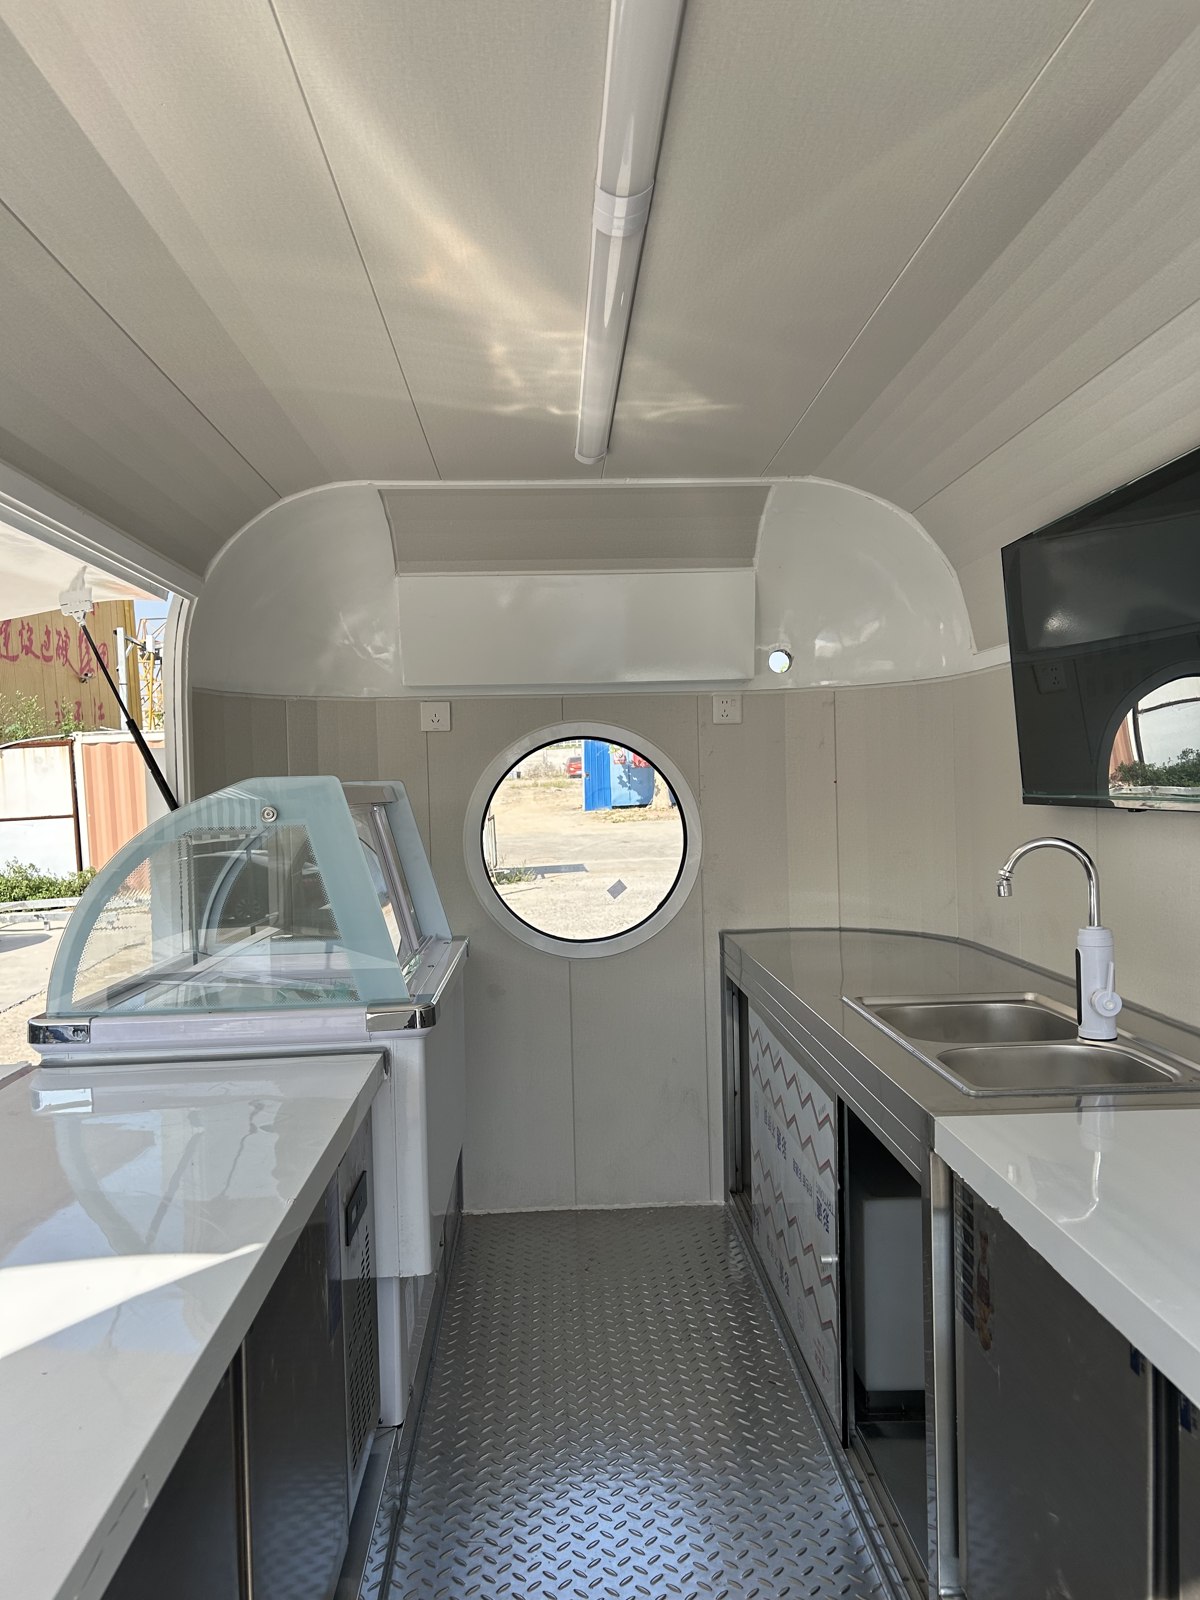
As the counters and cabinets settled into place, the central aisle became clear. I could finally picture someone working in there during a busy event. For an ice cream catering trailer, the display draws people in, but a sensible working space is what helps the person behind it get through the day.
The removable ladder needed more than a good-looking shape
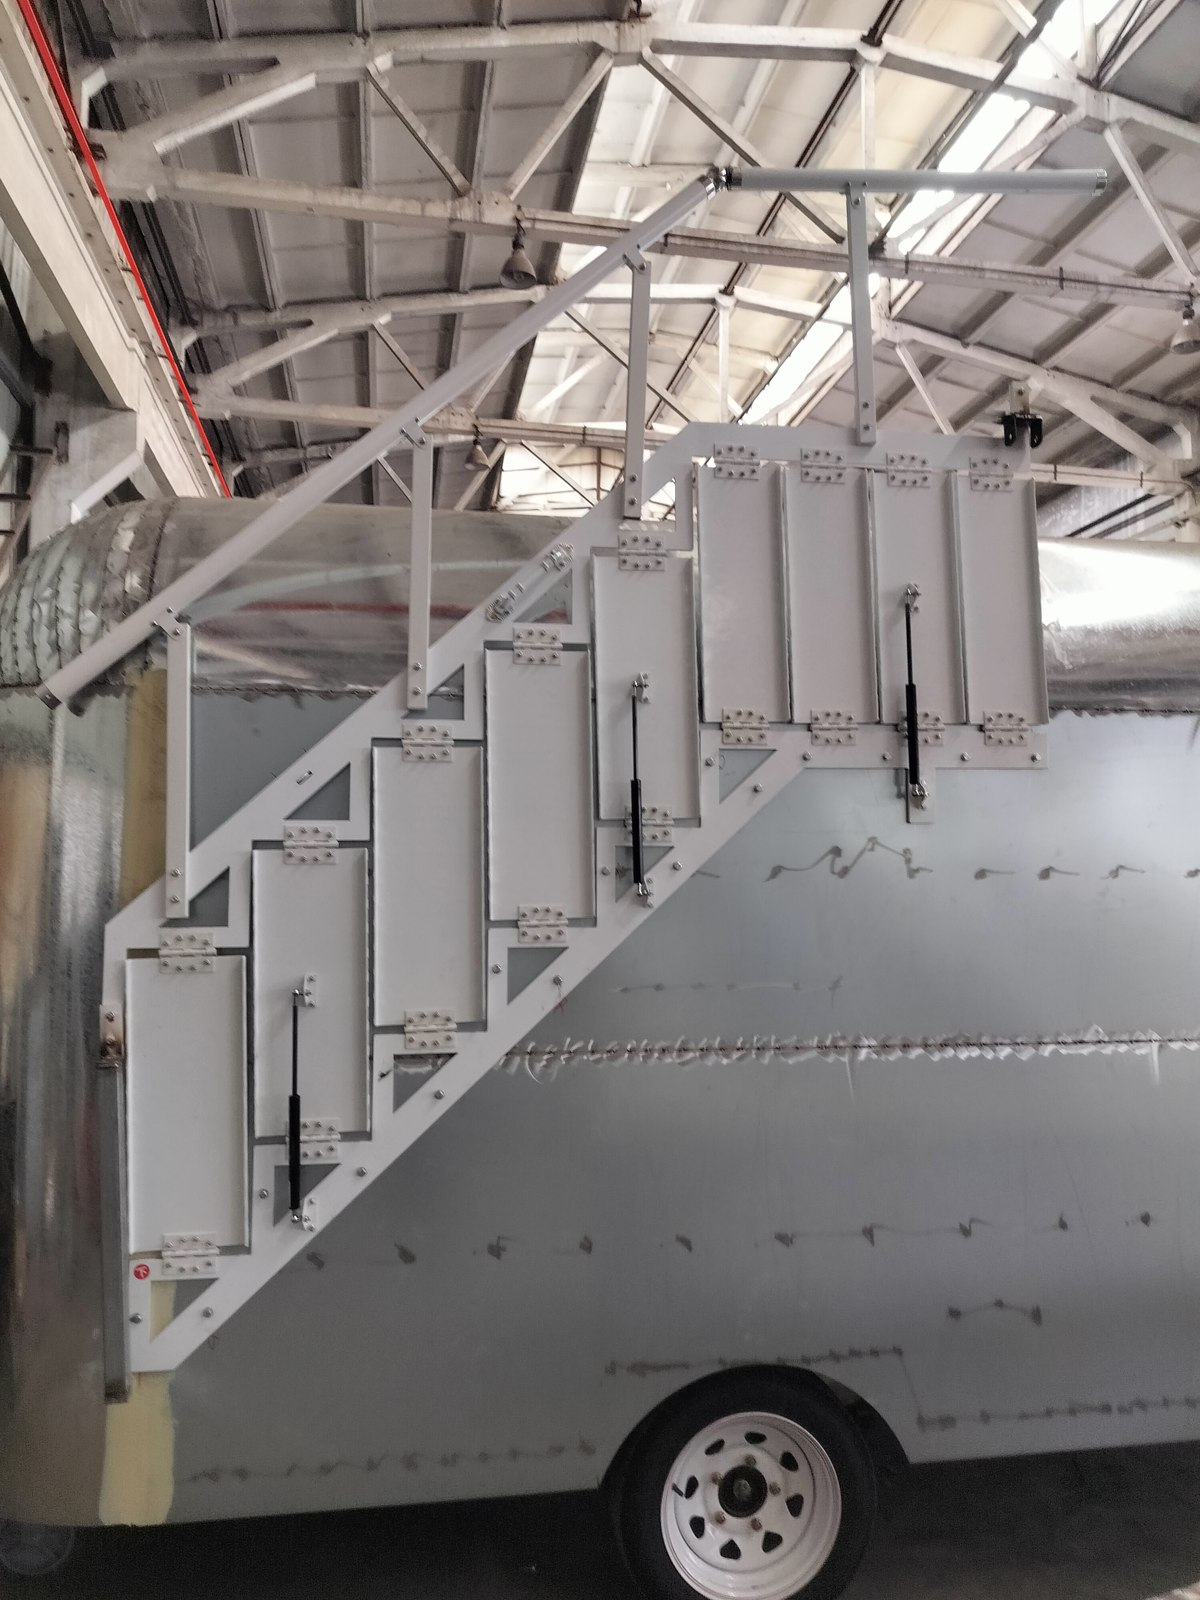
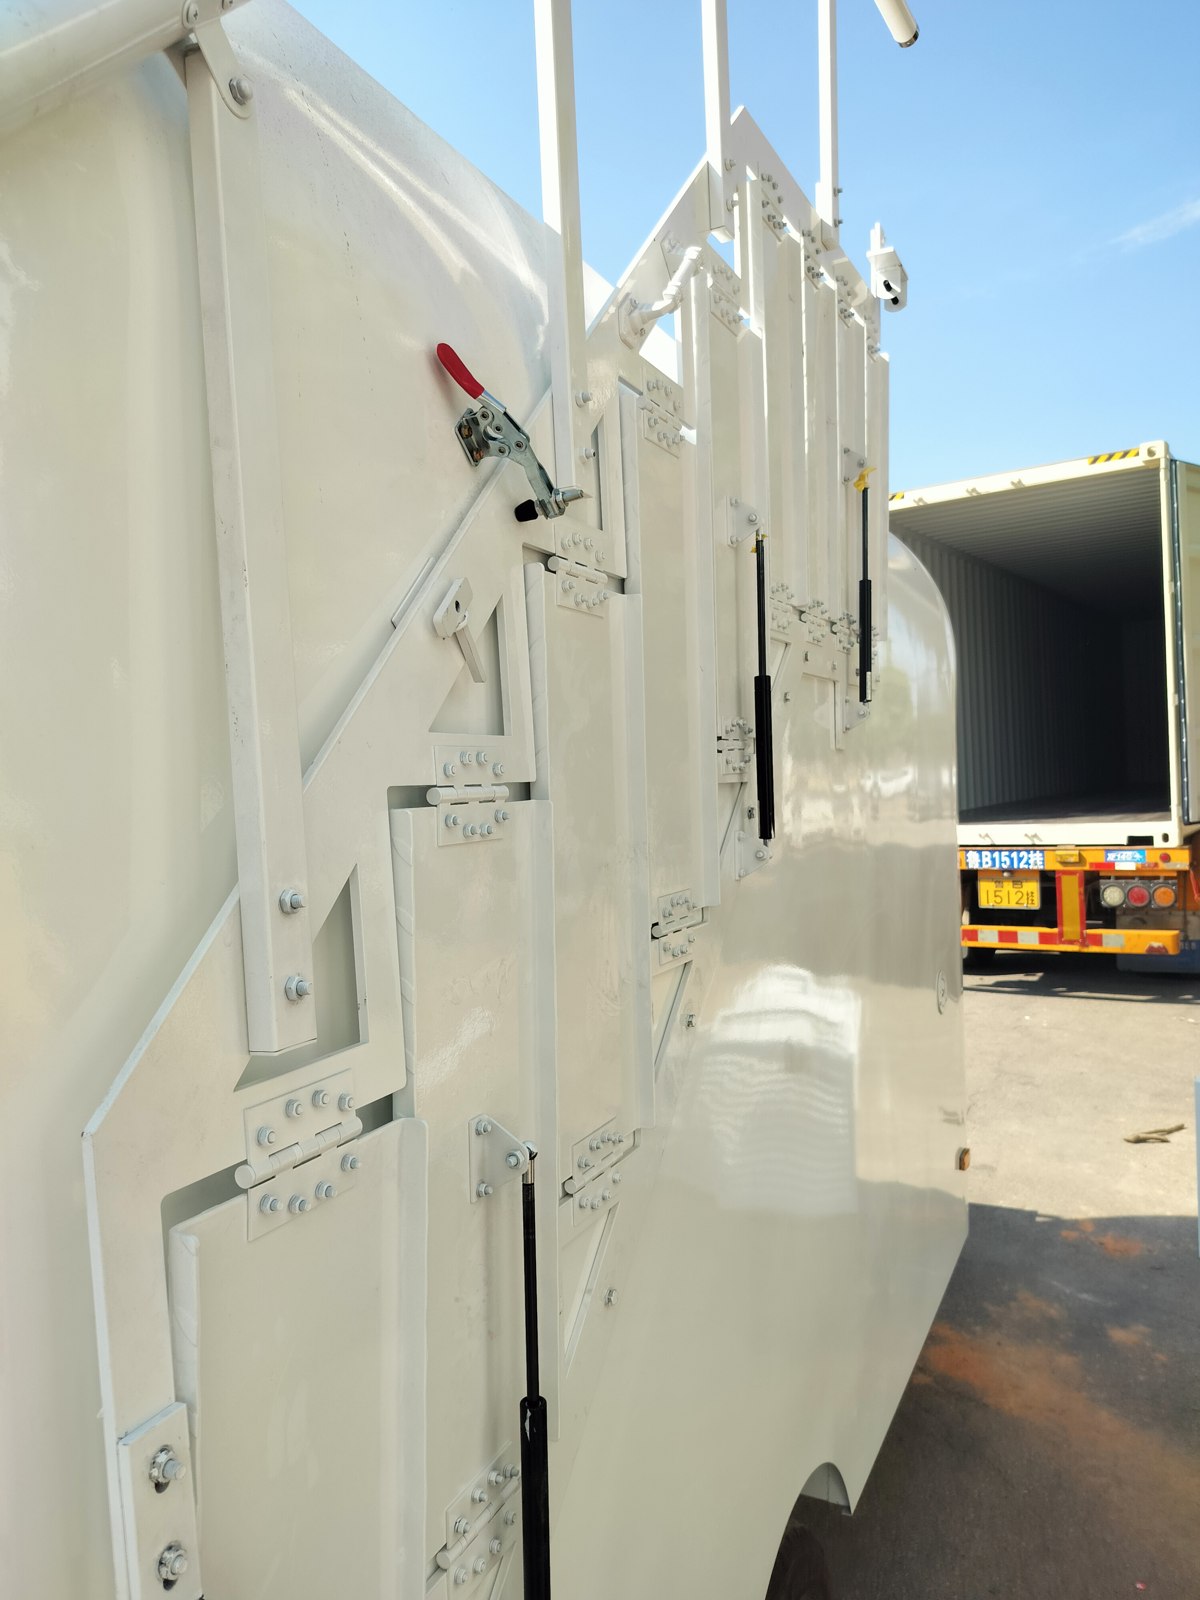
I really liked the look of the ladder running up alongside the body. It gave the trailer a distinctive outline. But making it removable meant we had to think carefully about its fixings. It had to sit securely when folded away and have proper support when opened out.
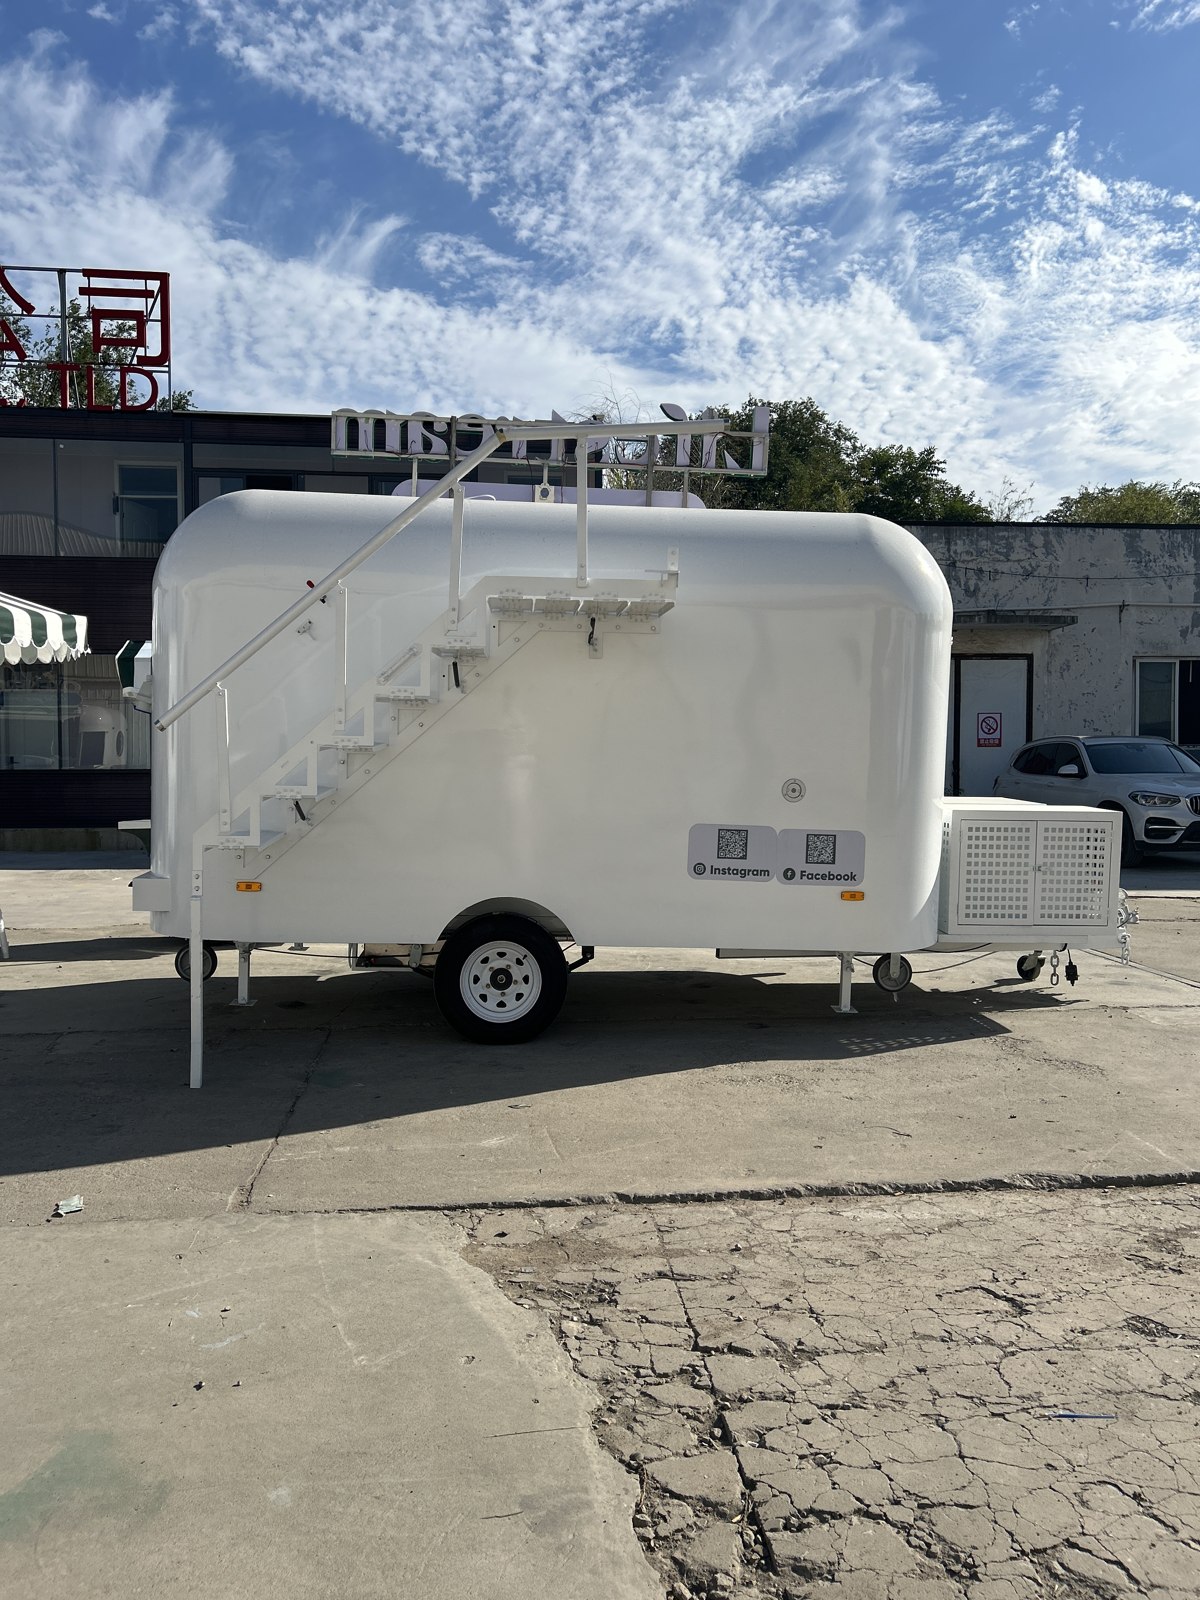
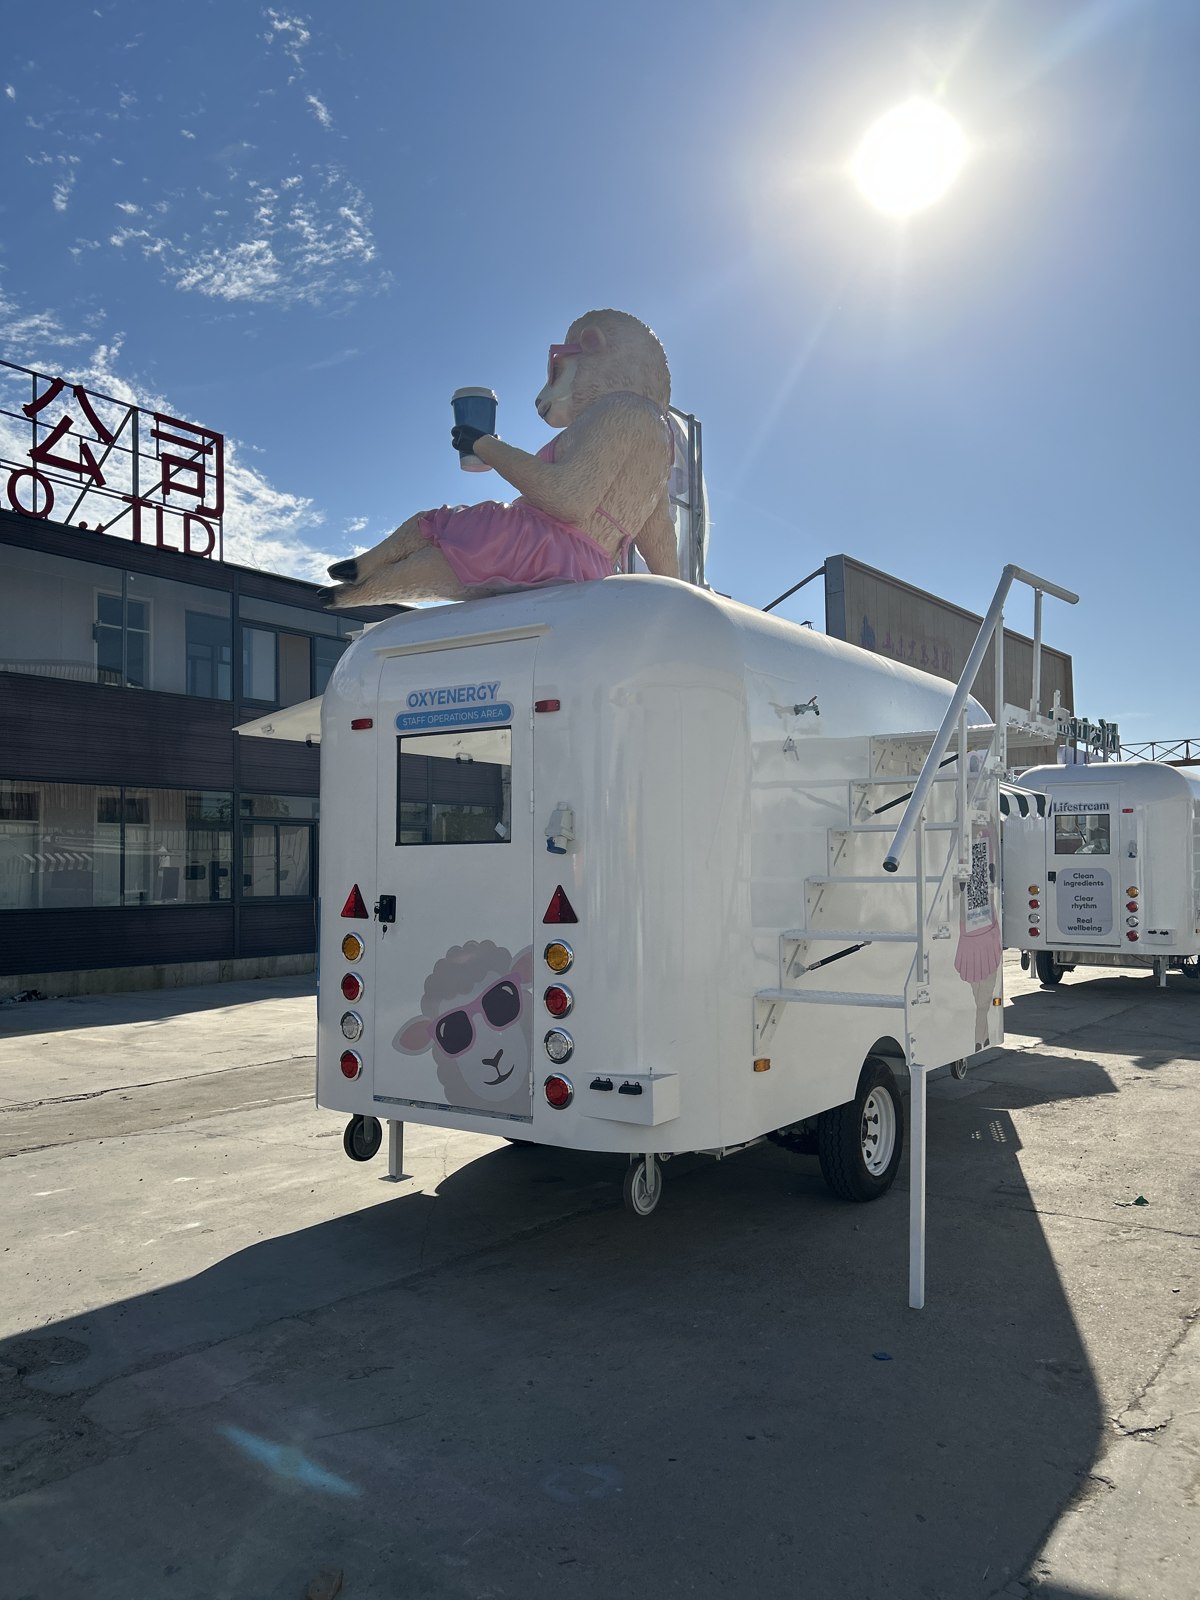
We added locking catches to hold it in its stowed position. When opened, one side sat against the trailer and the outer side needed support. We worked through both positions. With removable trailer accessories, the job includes the way a part folds, locks, comes off and goes back on again.
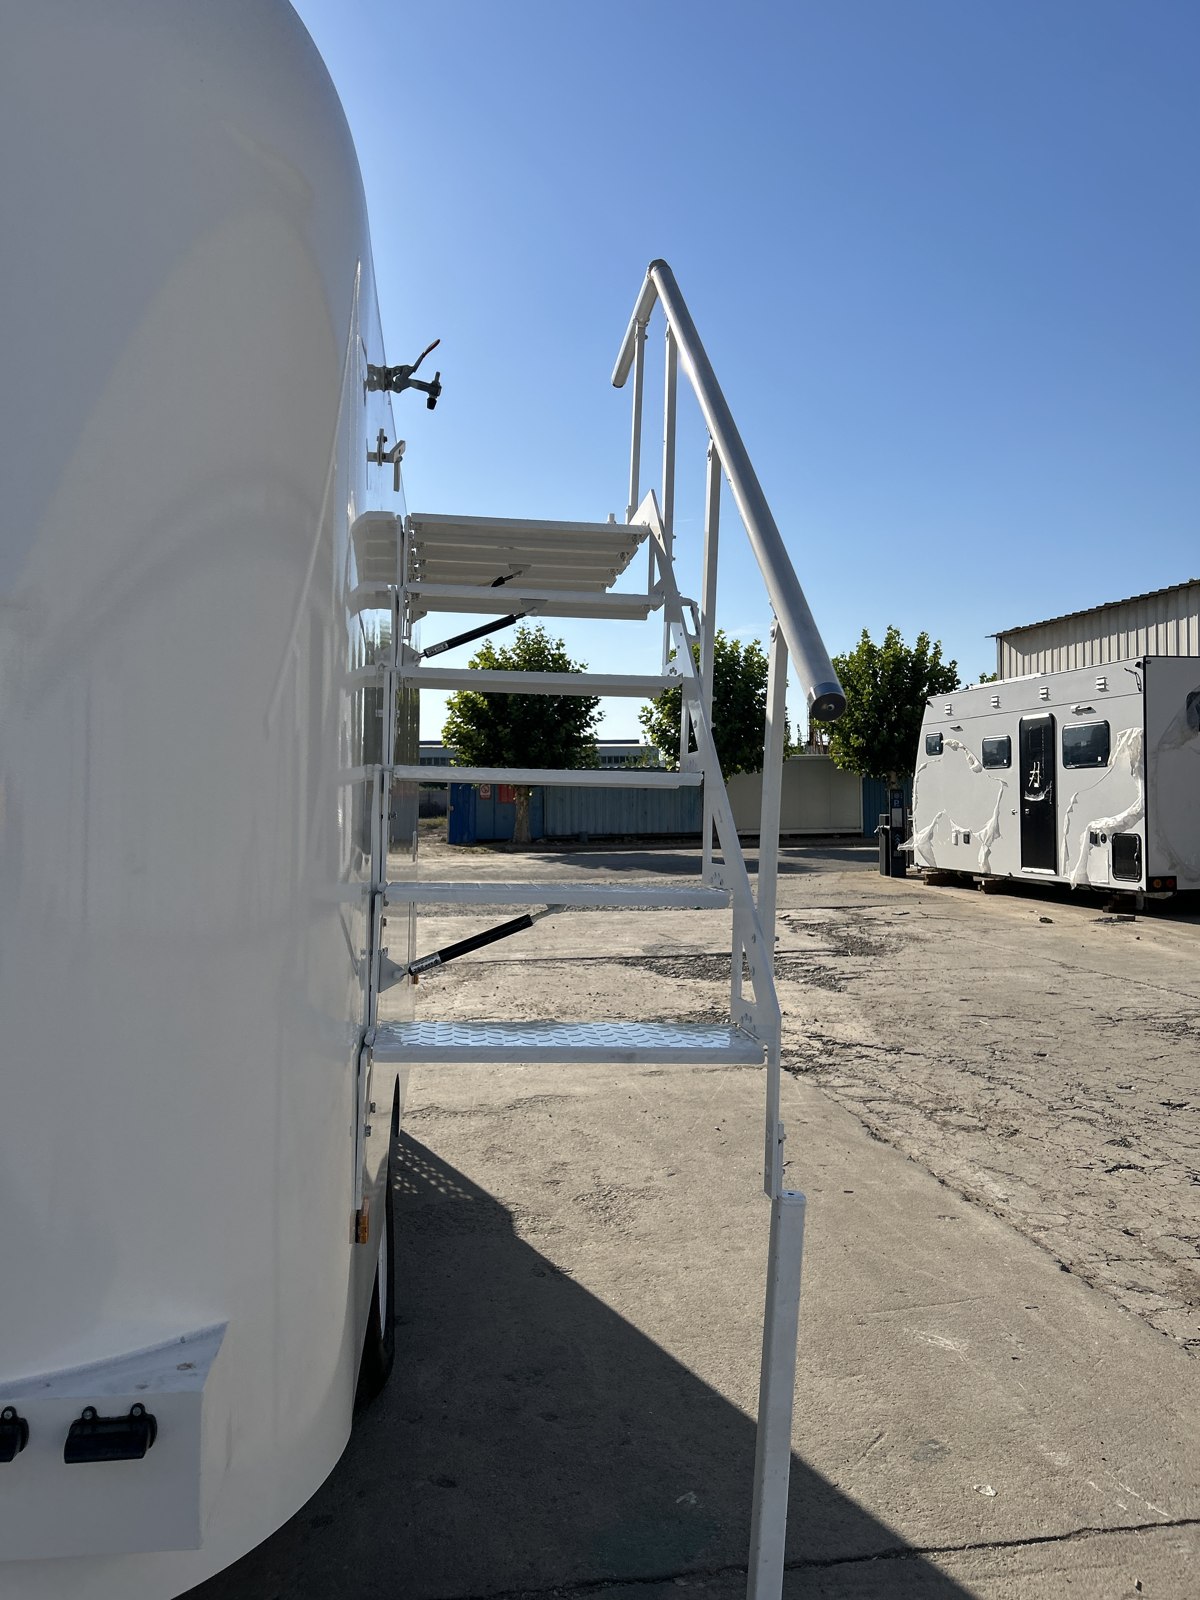
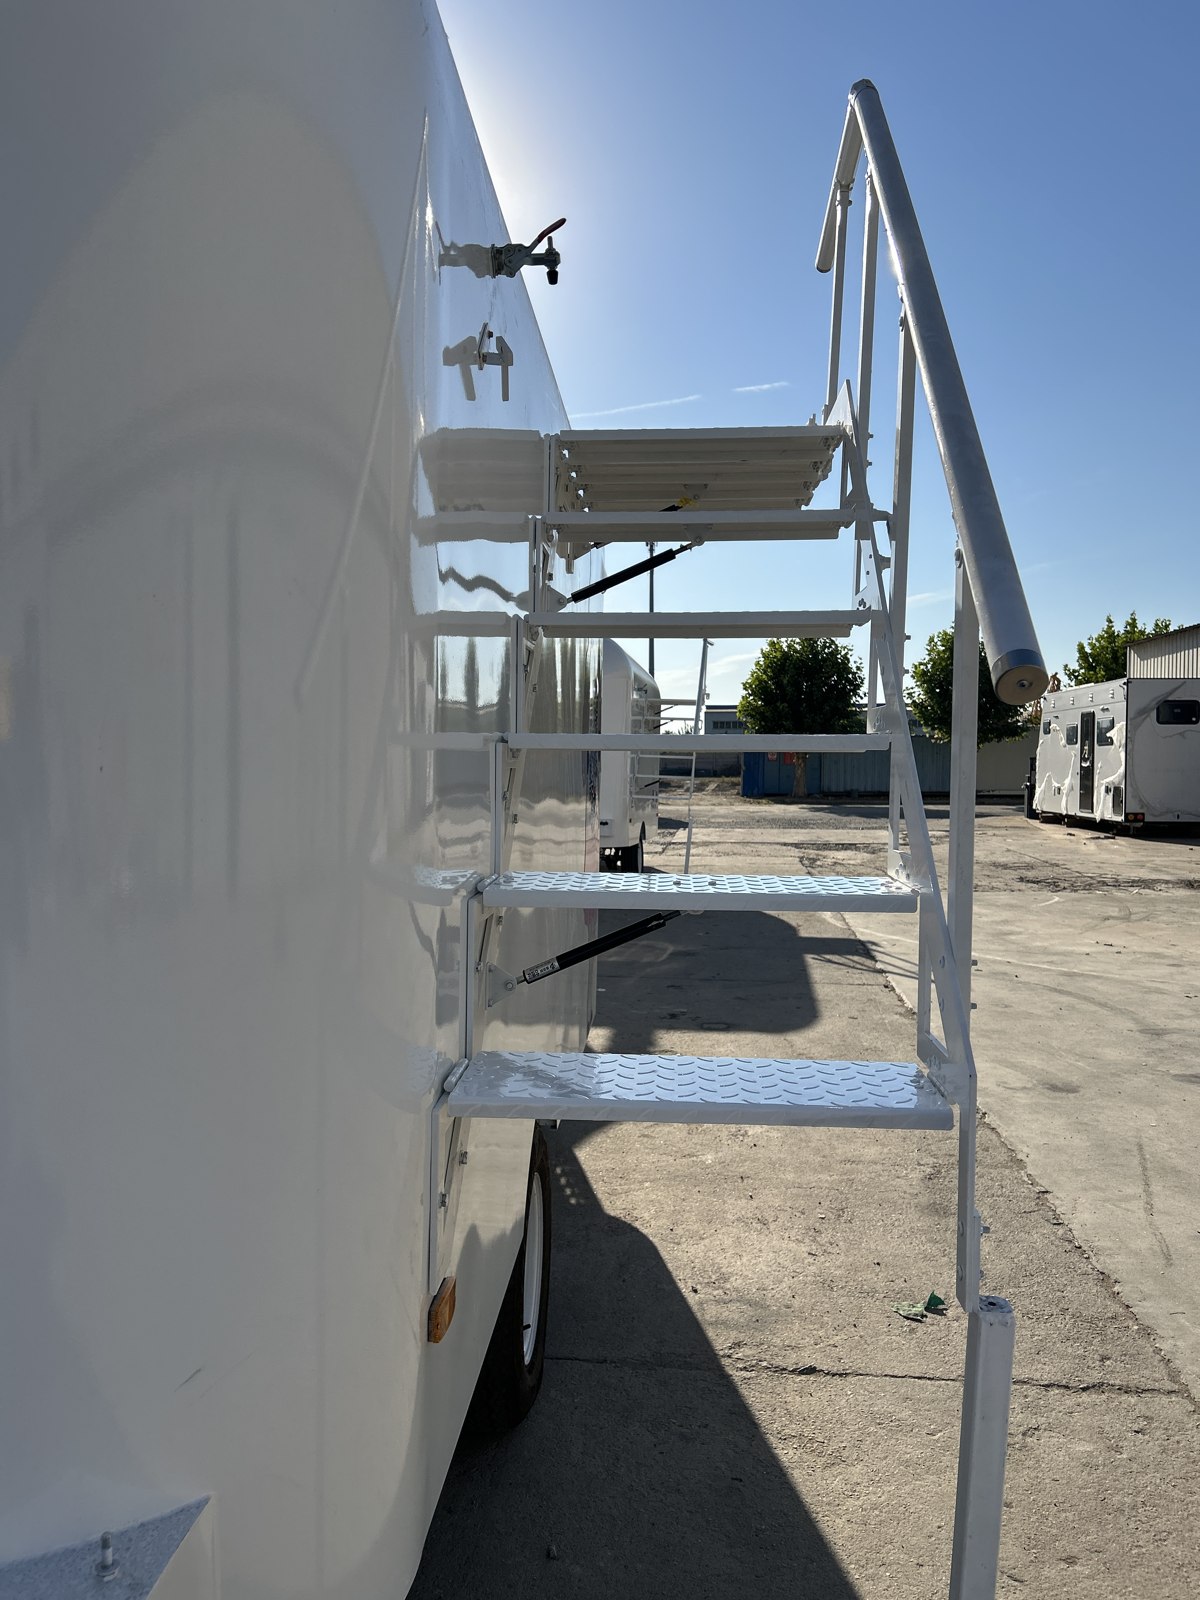
During the first folding trial, the ladder stayed in place, but a gentle push still revealed some play. We adjusted the catch positions, then revisited the support positions with the ladder open. That little bit of movement might not look dramatic, but you notice it immediately when you're beside it. It needed attention.
The rooftop sheep stole the show. We still had to think about their weight
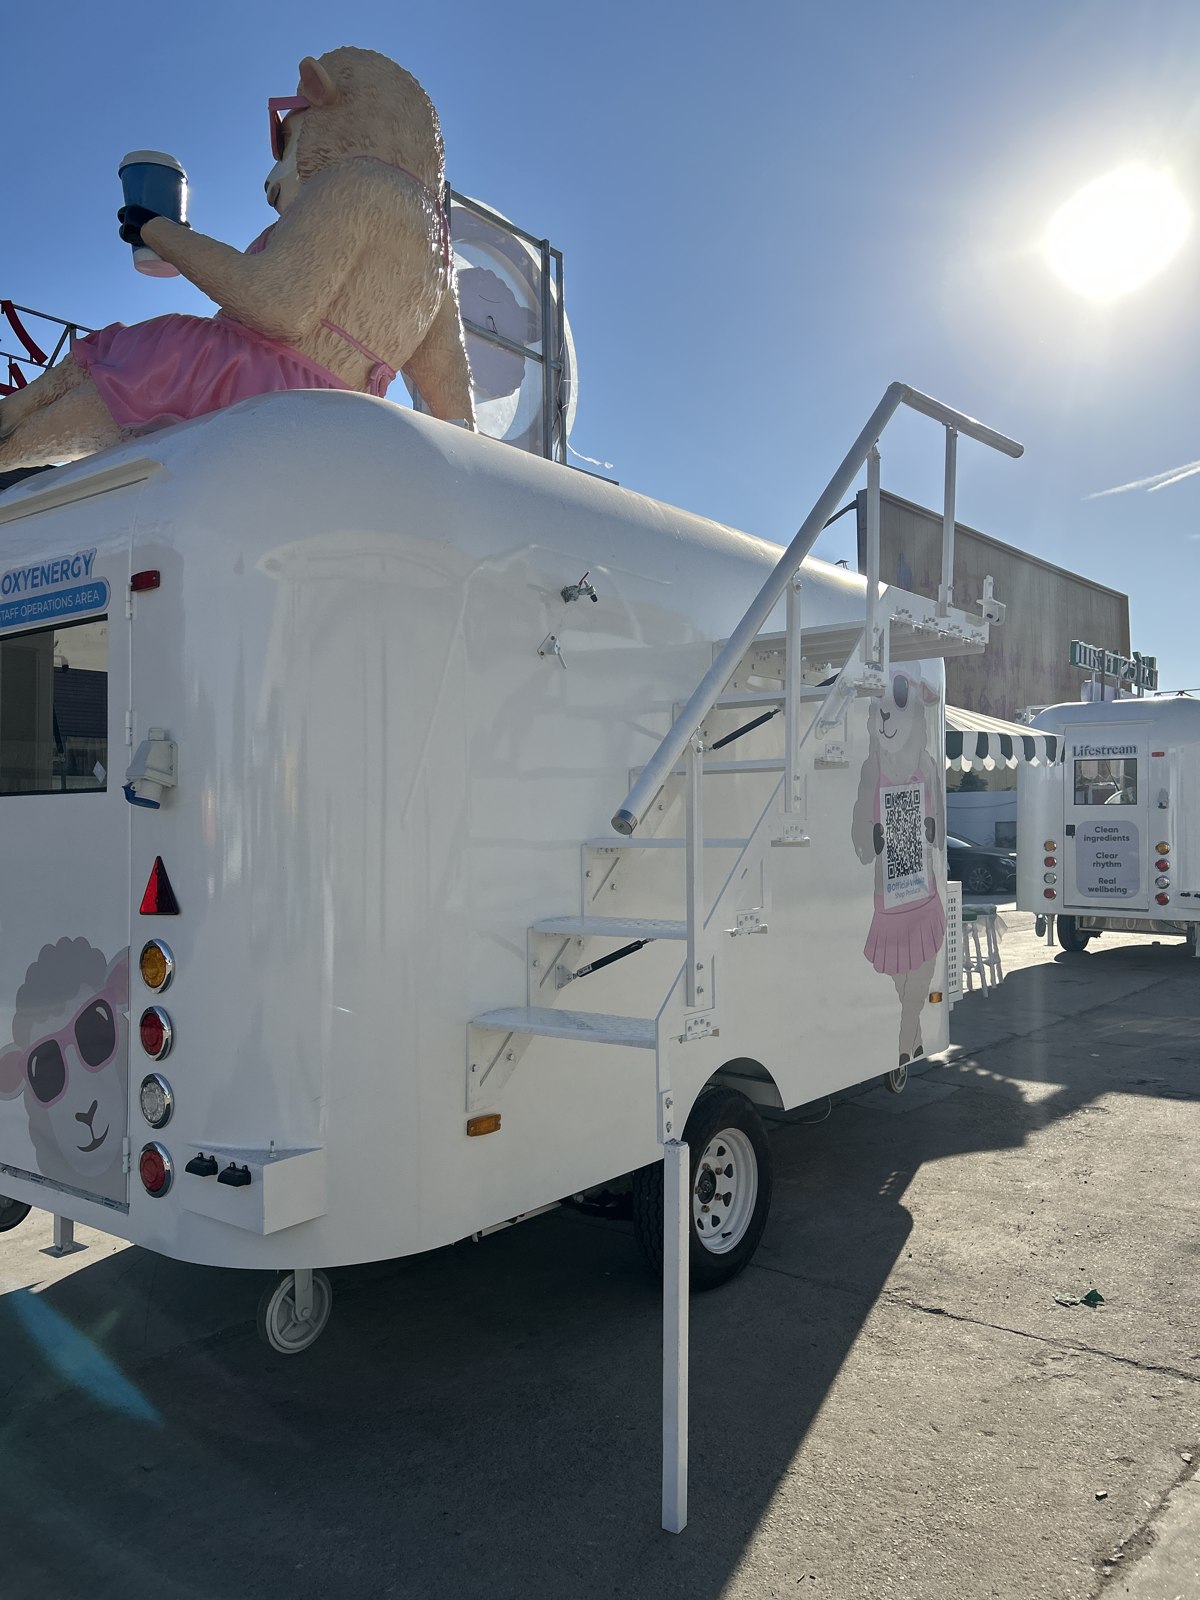
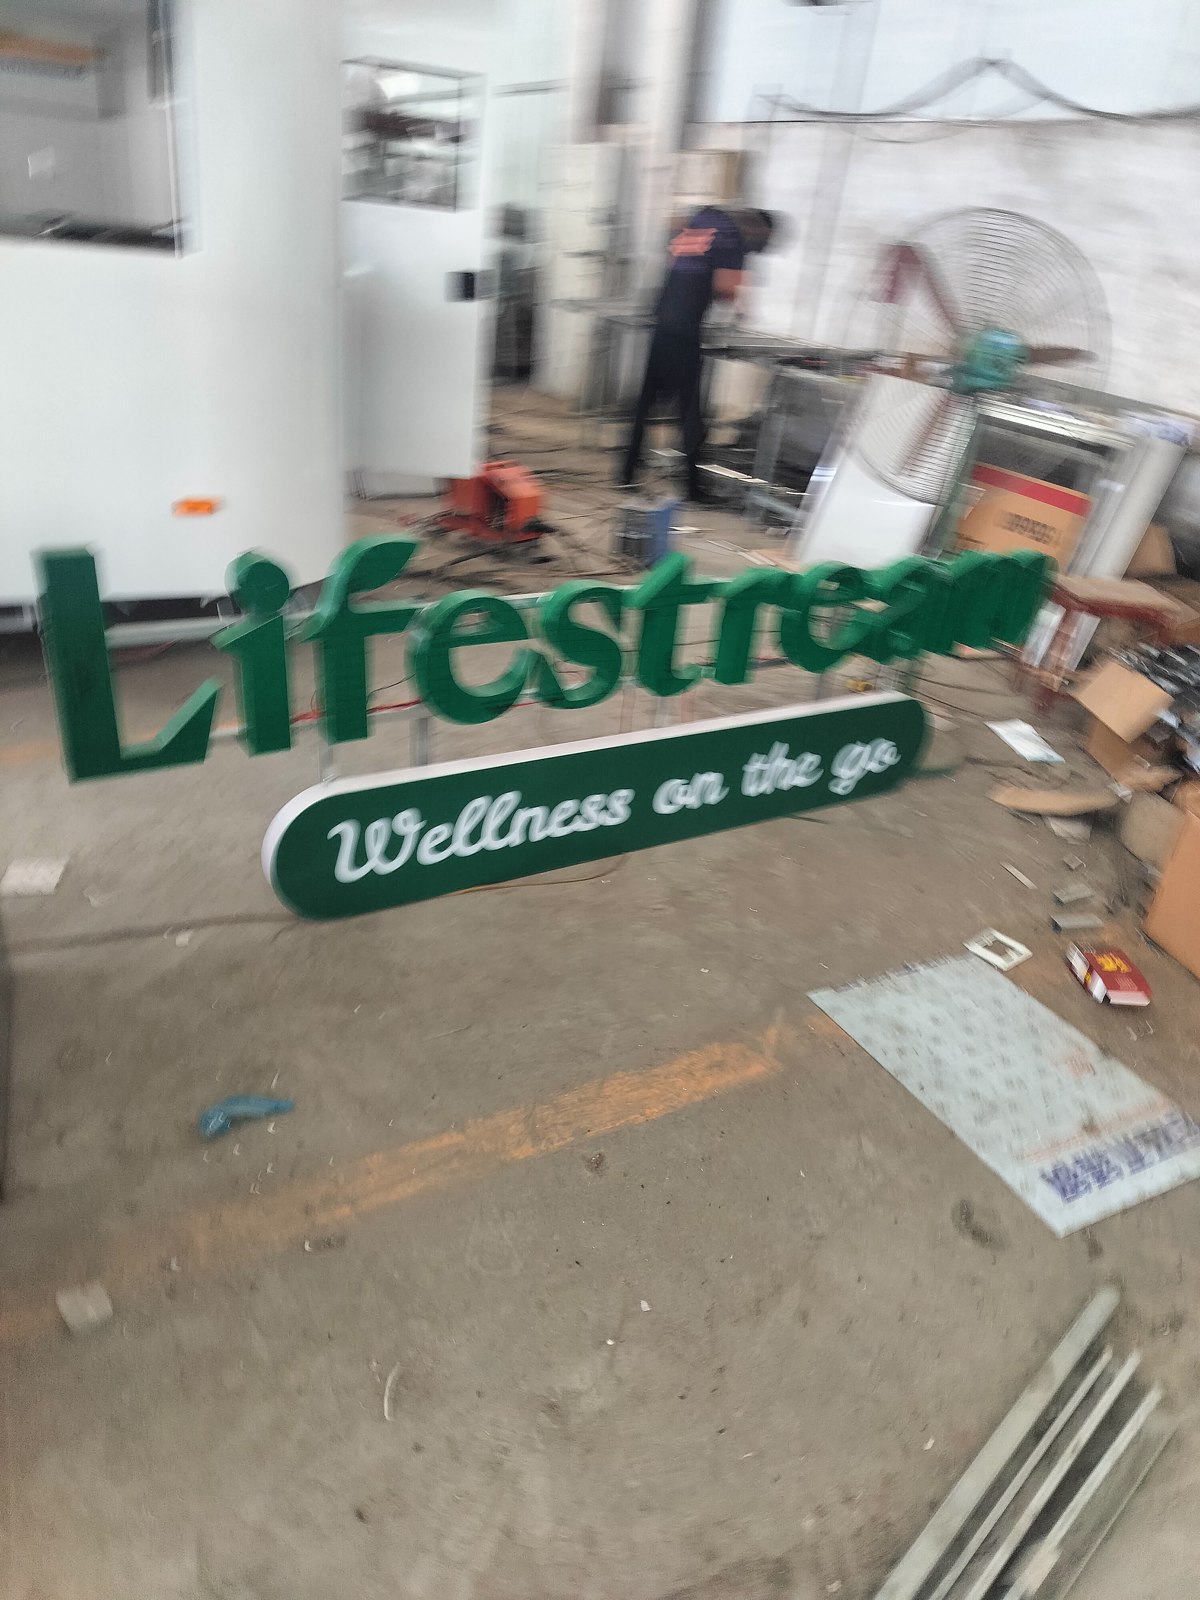
Once the signs and sculptures went on, the trailers had personality in bucketloads. You could spot them from a distance, and I found myself looking back at them more than once. But while the branding was grabbing everyone's attention, we still had to ask the less glamorous question: how much were we adding, and what was supporting it?
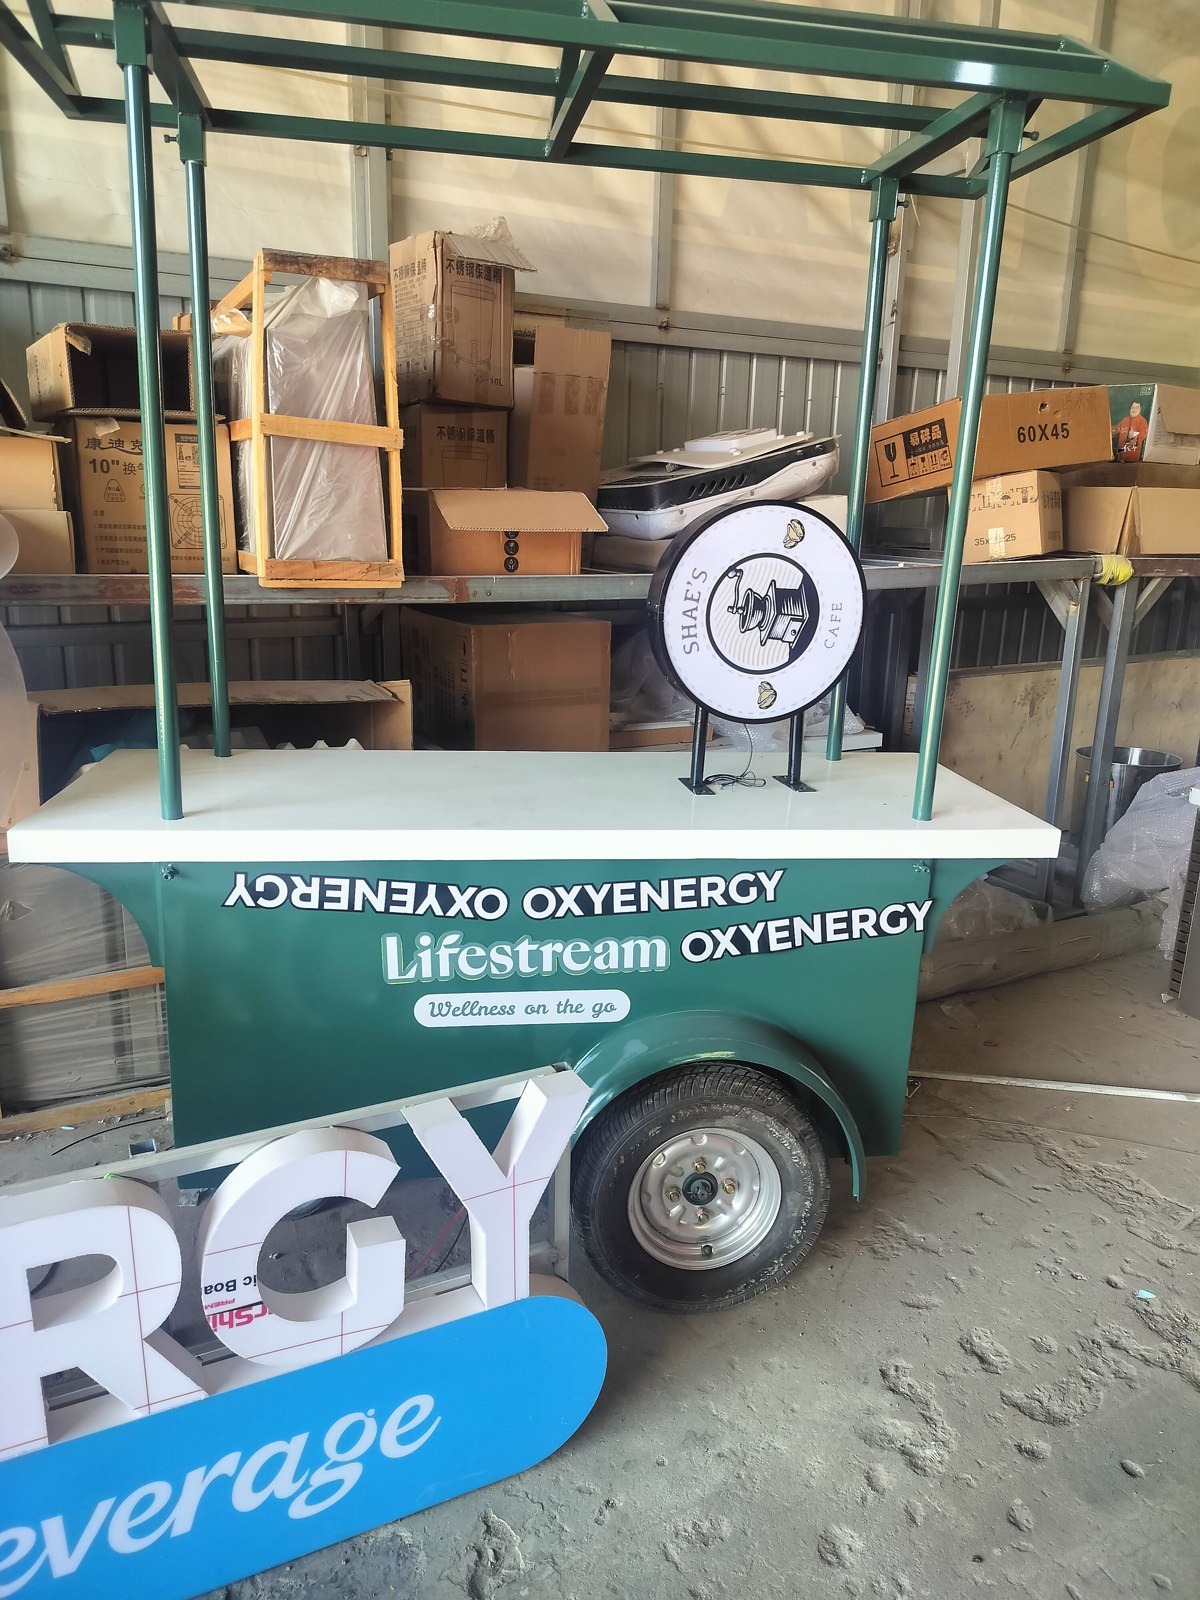
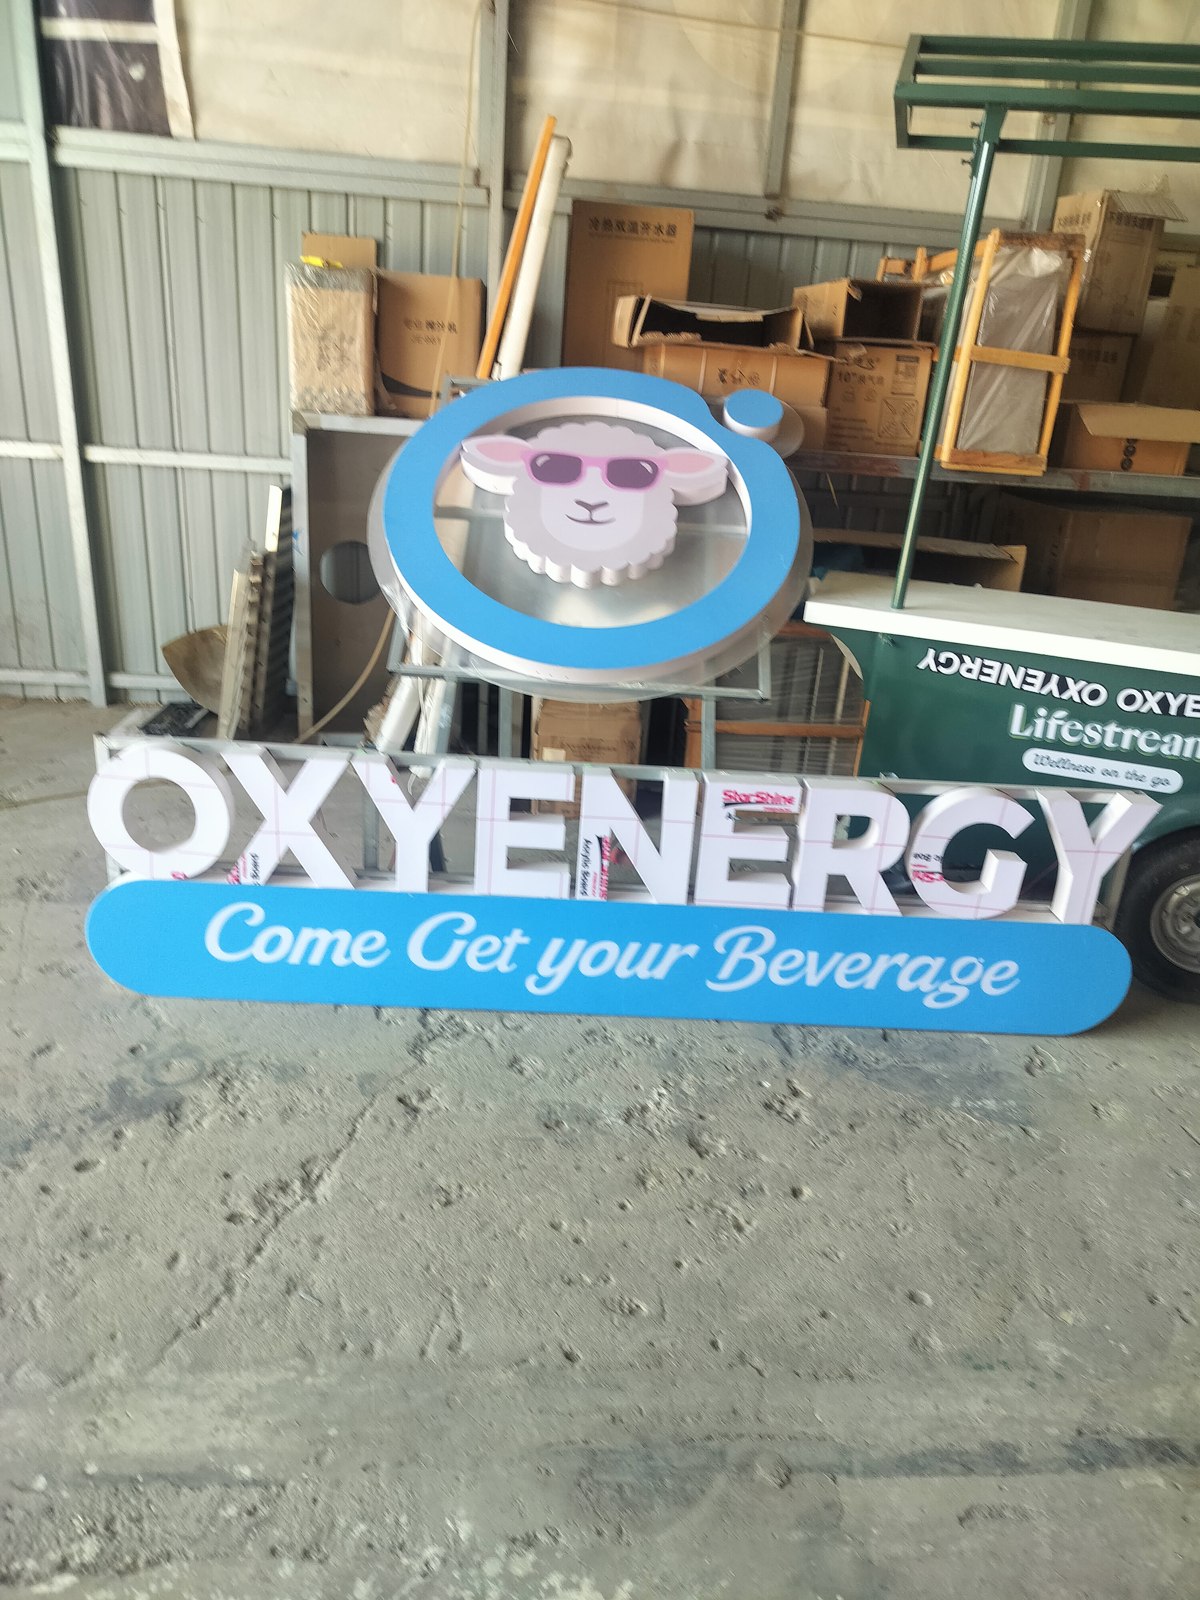
The material originally considered for the sculptures was heavier than we wanted, so we changed the material choice to reduce weight. With the ladder and other additions also in the picture, we reinforced the load-bearing area near the axle and adjusted the tyre specification. A custom promotional trailer needs that kind of thinking behind the eye-catching details.
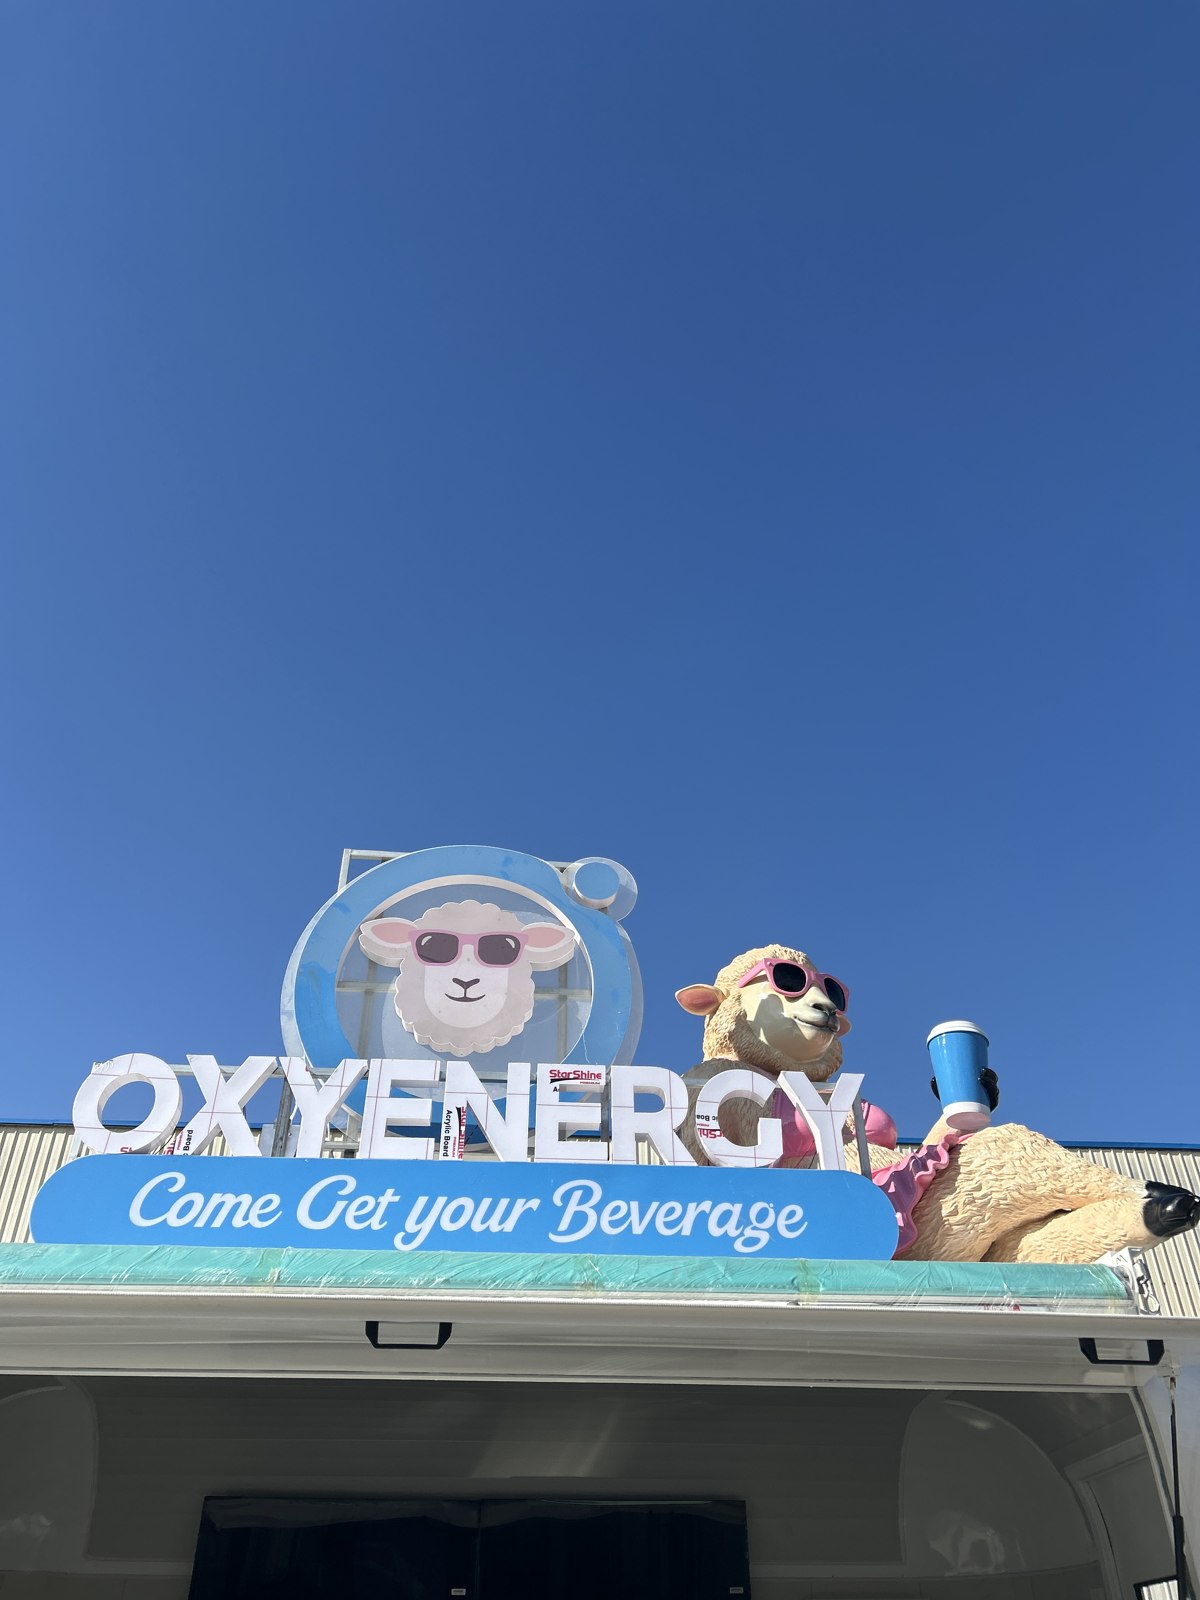
Handling the sculptures was another awkward little job. The projecting parts made them difficult to grip, and even with several people lifting, we kept having to adjust our positions. We agreed on where to support them and changed the installation sequence: settle the base first, then work through the surrounding connections. That saved people trying to hold a sculpture up while someone else hunted for a mounting hole.
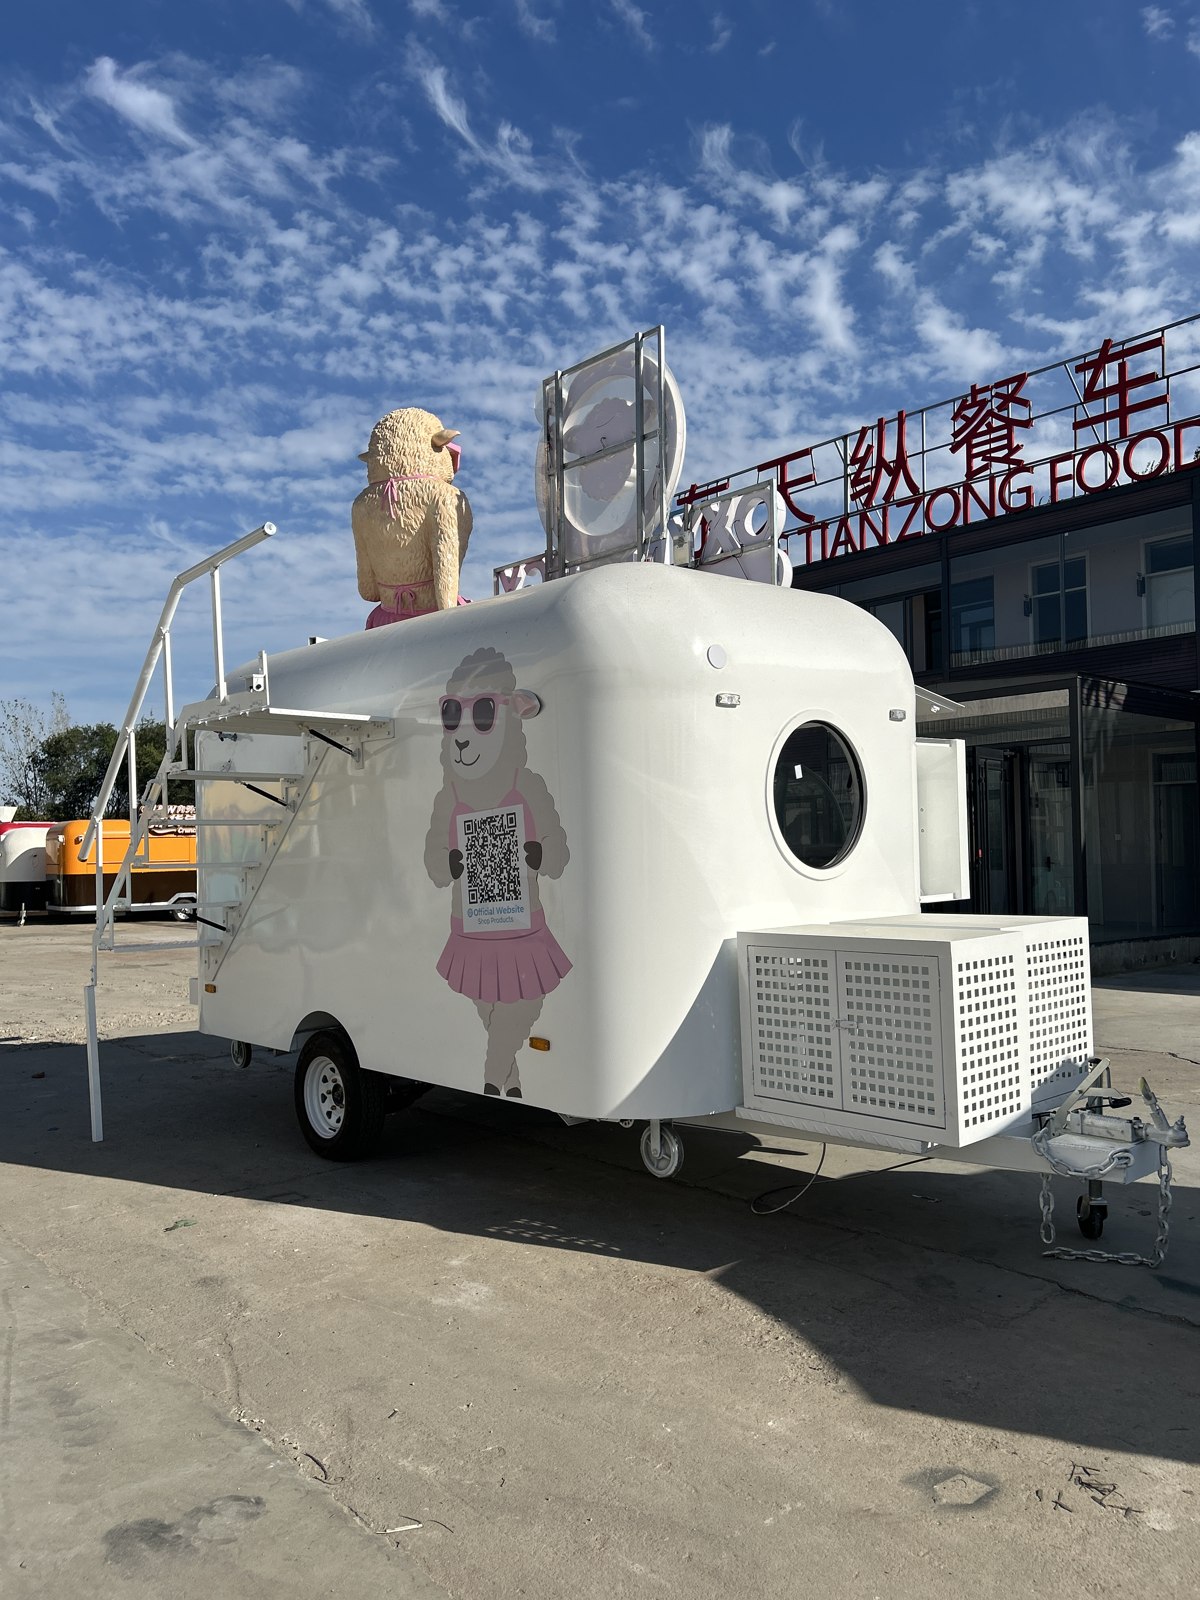
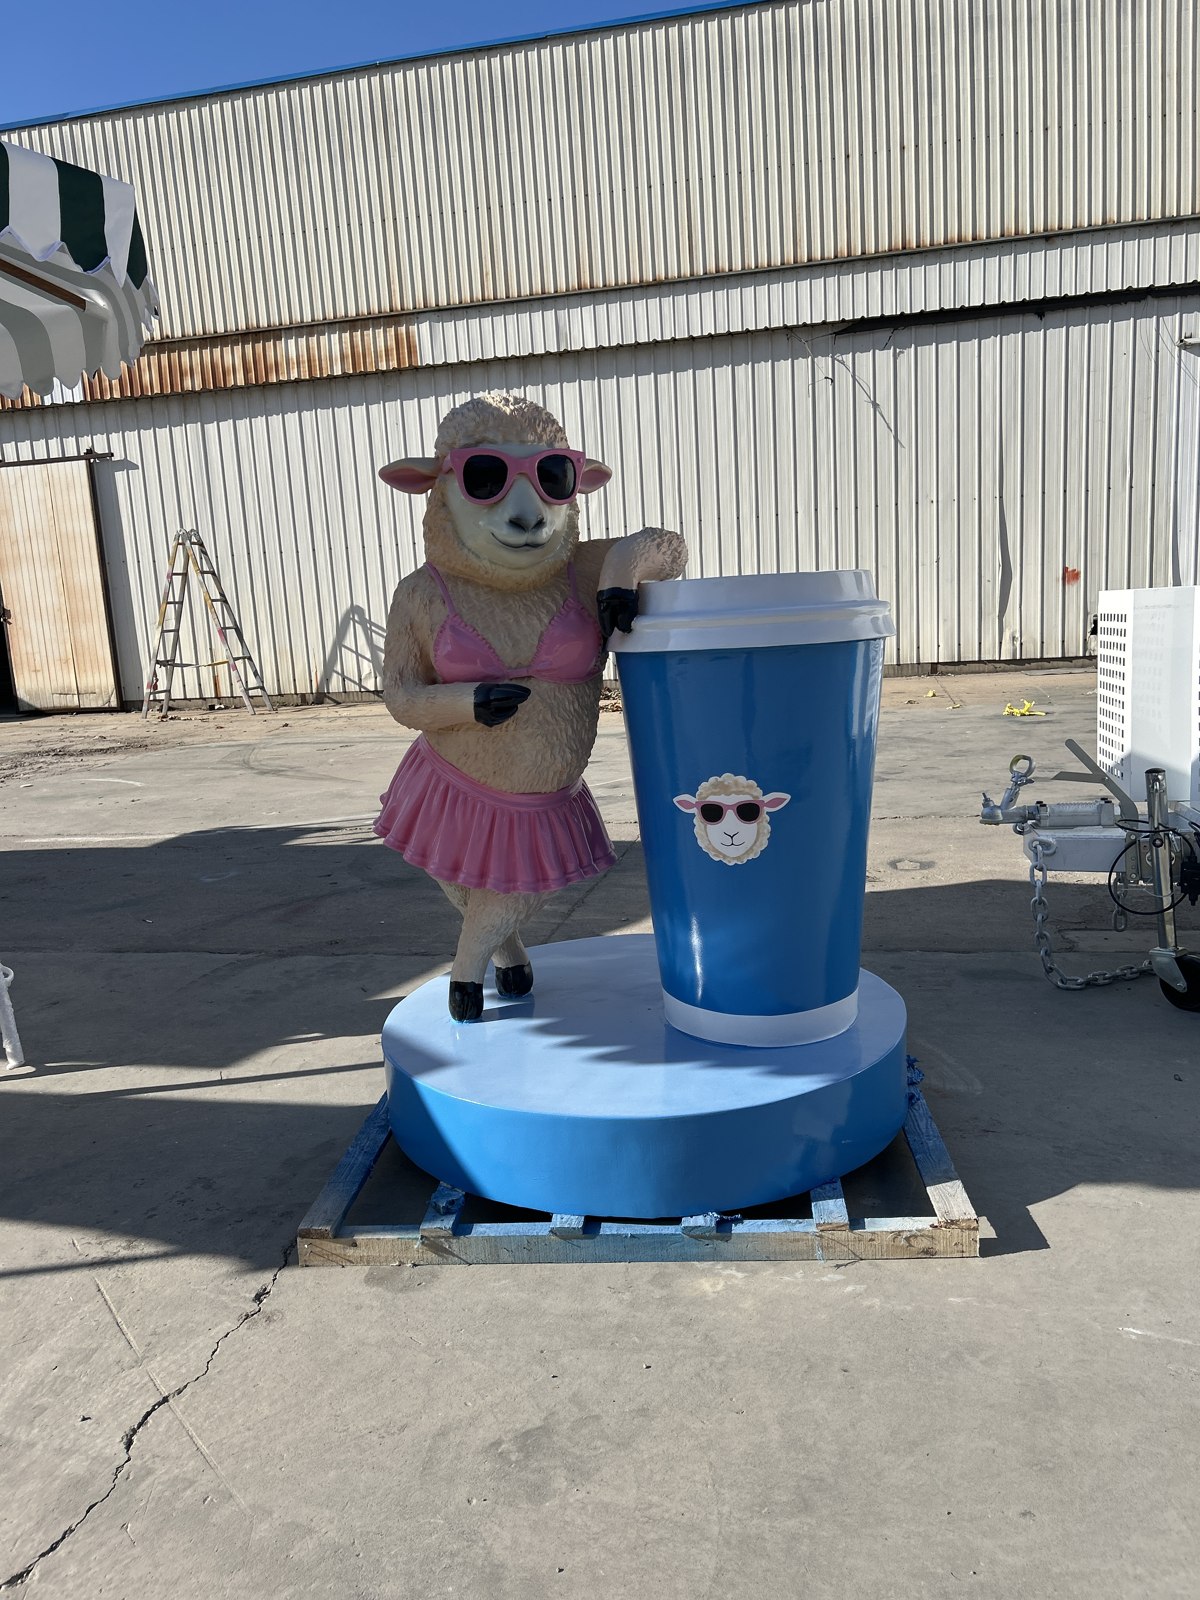
By this point, the metal shells had become fitted-out trailers with a clear brand identity. We had moved tanks, adjusted the ladder fixings and worked through the weight of the sculptures. None of those jobs sounds spectacular on its own. Leave one unfinished, though, and someone is left dealing with it later.
For me, that is a large part of being a custom food trailer manufacturer. When a customer says, ‘I'd like this,’ we have to work out how to build it, fit it and get it to them.
Next came the checks, packing and container loading. And yes, the container gave us a whole new puzzle. Continue to Part 2: food trailer checks, packing and shipping preparation.